Cash Receipt Journals
Cash Receipt journals allow the user to record payments made to a customer’s account. To record a cash receipt journal, follow these steps:
-
In the top right corner, choose the
 icon, enter Cash Receipt Journal, and select the related link.
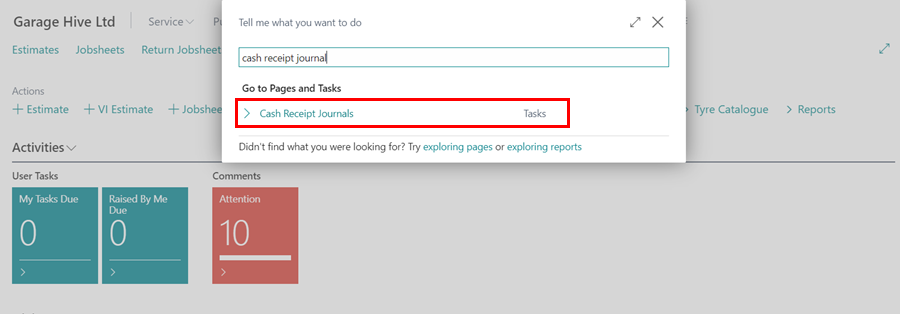
-
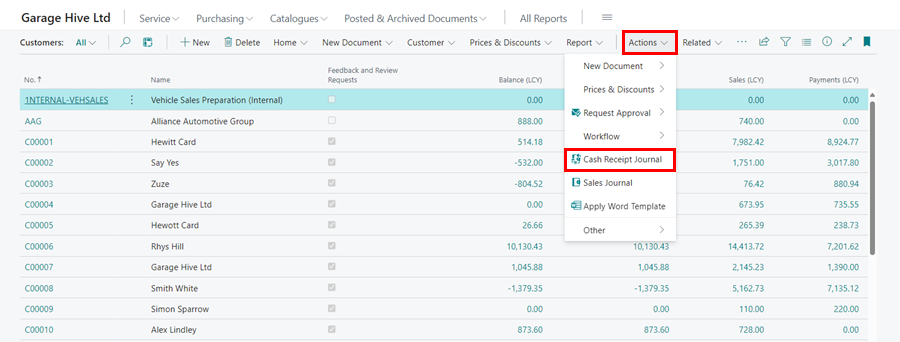
Alternatively, you can access Cash Receipt Journal from the customer list’s menu bar by selecting Actions, then Cash Receipt Journal.
-
Choose the Cash Receipt as the journal template.
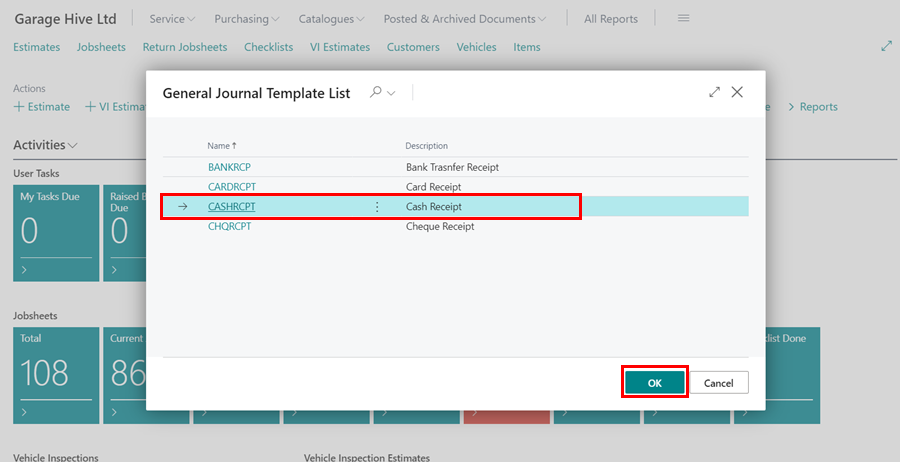
- This will fill in certain information in the journal, such as the Balance Account.
-
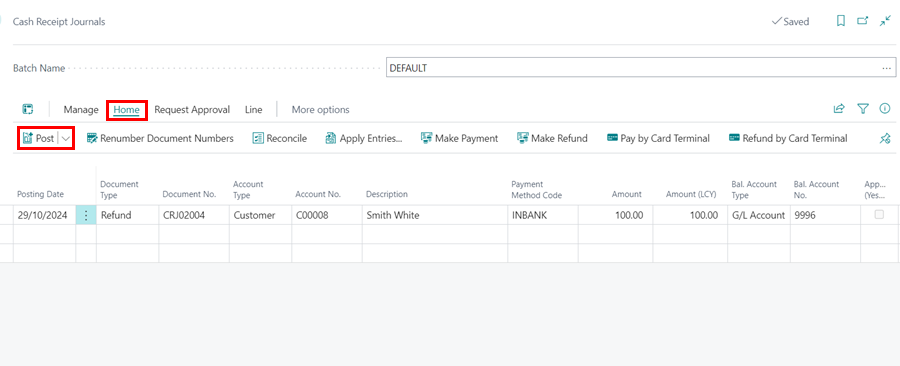
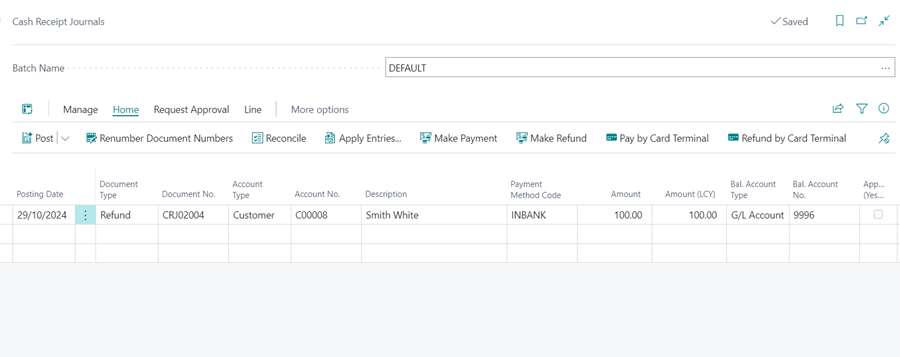
To complete the Cash Receipt Journal, you need to provide the following information:
- Posting Date - This is the transaction date.
- Document Type - Set this to Payment.
- Document Number - This will be preset by the system.
- Account Type - Set this to Customer.
- Account Number - Select the customer’s number in this field.
- Payment Method Code - Select the Payment Method Code, essential when using external accountancy.
- Amount - As you are crediting the customer, this should be set to a negative number.
- Bal Account Type - This will be preset by the system.
- Bal Account Number - This will be preset by the system.
- Applies-to Doc Type - If you are applying the payment directly to a document, select the type of document as Invoice.
-
Applies-to Doc. No. - Select which document here.
-
Double-check the information you’ve entered, then select Home from the menu bar, followed by Post to post the journal.