Using Vehicle Sales Order
Vehicle Sales is a feature in Garage Hive that is used to sell vehicles, both new and used. It was created with vehicle dealers’ needs in mind. When using Vehicle Sales, it is recommended that any data related to vehicle sales be entered by the Vehicle Sales Admin user. In this article we’ll use the Vehicle Sales Admin user.
In this article
- Creating a Vehicle Sales Order
- Adding Comments and Selling Price to the Vehicle Sales Order
- Adding Part Exchange for the Vehicle
- Add Repairs and Services for the Vehicle
- Creating a Vehicle Sales Invoice
Creating a Vehicle Sales Order
-
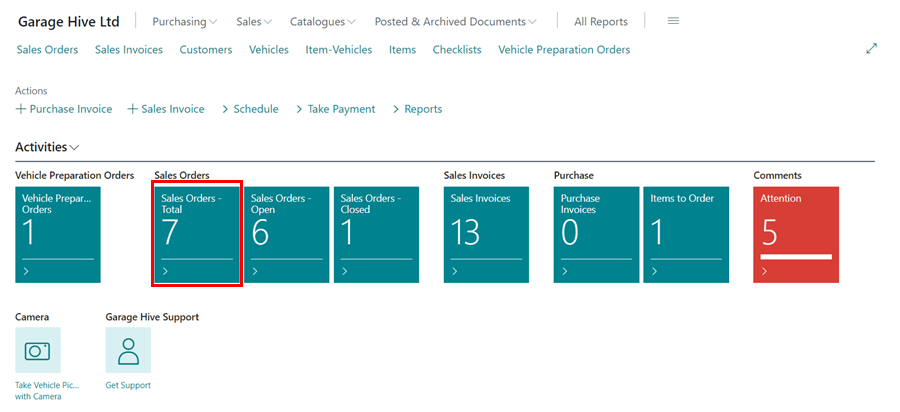
From the Role Centre, select the Sales Orders tiles.
-
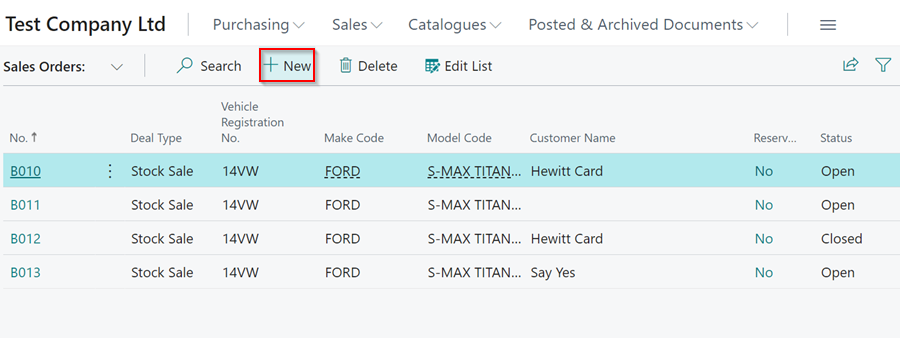
Click on New from the actions bar in the page that opens.
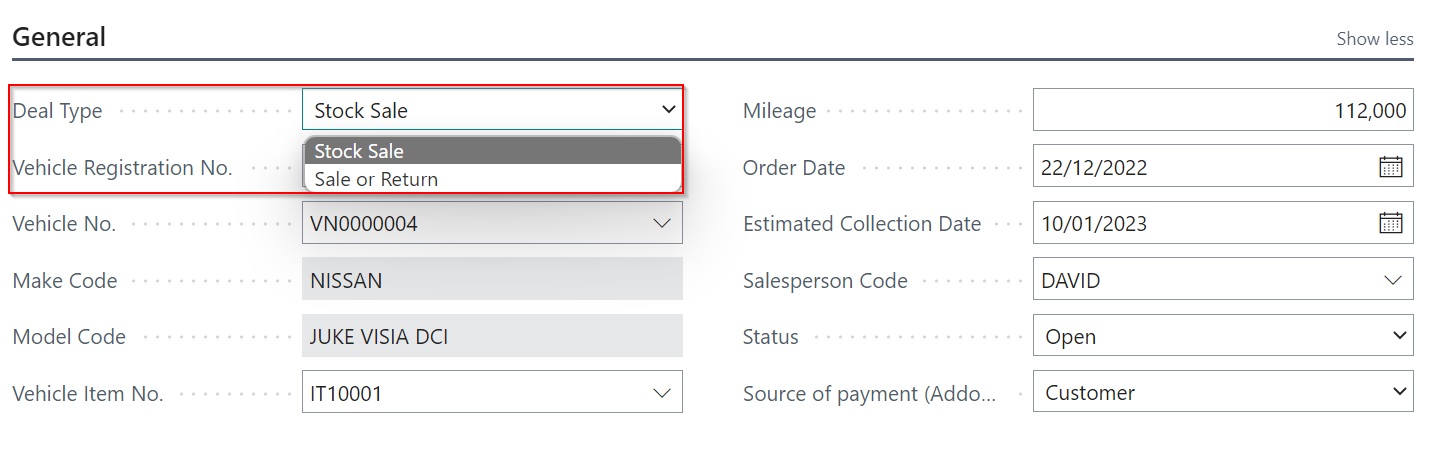
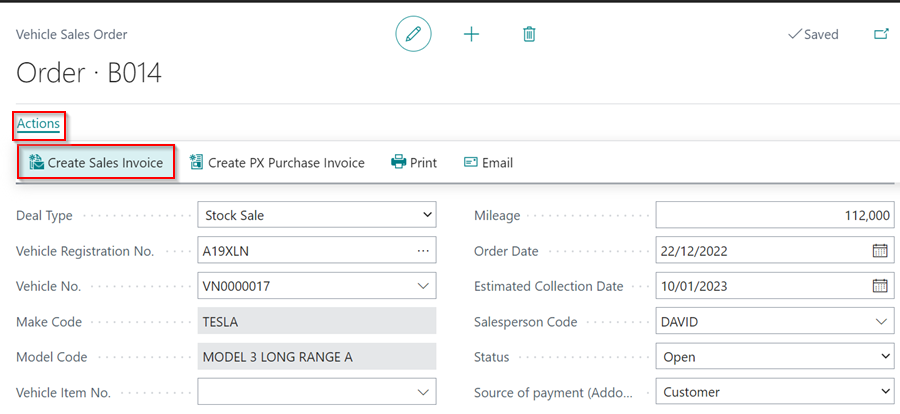
- Choose whether the vehicle sale Deal Type is a Stock Sale, in which you sell the vehicles you have in stock, or a Sale or Return, in which you return the unsold stock to the wholesaler or manufacturer.
-
Then, in the fields such as Vehicle Registration No., Mileage, Order Date, SalesPerson Code and *Vehicle Item No.** (The number of the vehicle being sold), enter the vehicle’s details.
-
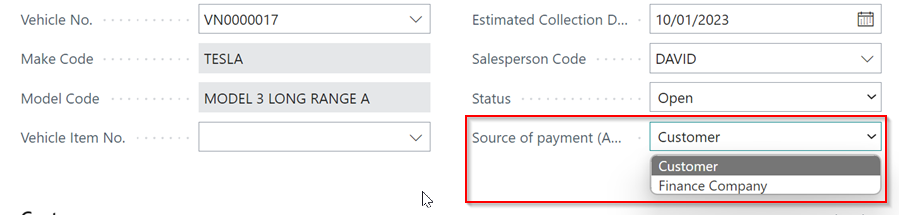
Make sure to specify the Source of Payments for Addons under the General FastTab, which can be either the Customer or the Finance Company.
-
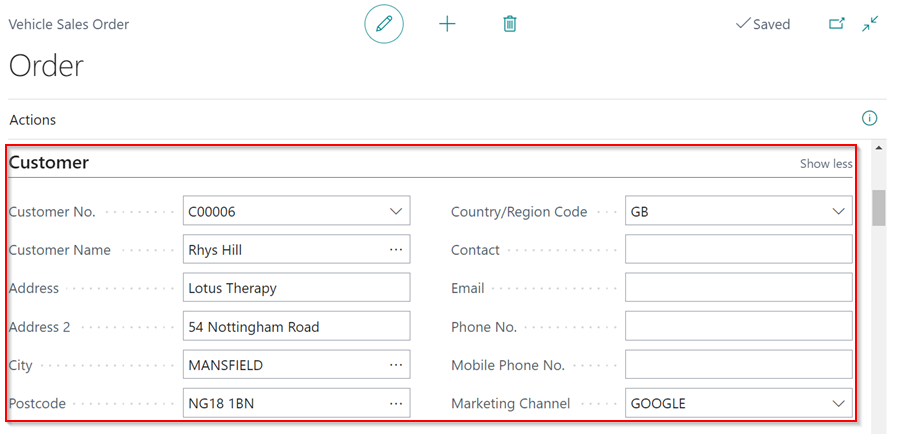
Enter the details of the customer to whom you are selling the vehicle under Customer FastTab.
Adding Comments and Selling Price to the Vehicle Sales Order
-
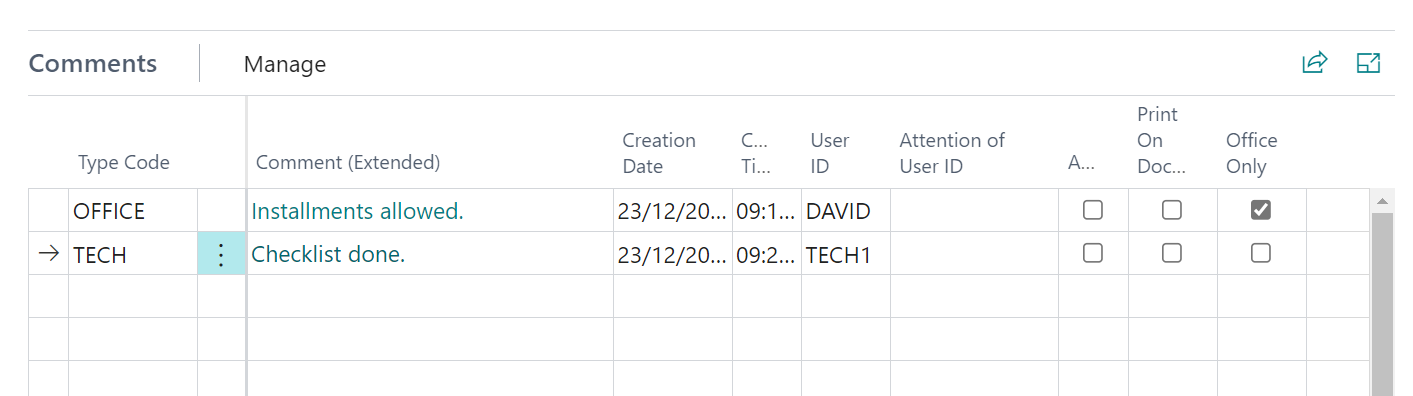
The Comments FastTab allows you to enter any comments about the vehicle being sold.
-
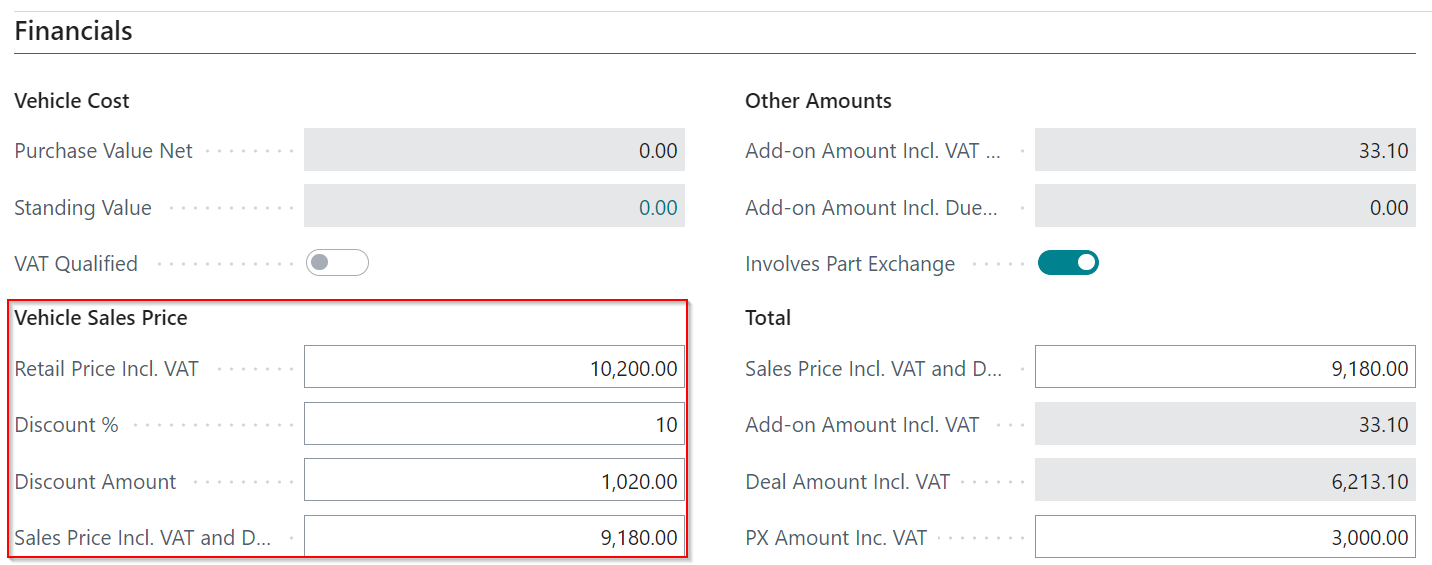
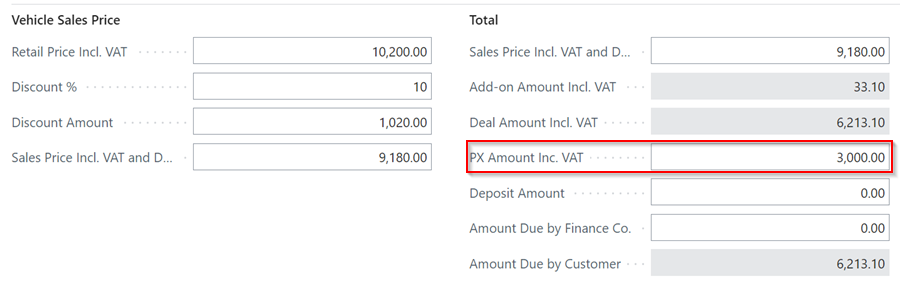
Enter the selling price of the vehicle in the Retail Price Incl.VAT field under the Financials FastTab; if there is a discount, enter the percentage in the Discount% field.
-
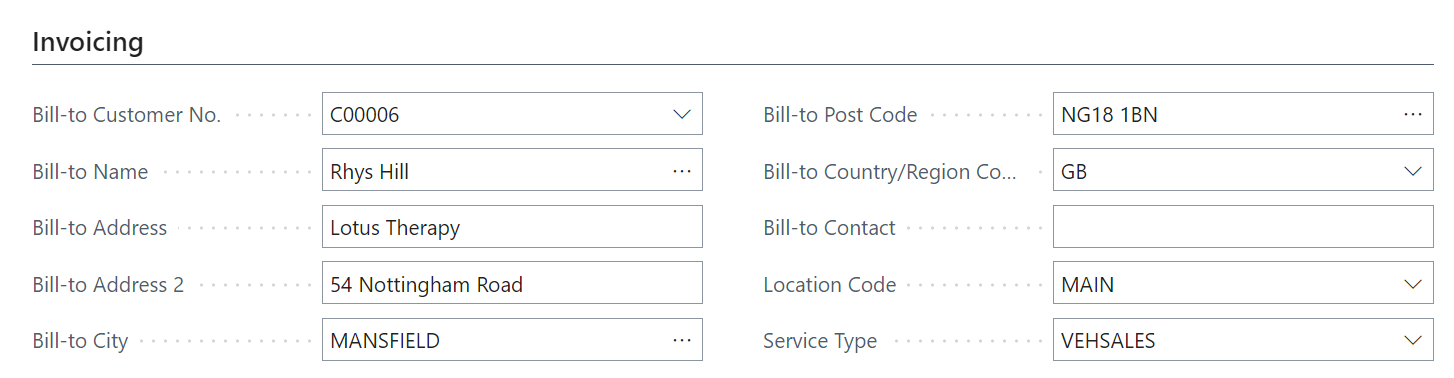
You enter the details of the customer or company paying for the vehicle in the Invoicing FastTab, so if it is the Finance Company, you must enter the details of the finance company.
Adding Part Exchange for the Vehicle
-
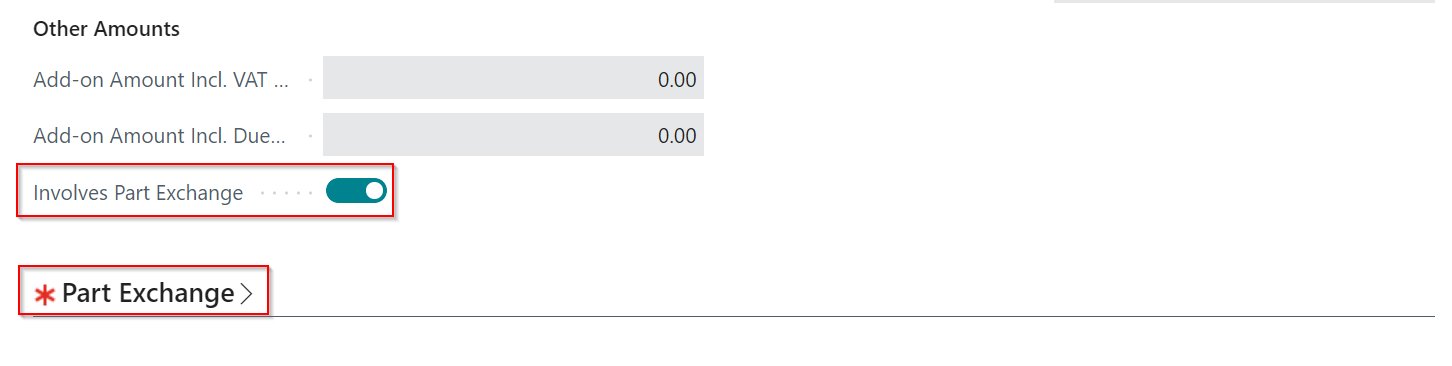
Mark the Involves Part Exchange slider under the Financials, if the vehicle involves Part Exchange, which means the customer is giving an old vehicle as part of the payment for the new vehicle. The Part Exchange FastTab is now activated.
-
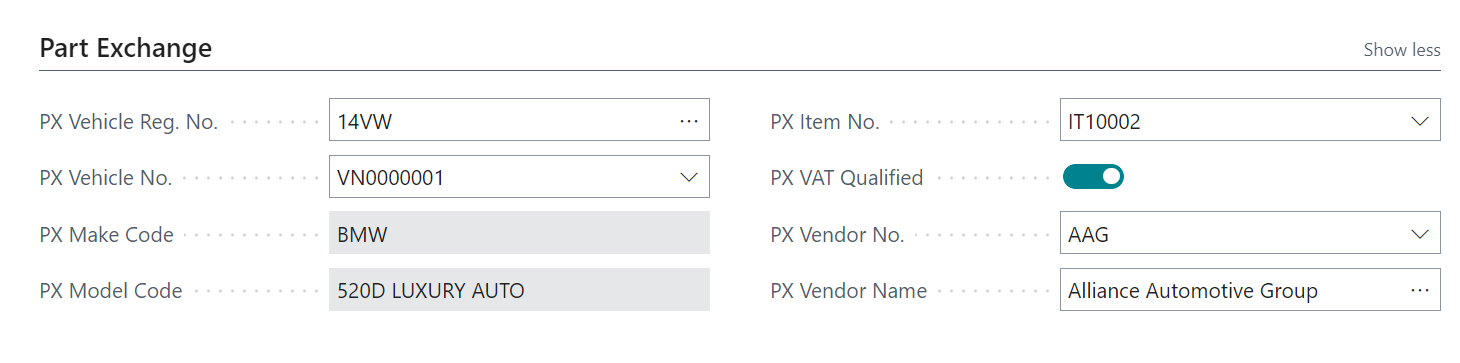
Enter the Part Exchange vehicle registration number in the PX Vehicle Reg. No. field and all the details related to it in the Part Exchange FastTab.
-
In the PX Amount Inc. VAT field under the Financials FastTab, enter the amount agreed upon for the Part Exchange vehicle.
-
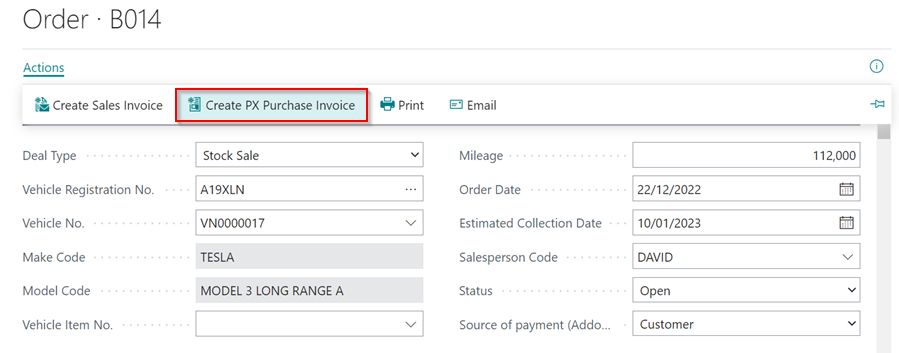
When you add Part Exchange for the vehicle, go to the menu bar and select Actions, then Create PX Purchase Invoice. This generates a Purchase Invoice for the Part Exchange vehicle, which you can access via the Purchase Invoices tile to post when the customer brings in the vehicle for exchange.
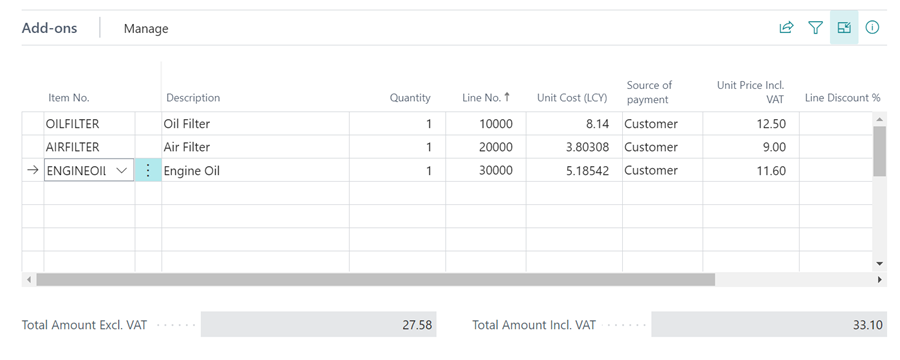
Add Repairs and Services for the Vehicle
-
When the vehicle is repaired or serviced before being sold, the items that have been replaced are entered into the Addon FastTab.
Creating a Vehicle Sales Invoice
-
After ensuring that all the financials are correct, select Actions from the menu bar, and choose Create Sale Invoice.
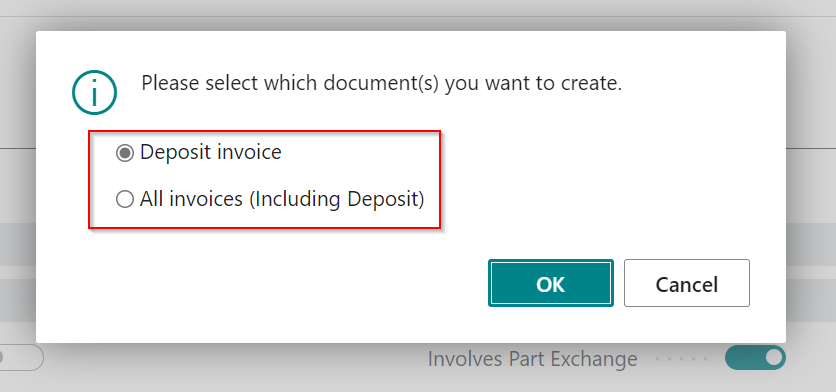
-
If you added the Deposit Amount in the Financials, you’ll get a notification to either create a Deposit Invoice or All Invoices (Including Deposit). Select the one you want and click OK.
See Also
Recommended Vehicle Sales Setup Using Vehicle Sales Invoices