Using TyreClick Booking System in Garage Hive
TyreClick is a Micheldever tyre supplier online booking service, where customers can buy tyres and have them fitted at your garage at a certain date. TyreClick is now integrated with Garage Hive to enable online booking of tyre services, and creating of Jobsheet from the booking.
Before requesting a connection with the support team, please have the following information ready:
- What services does your garage offer on Tyre Click? (For example: Tyre Replacement Only, MOT, Tyre Checks, etc.).
- What time slots does your garage want to use? (Actual times/AM/PM slots with a limited number for each session).
- What are the opening times for your garage?
- What is your garage’s Tyre Click URL?
In this article
- Online Booking Connection Setup for TyreClick
- TyreClick online booking example
- Opening the booking in Garage Hive
Online Booking Connection Setup for TyreClick
- In the top-right corner, choose the
 icon, enter Online Booking Connections, and select the related link.
 -
Select New from the menu bar on the Online Booking Connections page to create a new online connection for TyreClick integration.
Important:
The Online Booking Connections page is used to connect Garage Hive with various online booking services. Businesses with multiple locations, for example, can create separate pages for each branch, and so on.
- Create a code for the Online Booking Connection card, select the location on which to apply the integration, enter the API Connection Key provided and the TyreClick URL provided under the General FastTab.
-
To enable the online connection, select the Enabled slider.
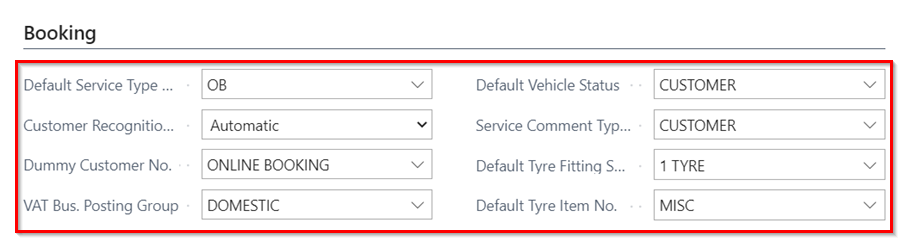
- Under the Booking FastTab, use the following setting:
- Default Service Type Code - This is the default service type used in the jobsheets; set to Online Booking(OB).
- Customer Recognition - This helps in identifying the customers when making an online booking if they are already in the system; set to Automatic.
- Dummy Customer No. - This is the customer name the system uses if the actual customer from the online booking is not found in the system; set to Online Booking.
- VAT Bus Posting Group - This is the VAT business posting group for the online booking based on the tax obligation; set to **Domestic.
- Default Vehicle Status - This is the system’s vehicle status; set to Customer.
- Service Comment Type - This is the comment type to be used in the system for the online booking notification; set to Customer.
- Default Tyre Fitting Service Package - This is the default tyre fitting service package for use in the online booking setup; set to a tyre service package of your choice, in this case we’ll use 1 Tyre.
- Default Tyre Item No. - This is the default item number for use in the online booking setup; set to MISC.
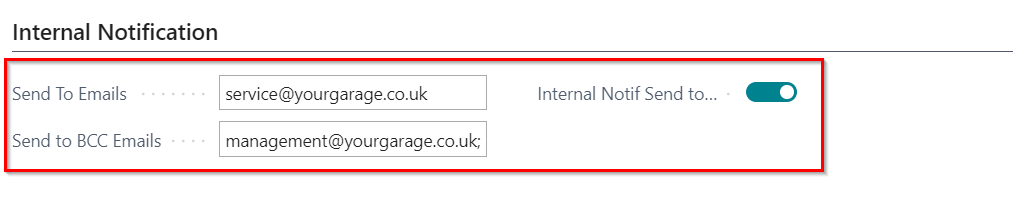
- Under the **Internal Notification FastTab, you can set the following:
- Send To Emails – This is usually left blank, but it can be used for additional email recipients; this is for a confirmation email that’s sent to the branch. Multiple addresses can be entered using the “;” character, as in service@thegarage.com;management@thegarage.com.
- Send To BCC Emails – You can use this if you need to BCC the confirmation somewhere else. Multiple addresses can be entered using the “;” character, as in service@thegarage.com;management@thegarage.com.
- Send To Branch Email - It is best practise to check this box, as this will send the confirmation message to the email address specified in the Branch Setup.
TyreClick online booking example
Here is the process of the customer getting to use the TyreClick online booking:
- To buy and book a tyre, the customer goes to the TyreClick website address provided. They begin by entering their vehicle registration in the Enter your registration field, or they can search for tyres by size; we’ll use the registration number in this case, and then click on Search.
- On the next page, customers choose a type of tyre that meets their needs and is available for the car registration they specified, then click Continue.
-
Then, on the following page, customers can choose the tyre to Buy from the many ranges and brands of recommended tyres.
- The tyre will be added to their basket, and they can then move to Step 2, where they can Add Service that they require in addition to purchasing the tyre, and then click Complete Order.
- The Complete Order page allows the customer to select a booking date and time as well as provide their personal information, which is required to complete the order.
- The consumer must first choose the I have checked my tyre size and type checkbox, followed by the Tick to accept our Terms and Conditions checkbox under terms and conditions.
-
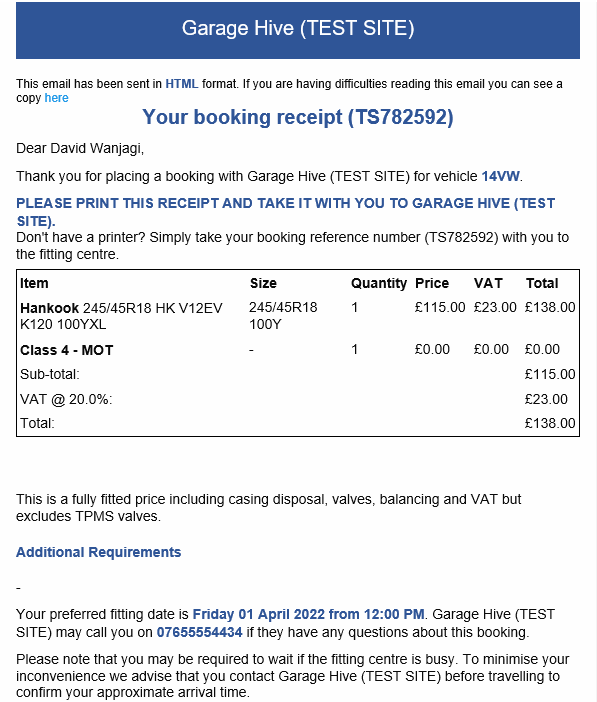
By selecting Confirm booking, the order is completed, and they can print the invoice.
-
An Email will be sent to the customer after booking.
- To view the booking made by the customer in the Garage Hive system, refer to Reviewing Online Bookings and Enquiries for more details.