How to Print Customer Statements
To print customer statements:
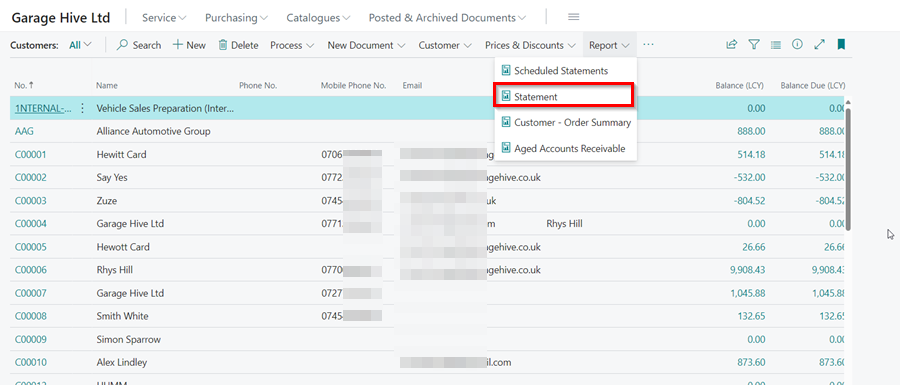
- From the Role Centre, select Customers.
-
On the Customers list page, Choose the customer whose statement you wish to print, then click on Report from the menu bar and choose Statement.
- Choose Aged As Of as the date the statement should be run up to. This date should typically reflect the ending date for the statement. For instance, if you want to view invoices up to the present day, choose today’s date.
- The Aged By field can be set to the Due Date, Posting Date, or Document Date. This specifies the end date for running the statement. In this case, we will select Due Date.
- Select the Period Length for which you want to view the statement. For days, use D, such as 5D, for months, M, such as 1M, and for years, Y, such as 1Y.
- Choose the Heading Type as either Date Interval, which will appear as 01/12/21…31/12/21, or Number of Days, which will appear as 1 - 31 days on the balance amounts heading.
-
Select Print, Preview, PDF, Email, Excel, or XML as the Report Output under Output Options. In this case, we’ll use PDF.

- You can now Filter the Customer Ledger Entry based on your preferences, such as Branch Code, Amount, Amount to Apply, and so on.
-
You can also filter the statement based on the *Customer details if you only want to see for one customer under the Filter: Customer field or leave this field blank if you want to view statements for all customers. Select the OK button.

- The statement(s) will now be ready. In this case, the statements will be downloaded as a Zip file for all of your customers, which you can open and Print.
