When a Jobsheet is completed, it should now be posted in order to update the relevant accounts in the system. To do so, you must understand how to take payment on a Jobsheet, update the Jobsheet lines, and then post the Jobsheet.
In this article
- Adding Resources to Labour Lines in a Jobsheet
- Updating the Items Numbers and Quantities
- Taking a Payment in a Jobsheet and Posting It
- Post the Jobsheet Without Taking the Payment
Adding Resources to Labour Lines in a Jobsheet
Before posting the Jobsheet, all labour lines must-have resource information added to them. There are several ways this can be done:
-
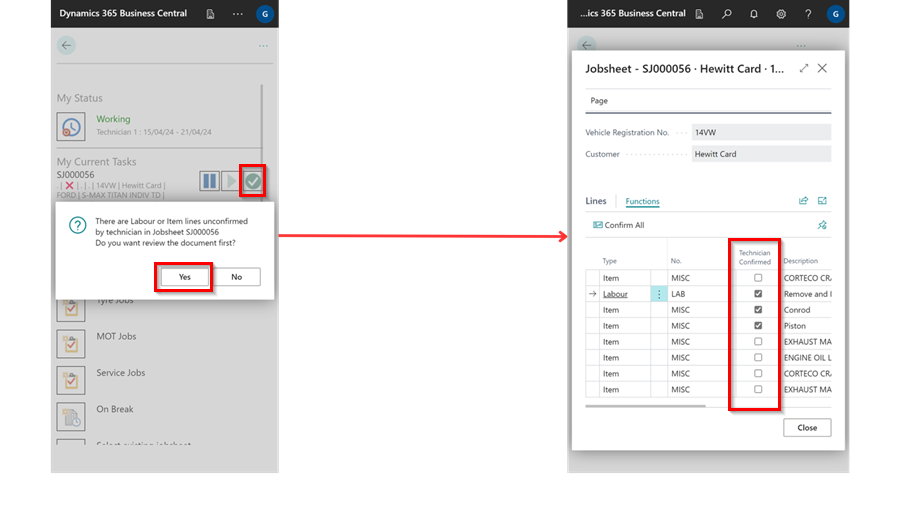
If the Technician uses the Technician Confirmed button on their device, the resources column will be pre-populated.
-
If a front-of-house staff member is familiar with the Technician’s Resource No., they can add this directly to the labour line and then press the Tab key to assign 100% of that labour line to that specific Technician.

-
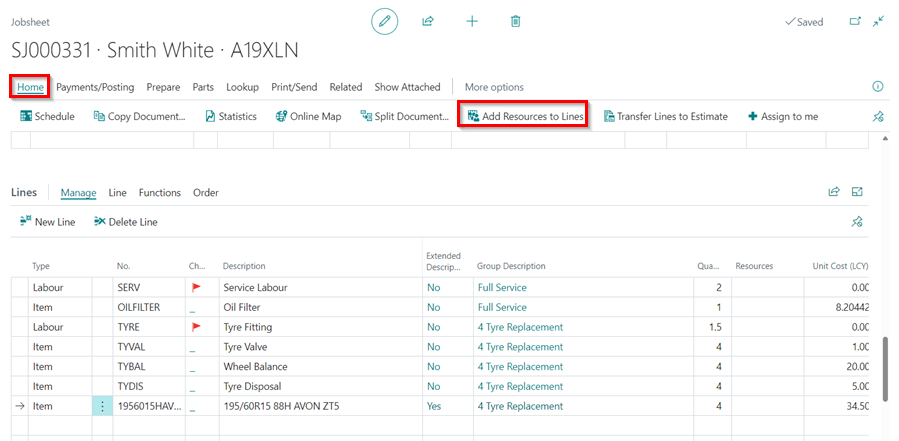
If multiple technicians are working on the job or there are multiple labour lines upon which a sole technician has clocked onto a job, you can select Home followed by Add Resources to Lines. This will either split the total time spent between multiple technicians on all lines, or it will add 100% to all labour lines for one specific technician.
-
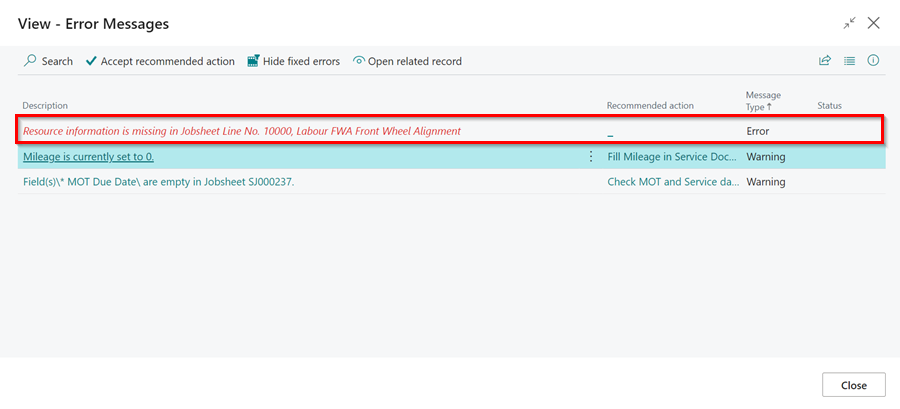
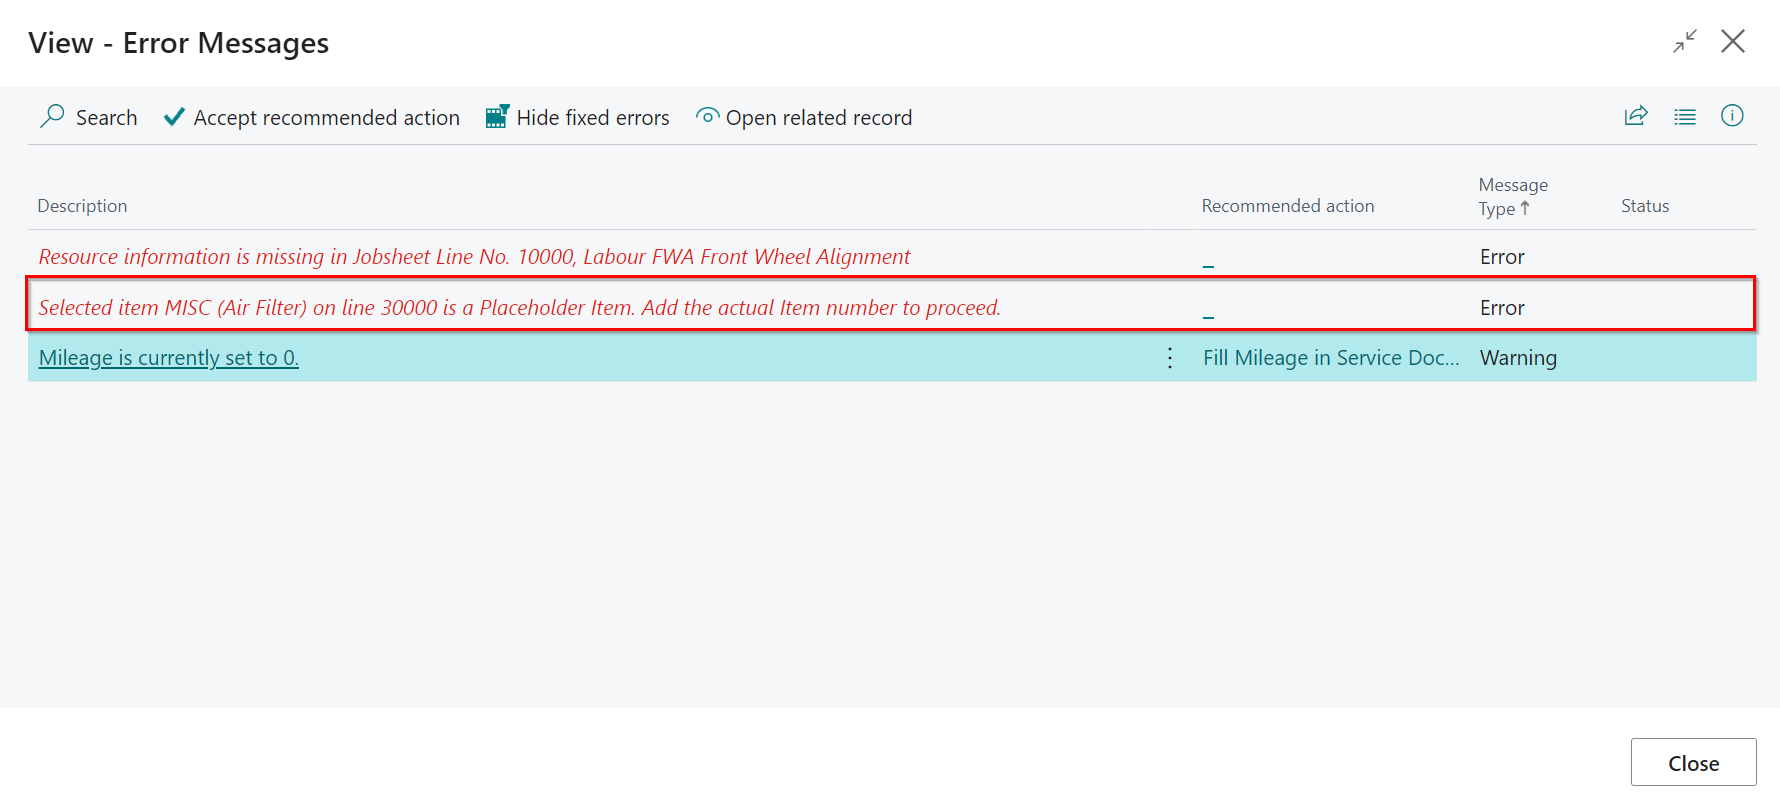
If you post the Jobsheet without adding the resources, the following error message will be displayed in the Error Messages window.
Updating the Items Numbers and Quantities
-
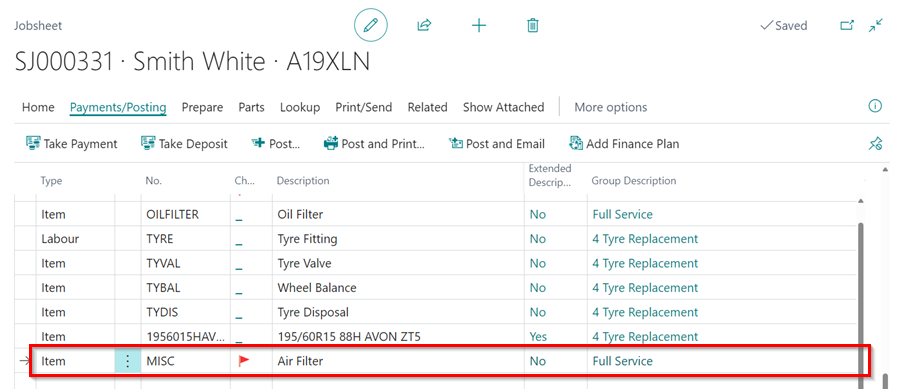
All item numbers must be updated from the Placeholder Item, such as MISC, to their actual item numbers. Ensure that the quantities and prices of the items remain unchanged.
-
If all part numbers with Placeholder Item have not been updated in the Jobsheet, the following error message will be displayed in the Error Messages window when posting the Jobsheet.
-
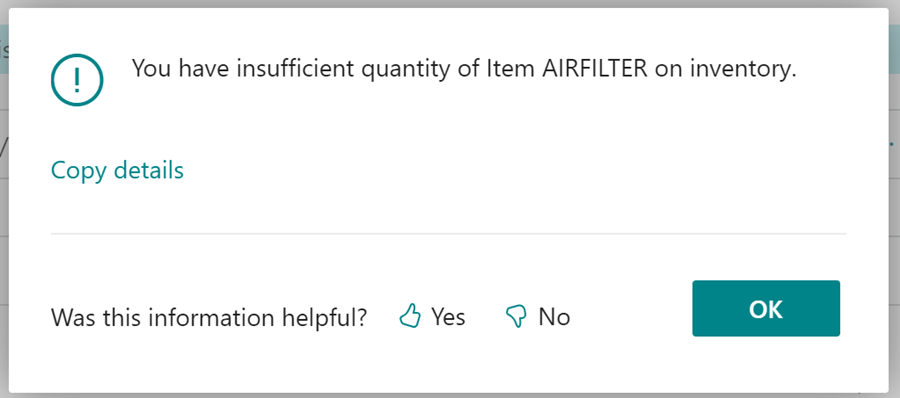
All parts need to be bought into stock. If all parts have not been accepted into stock using a purchase order, you will get an error message:
Taking a Payment in a Jobsheet and Posting It
Once the job is finished and the financial details are correct, you have two options. You can either take payment from the customer and post the Jobsheet, or you can add payment terms to the Jobsheet and then post it. To take payment from the Jobsheet:
-
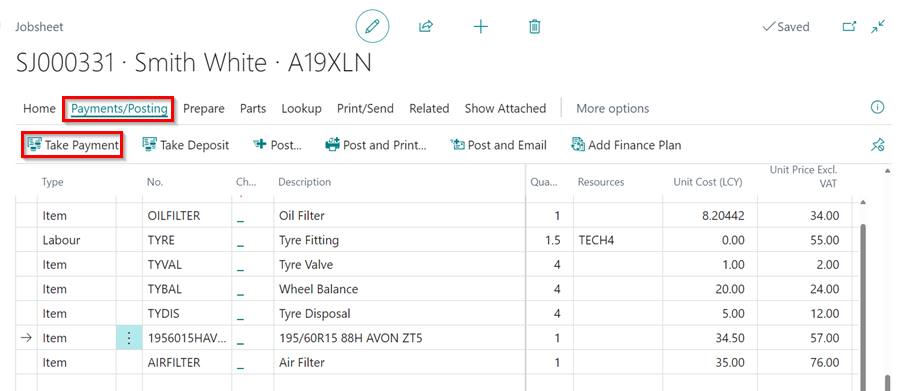
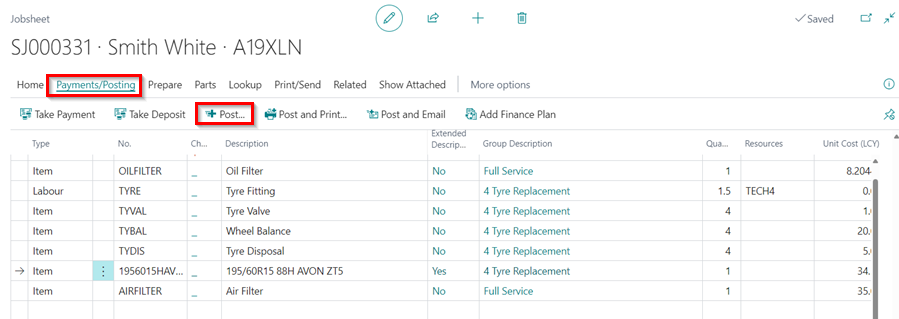
Select Payments/Posting from the Jobsheet’s menu bar, then Take Payment.
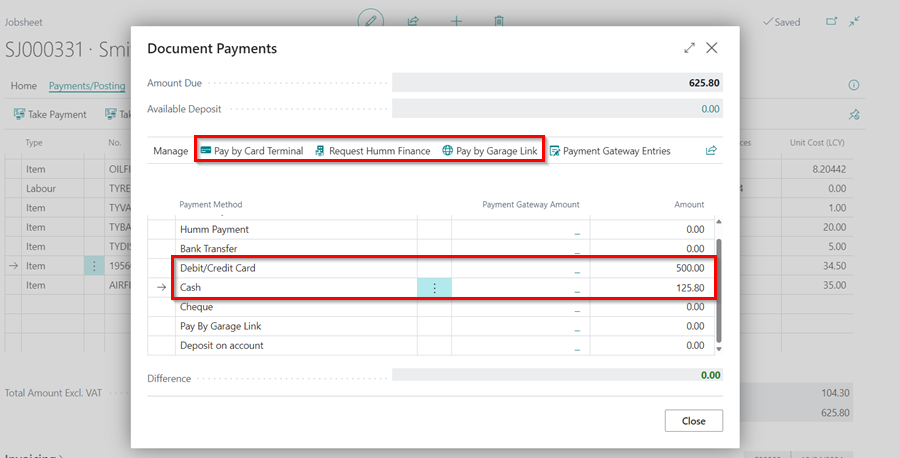
- Enter the amount paid in the payment method row corresponding to the customer’s chosen payment method.
-
If the customer is paying by card, select Pay by Card Terminal from the menu bar. If they are using Humm Financing, select Request Humm Financing from the menu bar. For payments made through GarageLink, select Pay by Garage Link from the menu bar.
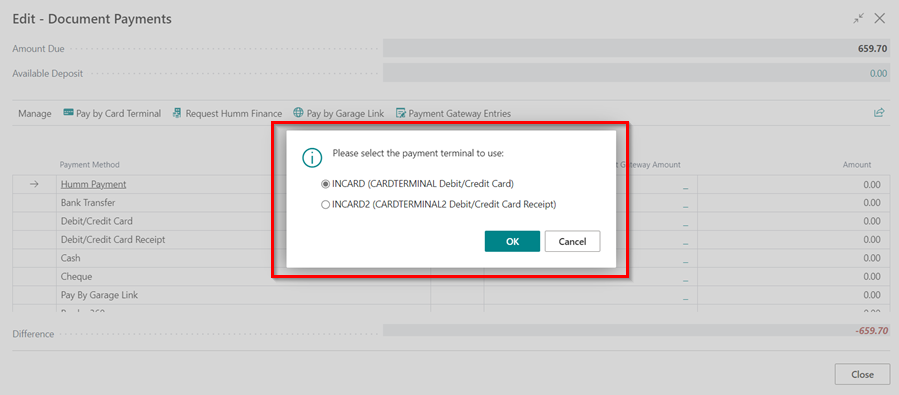
-
When multiple card terminals are available for the location, a notification will prompt you to select the card terminal that the customer is using.
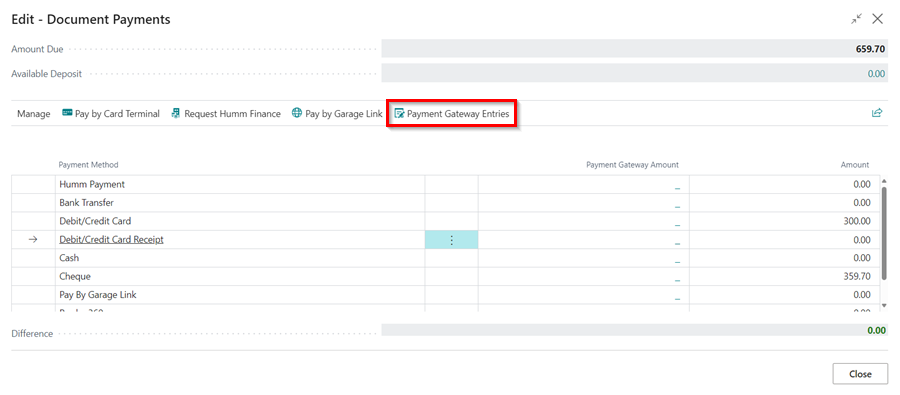
-
You can view other payments that have been applied in the document by selecting Payment Gateway Entries action, in the Document Payments window.
-
Close the Take Payment page, and select the Post action under the Payment/Posting menu to post the Jobsheet.
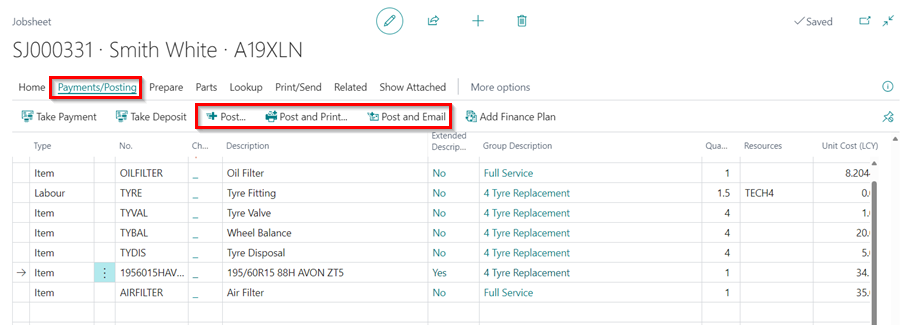
Post the Jobsheet Without Taking the Payment
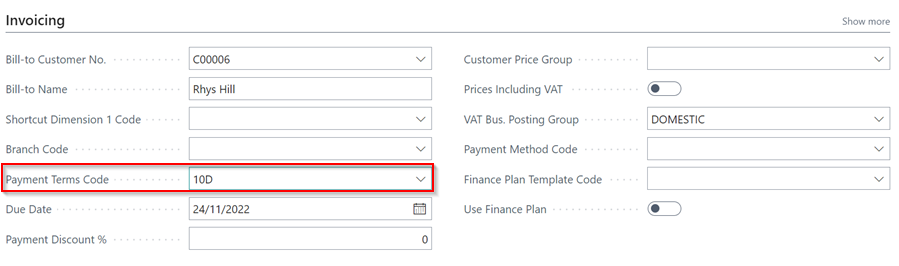
-
Scroll down to the Invoicing FastTab and enter the customer’s Payment Terms Code, such as 10 days from invoice (10D).
-
Then from the menu bar, select Payment/Posting, then you can select either of the following options:
- Post - Post/invoice this Jobsheet without the option of printing or emailing it.
- Post and Print - Post/invoice this Jobsheet and print a copy of the invoice.
- Post and Email - Post/invoice this Jobsheet and email a copy of the invoice to the Bill-To Customer.
Click Yes on the pop-up notification of do you want to post the Jobsheet?.
See Also
Setting Up Payment by Card Terminal
Setting Up Payment by Garage Link for Dojo
How to Use Humm Financing
How to Set Card Terminals Into Integration Mode
Generating Paymentsense Card Machine End of Day, X Balance and Z Balance Report