How to Setup the Service Schedule
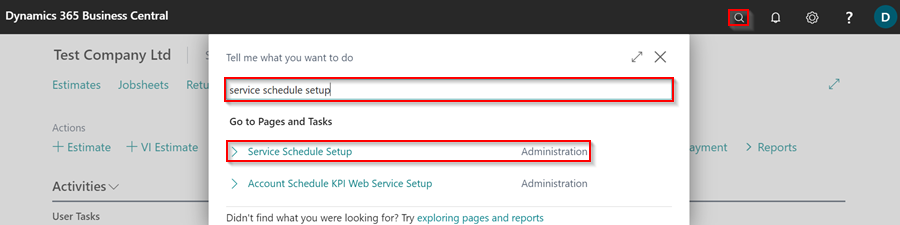
The service schedule can be set up on the Service Schedule Setup page. To get to this page, choose the ![]() icon in the top right corner, enter Service Schedule Setup, and select the related link.
icon in the top right corner, enter Service Schedule Setup, and select the related link.
Below are some setups that can be done on the Service Schedule Setup page:
- Change the time format
- Change the way the resource name appears in the schedule
- Show the unavailable time in the schedule
- Delete allocations older than one year in the schedule
- Show idle allocations in the schedule
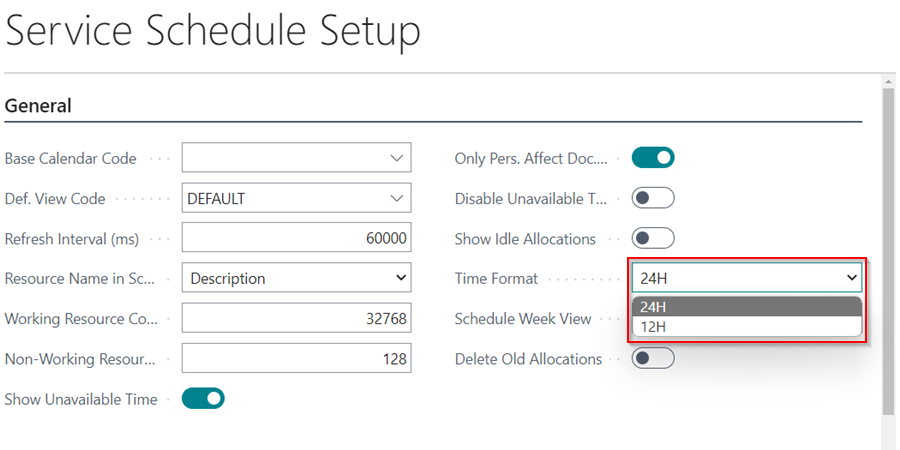
Change the time format
The time displayed at the top of the schedule view can be changed to either 12HR or 24HR.

To change in the Service Schedule Setup page, select either 12HR or 24HR in the Time Format field under the General FastTab.
Change the way the resource name appears in the schedule
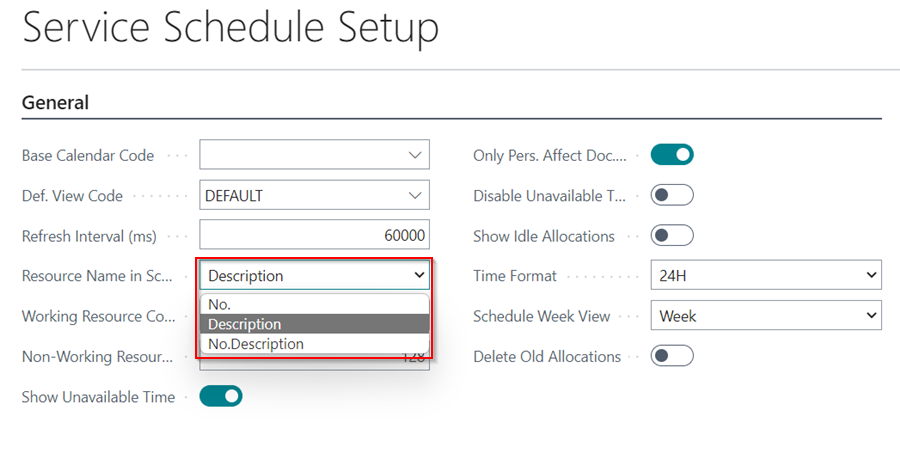
The resource name can appears as just the Resource No., the Description or the Resource No. with the Description in the schedule view.
To change in the Service Schedule Setup page, select the No., the Description or the No. with the Description in the Resource Name in Schedule field under the General FastTab.
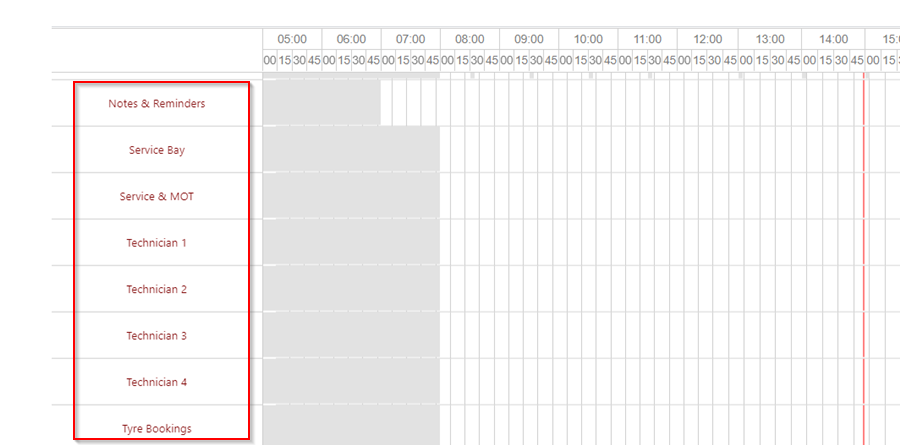
Show the unavailable time in the schedule
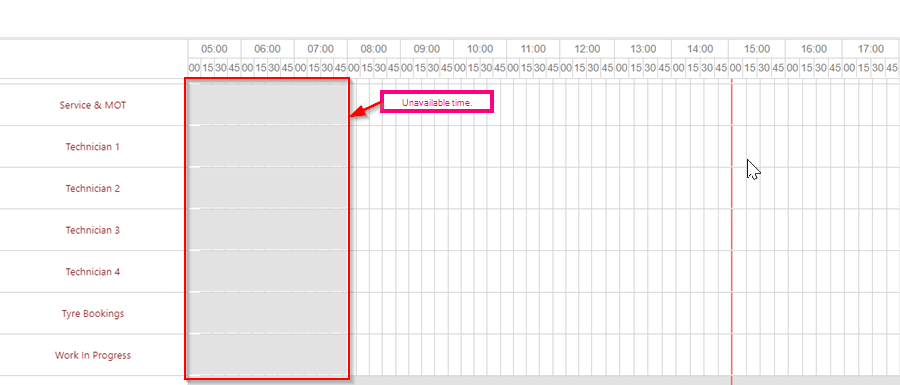
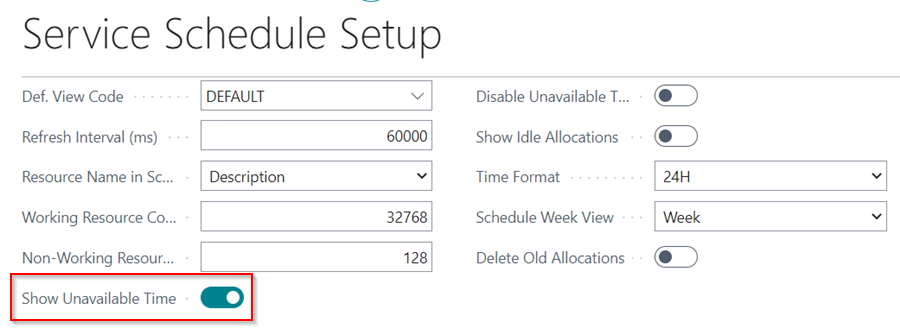
In the schedule, the unavailable time is highlighted in grey. You could choose whether or not to display the unavailable time in the schedule.
You can change the Show Unavailable Time slider under the General FastTab on the Service Schedule Setup page.
Delete allocations older than one year in the schedule
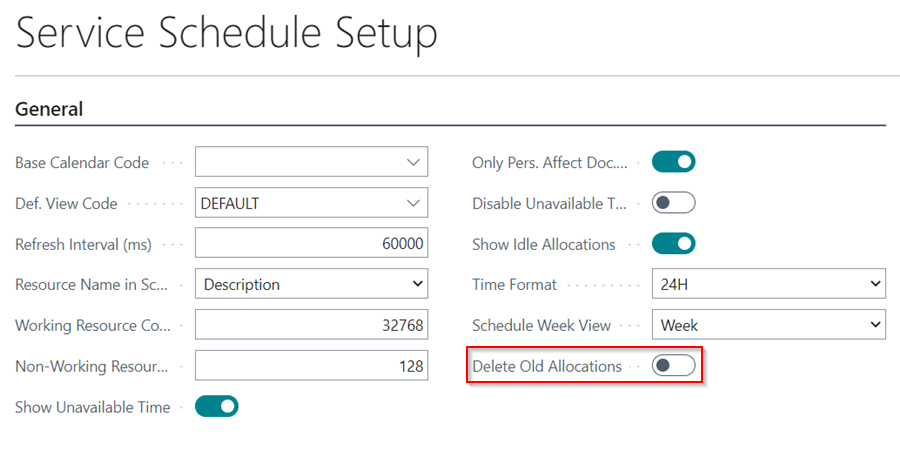
Select the Delete Old Allocations slider on the Service Schedule Setup page to setup the system to always delete allocations older than one year.
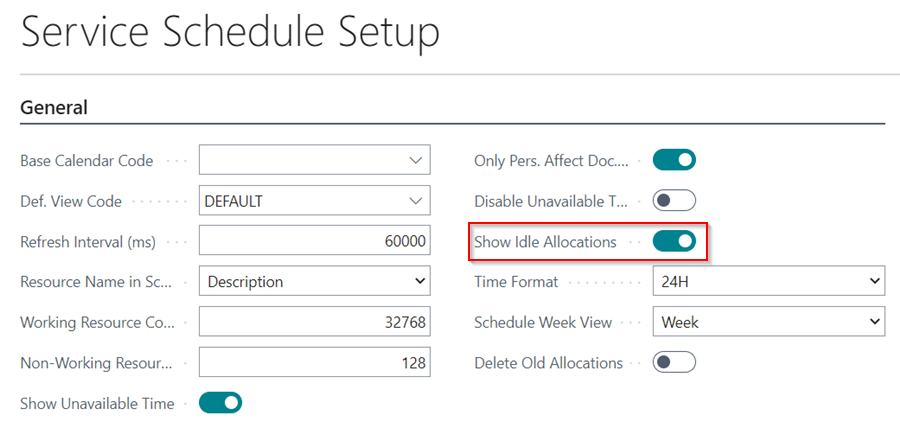
Show idle allocations in the schedule
You can also enable or disable the display of idle allocations such as when a technician has paused an allocation, and they are not working.
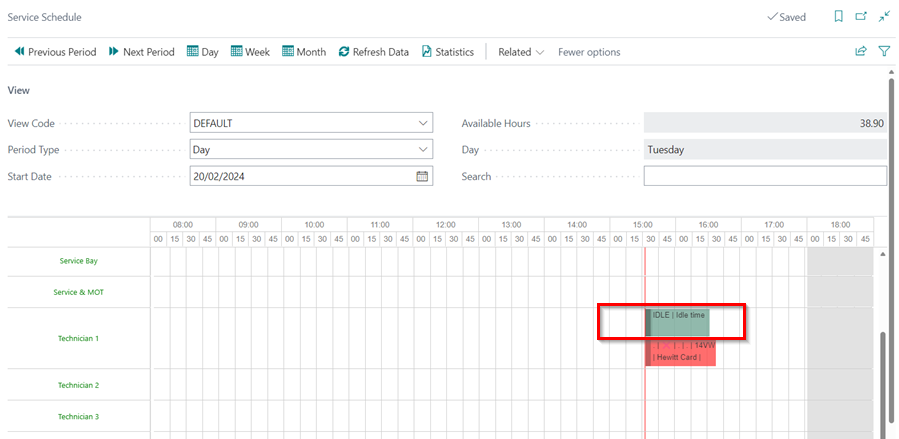
You can change this in the Service Schedule Setup page by selecting or deselecting the Show Idle Allocations slider.