Creating Your First Booking in Your Trial
One way to get started on Garage Hive is to make a booking. A booking ensures that you create a jobsheet and capture relevant information about the job.
In this article
Create a Booking
To create a booking from the home page:
- Click on the Schedule from the menu bar.
- Select the Bay or the Technician to allocate the booking.
- Left click and drag horizontally on the right from the time the booking starts to the end of the booking, and then release.
- A pop-up window appears, Select Allocation Type for the booking and click okay. After clicking okay, a jobsheet is created and appears on the pop-up window.
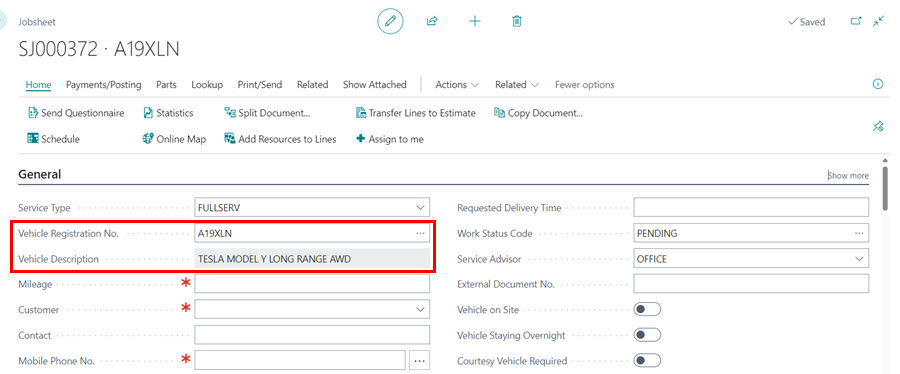
Adding Vehicle Details
-
In the Vehicle Registration No. field, enter the vehicle’s registration number and press the Tab key. If the vehicle already exists in the system, its details will be added automatically. If not, the information will be retrieved if available through the Vehicle Data Lookup provider.
-
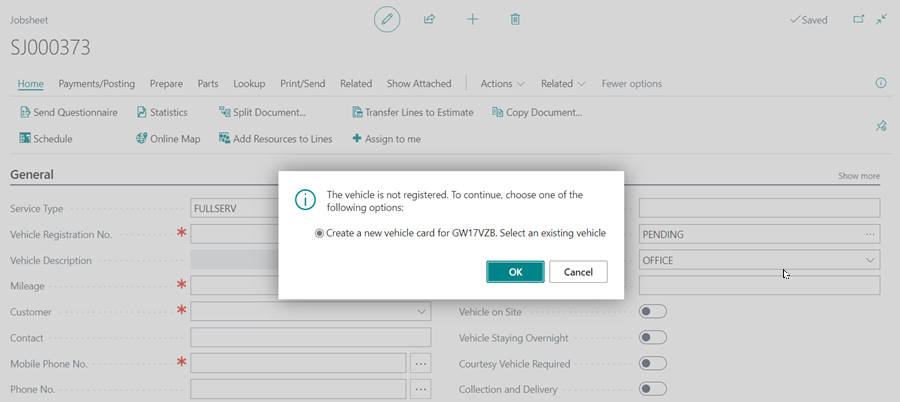
If the vehicle is not available on any of the option, you’ll get an option to create a new Vehicle Card.
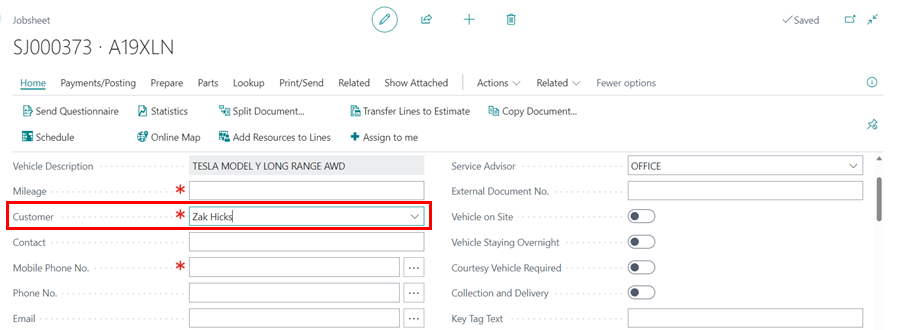
Adding Customer Details
If the vehicle was already added before, the customer details would be added automatically. If not:
-
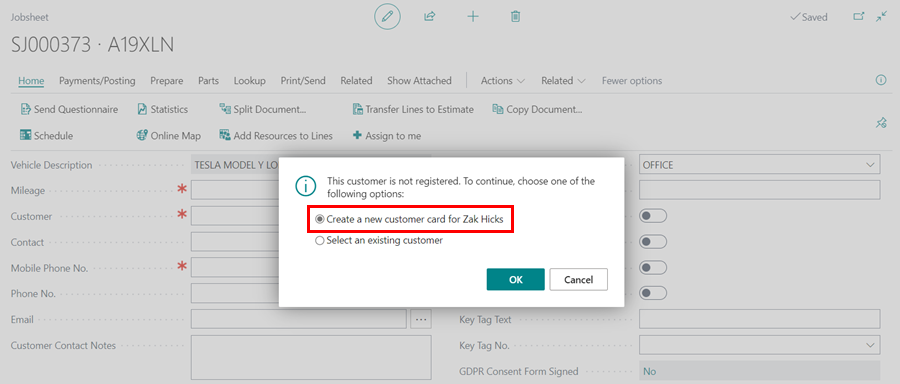
Enter the customer’s name in the field Customer and press the tab button to create a new customer.
-
From the pop-up window that appears, select Create a new customer card.
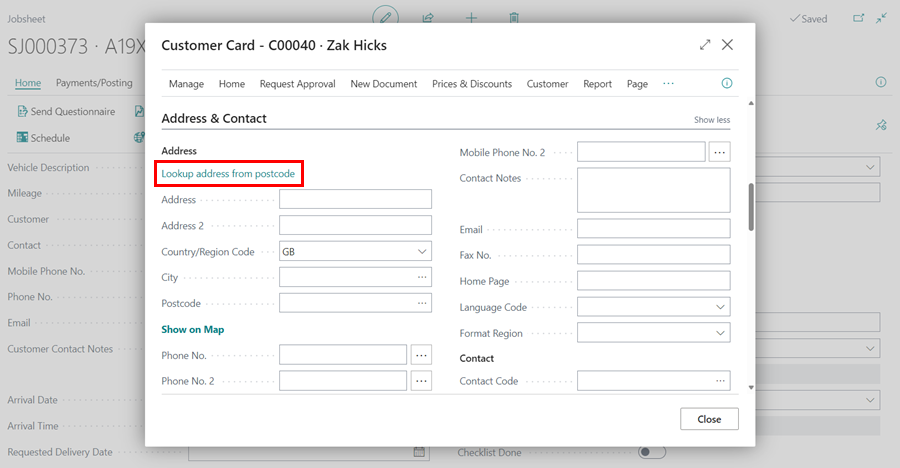
- Add the customer’s address by searching on Lookup address from postcode.
-
Add the customer’s phone number and email address on the respective fields.
-
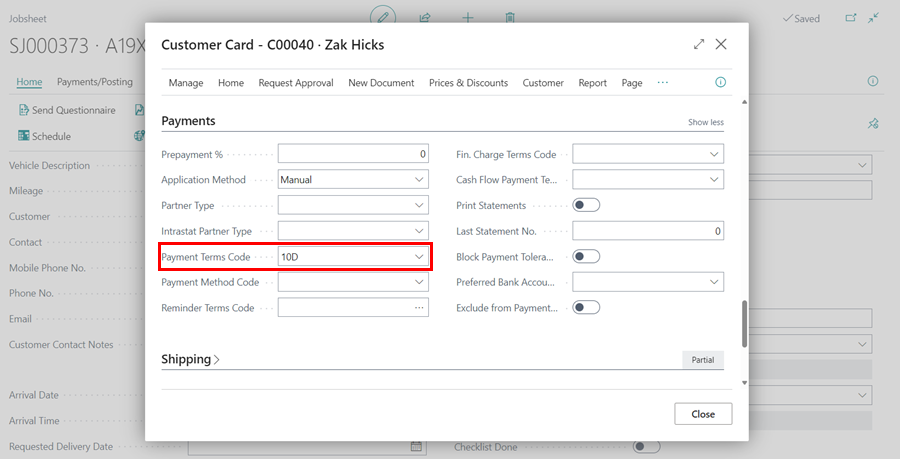
If you have payment terms agreed with a customer (trade), for example, they pay every 30 days from the invoice date, you can add the terms by scrolling down to the Payments section.
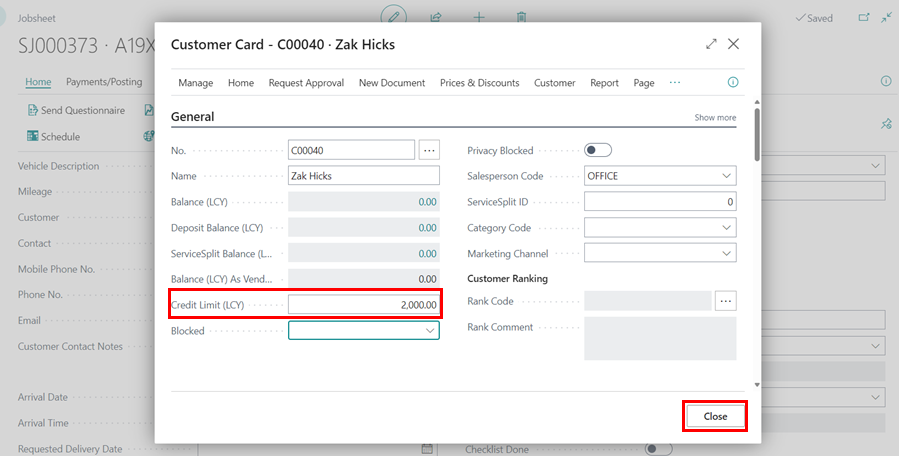
- Scroll up to add a credit limit on the Credit Limit (LCY) Field (if necessary)
-
Click close to create the customer’s card.
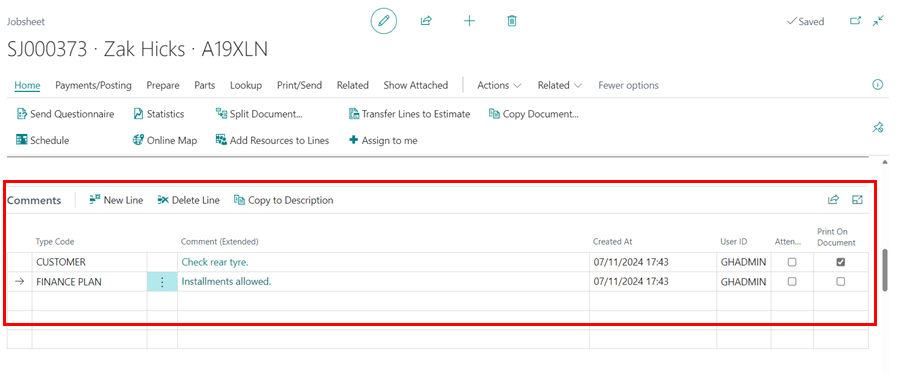
Adding Comments
To add a comment:
- Scroll down to the Comments section on the jobsheet.
- Select the first cell under the Type Code column and add the type of comment.
- Select the next cell under the Comment (Extended) column, and a pop-up window appears, where you write your comment; you can maximize the window for a better view.
-
After adding the comment, close the window to create the comment; the time and date of the comment are added automatically.
See Also
Video: How to create your first booking
Welcome to Your Role Centre
Adding Items and Labour to a Jobsheet
Creating a Purchase Order
Processing a Purchase Order/Invoice
Viewing Items to Return
Creating a Purchase Return Order
Processing a Vehicle Arriving
Processing a Jobsheet to Invoice
Creating an Estimate
Processing a Vehicle Inspection Estimate