How to Import Your Exported Data Into QuickBooks
If you’re using QuickBooks as your accounting system, you’ll need to import the data you exported from Garage Hive and ensure that your accounting system is integrated with Garage Hive. Here’s how to import the data:
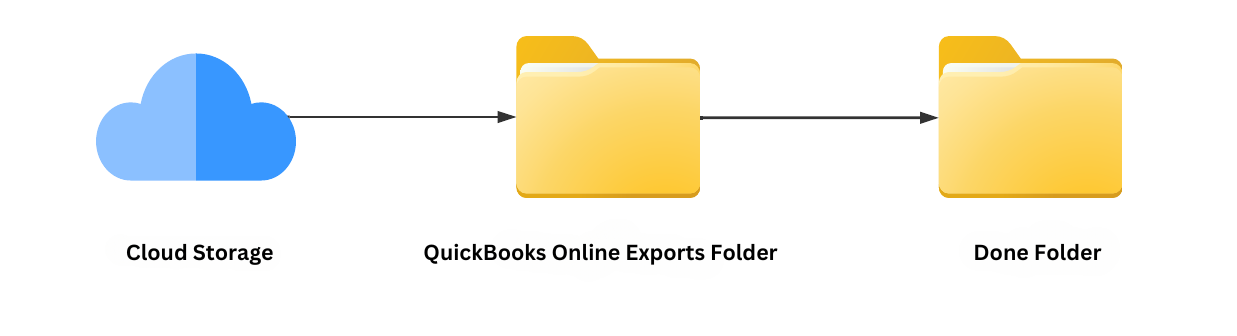
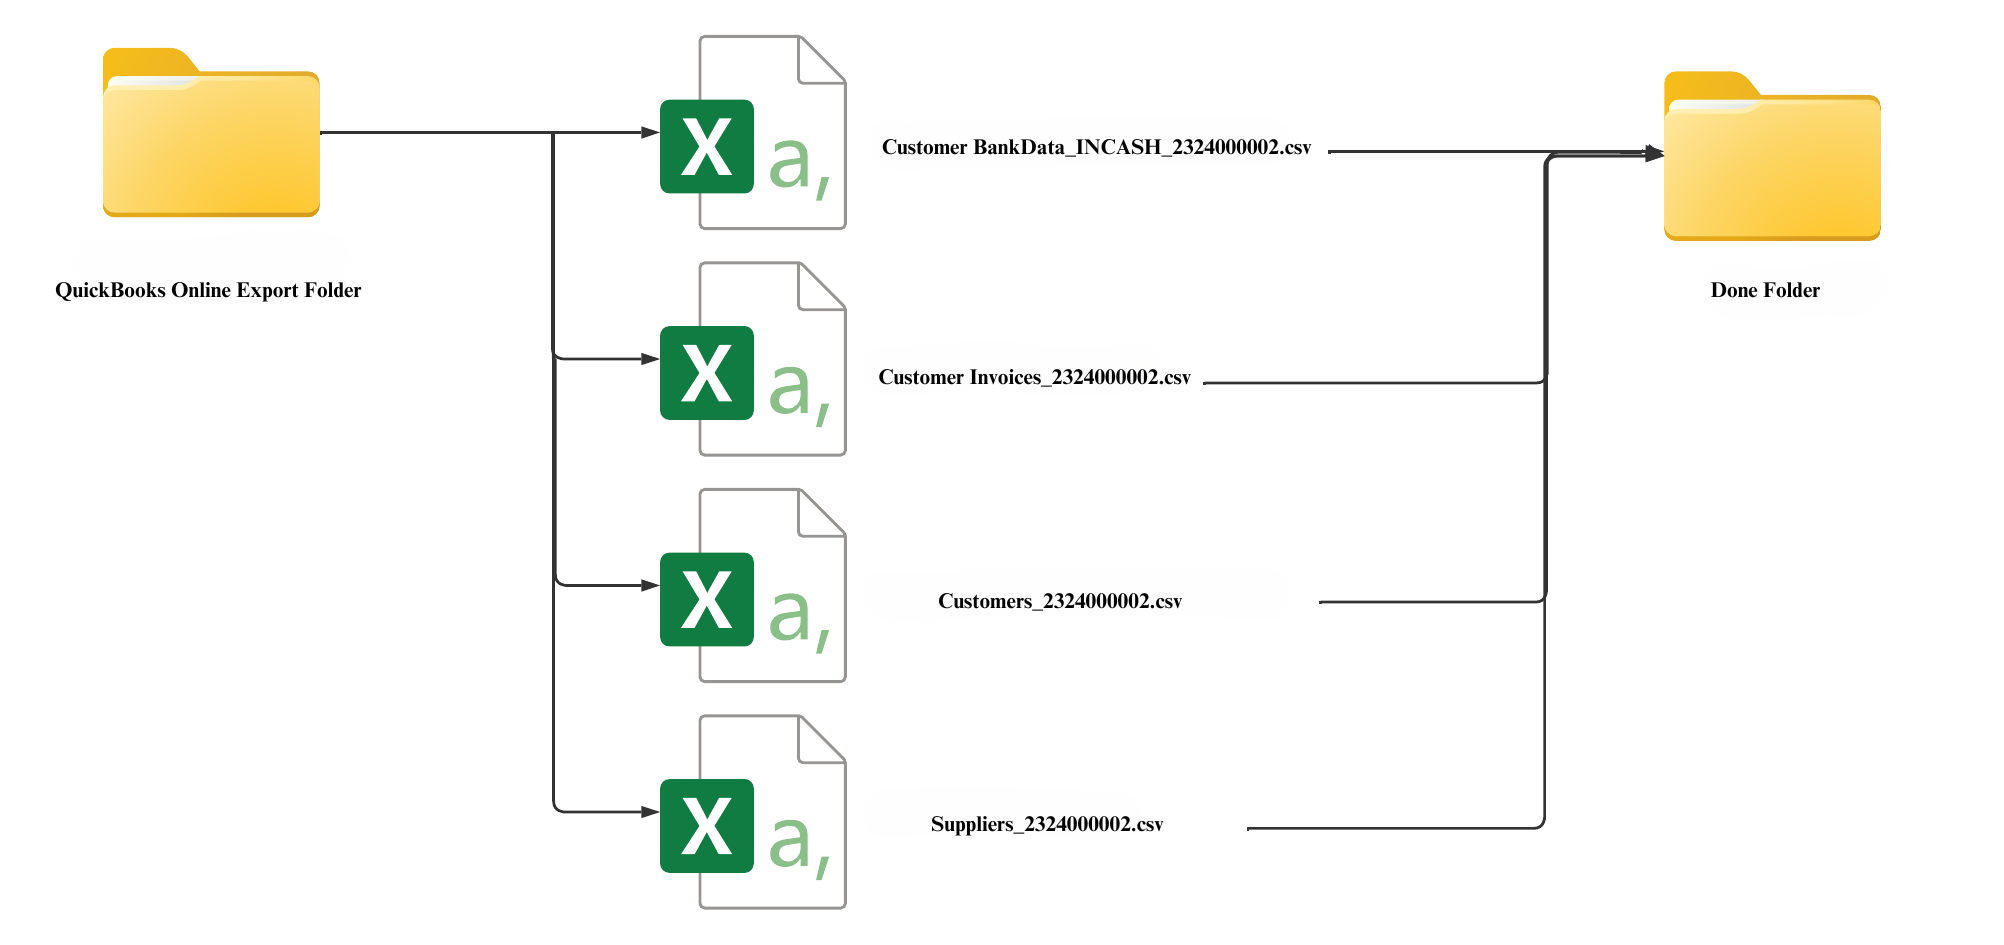
- Begin by creating a folder named QuickBooks Online Exports and saving it to a cloud storage service of your choice; this ensures that it will not be lost even if your PC data is lost.
-
Create a new folder within the QuickBooks Online Exports folder, and name it Done.
-
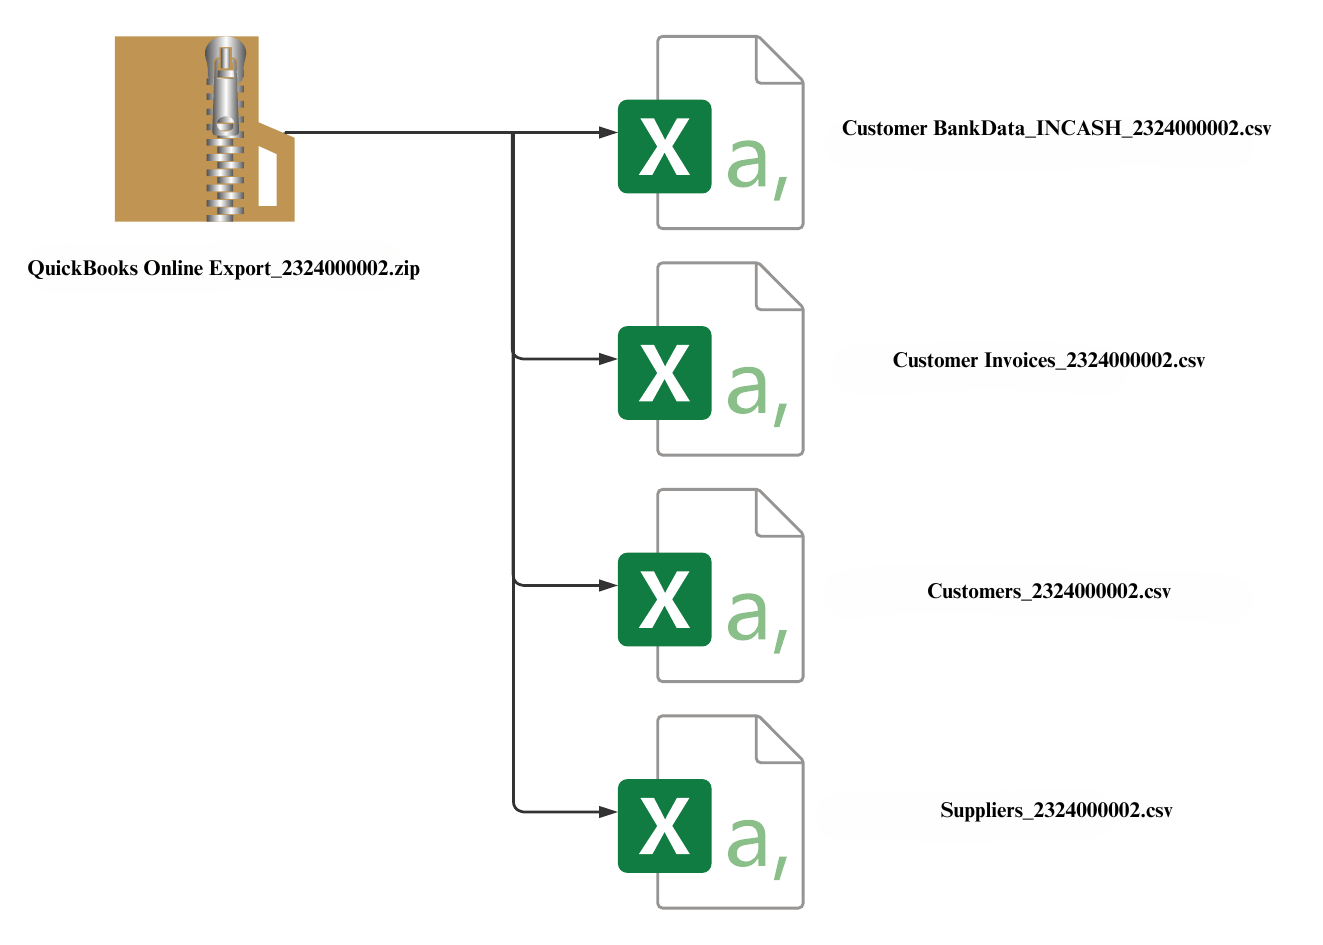
From the Garage Hive exported zip file (learn how to export from Garage Hive), right click to Extract All and select the QuickBooks Online Exports folder as the destination.
-
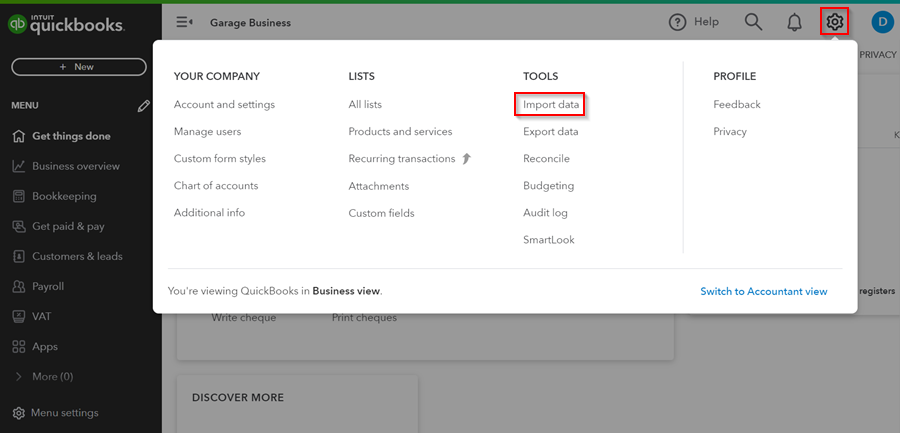
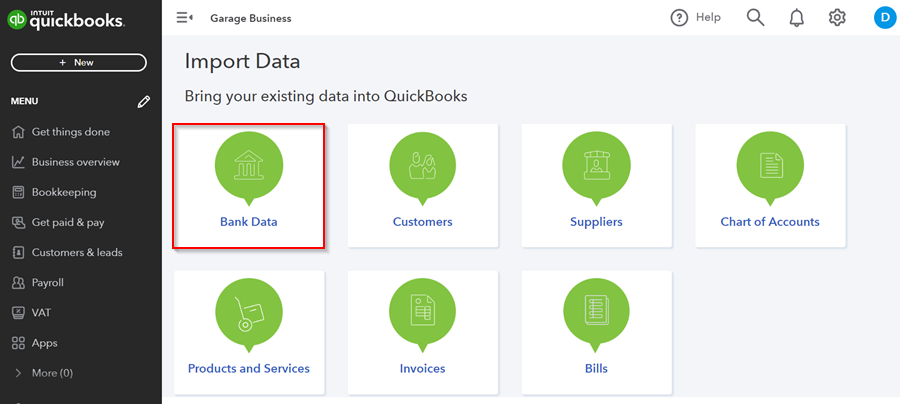
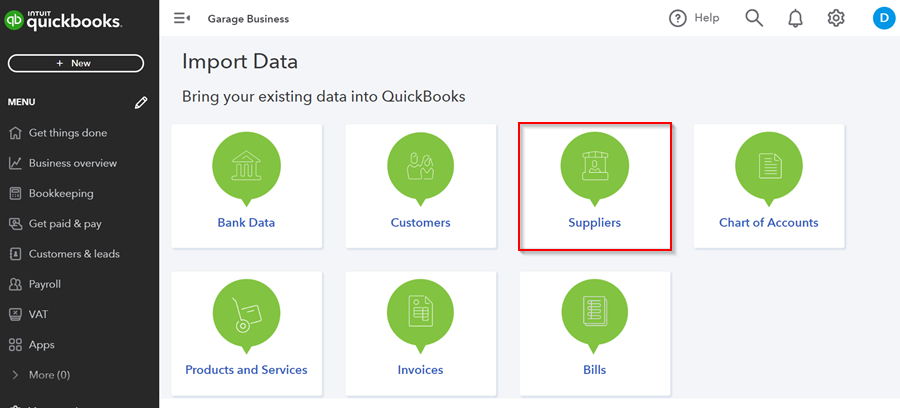
Open the QuickBooks Online system and click on the Settings gear icon in the top right corner, and select Import Data under Tools.
-
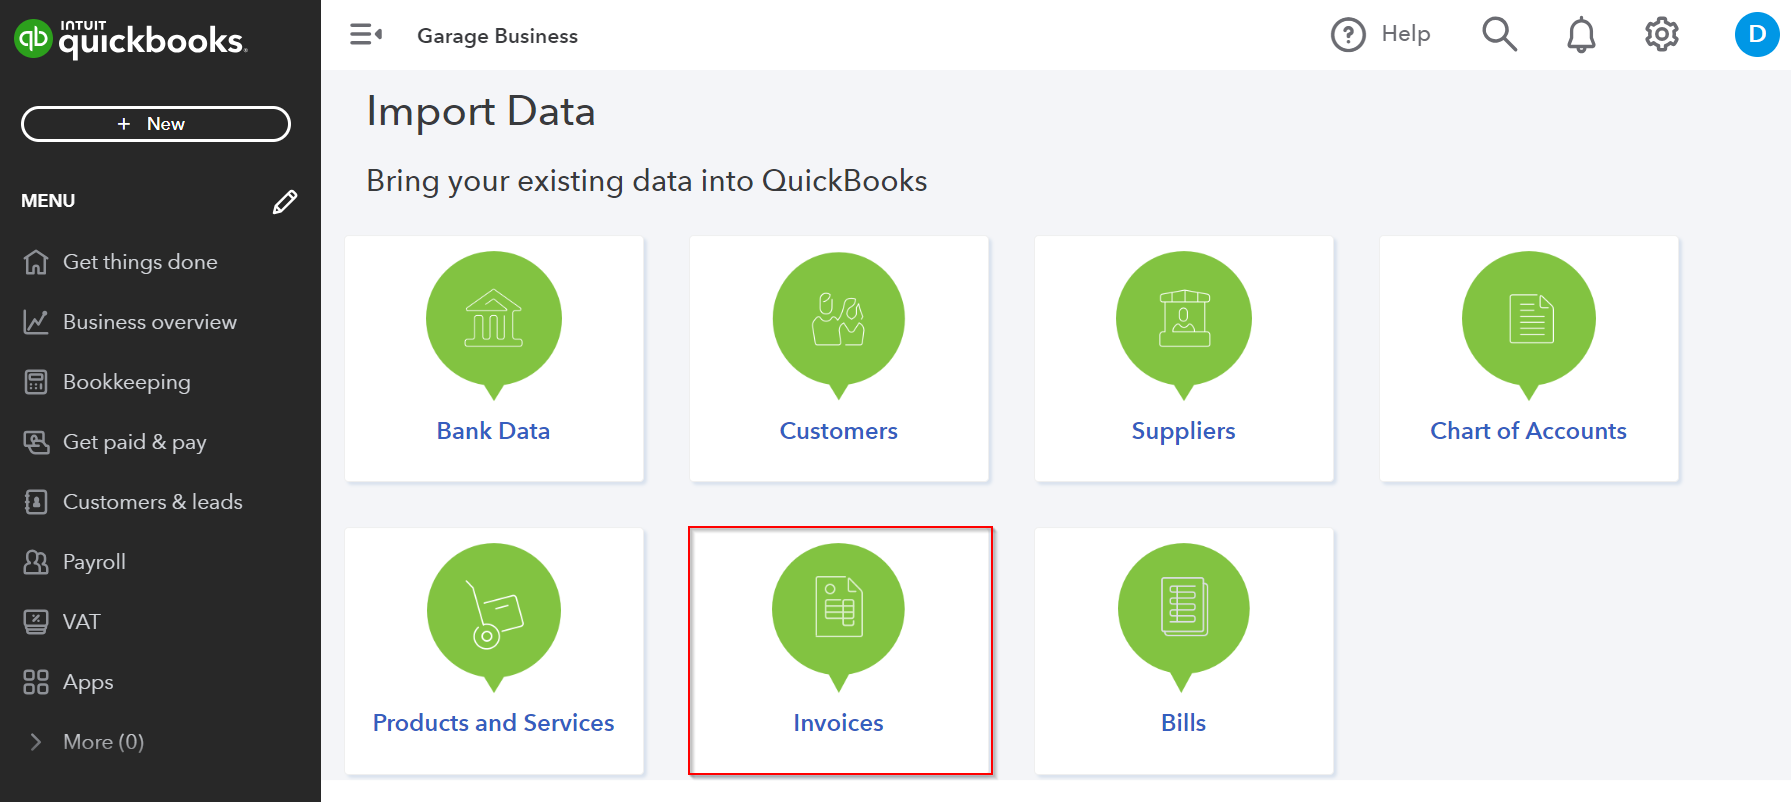
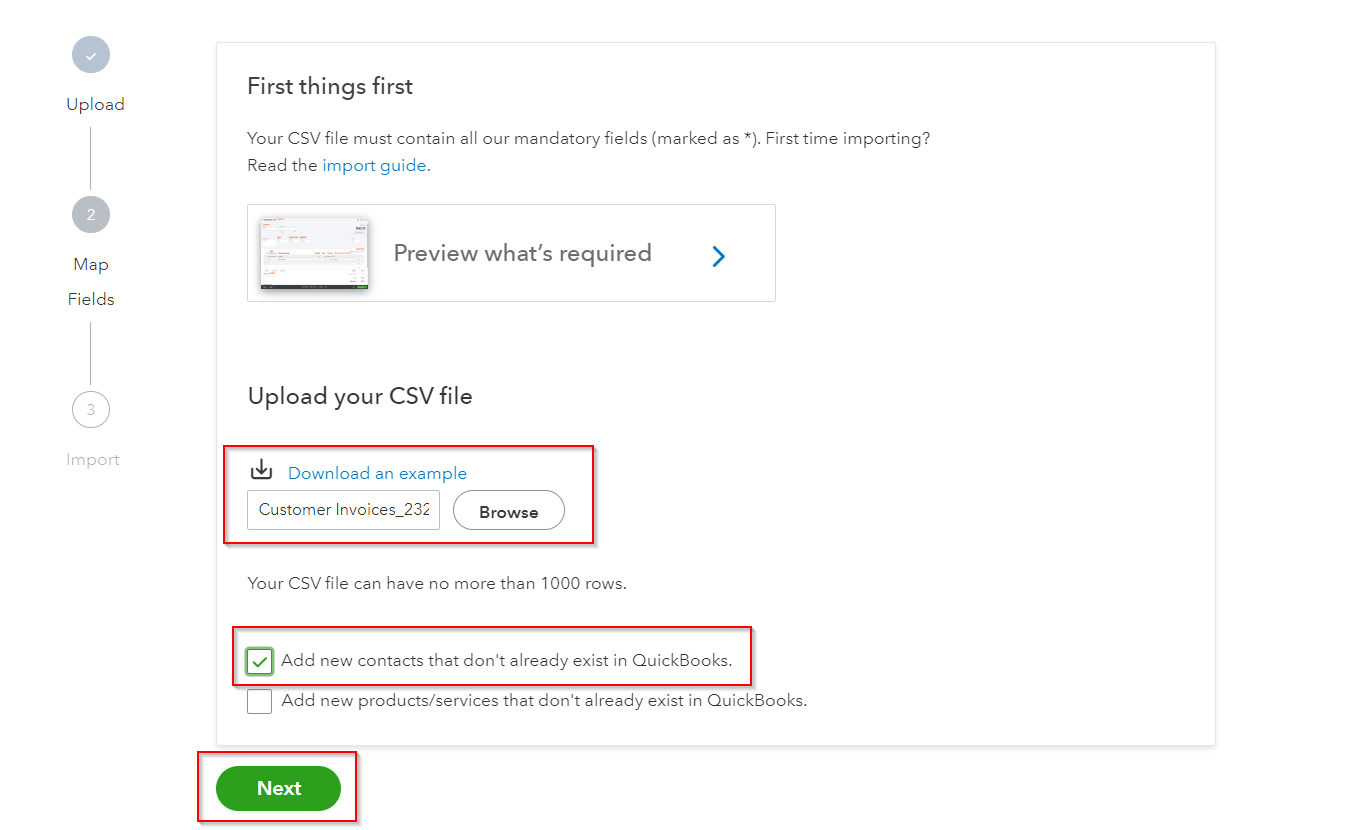
Click on Invoices, and select the the Customer Invoices csv file from the QuickBooks Online Exports folder that you created. Check the Add new contacts that don’t exist in QuickBooks checkbox, to add new customers. Click Next.
-
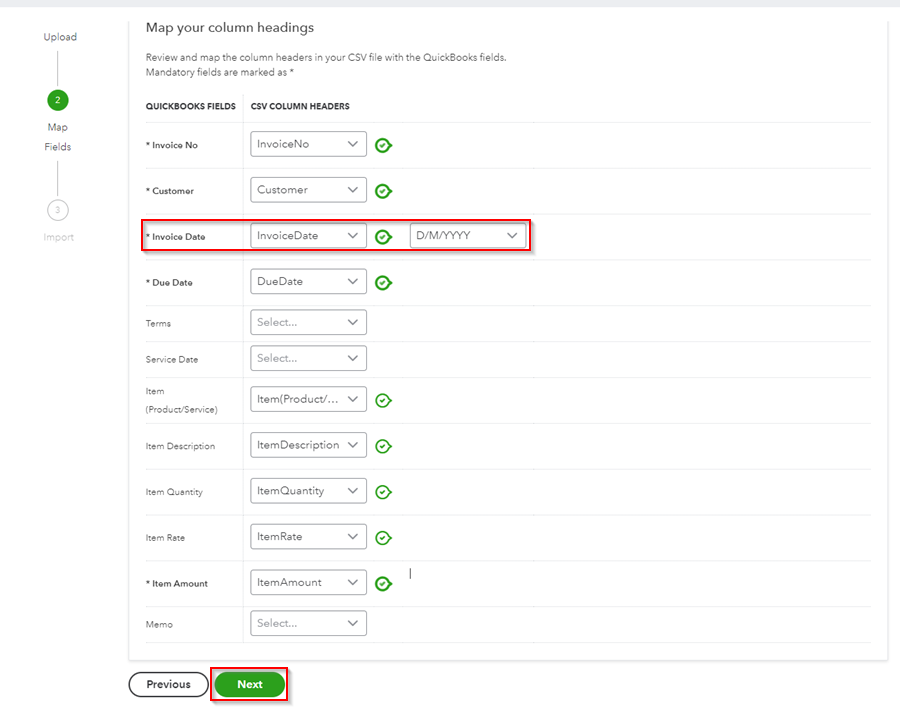
Select the date format as D/M/YYYY in the Invoice Date field, as it is used in Garage Hive. Click Next.
-
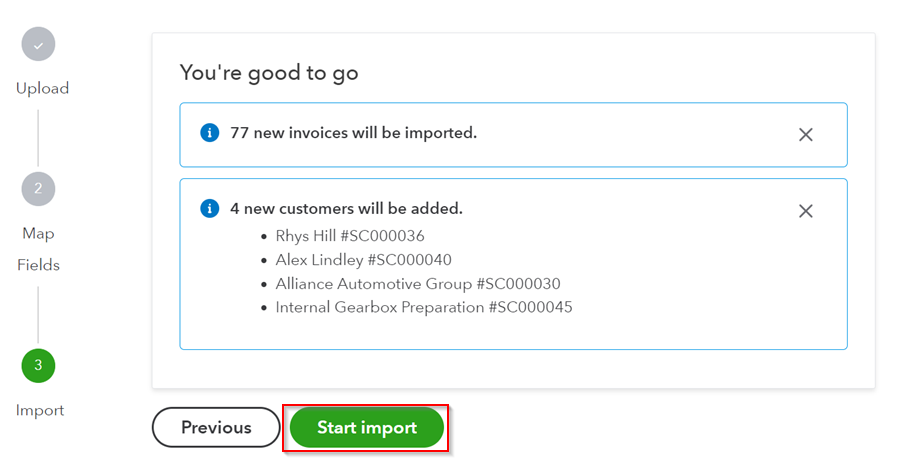
You will get a summary of what will be imported. Click on Start Import. Your invoices will start import.
-
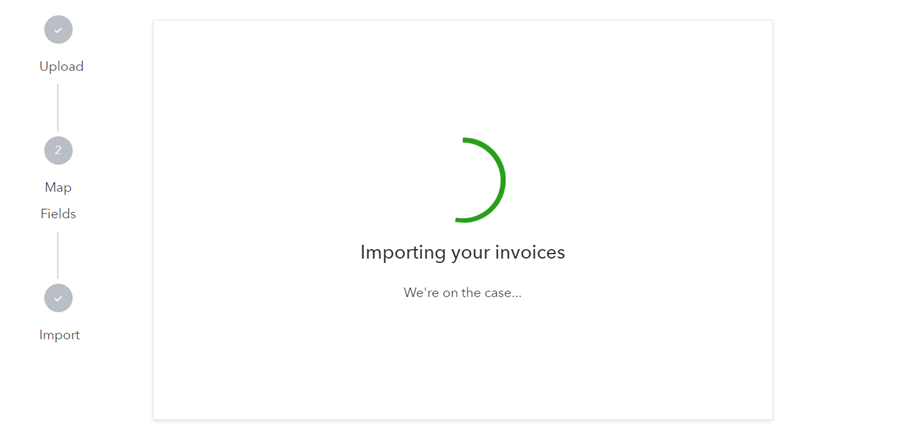
Your invoices will start import. Click OK when done.
-
Next, start importing Sales Receipts which is done via Bank Data. Select Bank Data in the Import Data page.
-
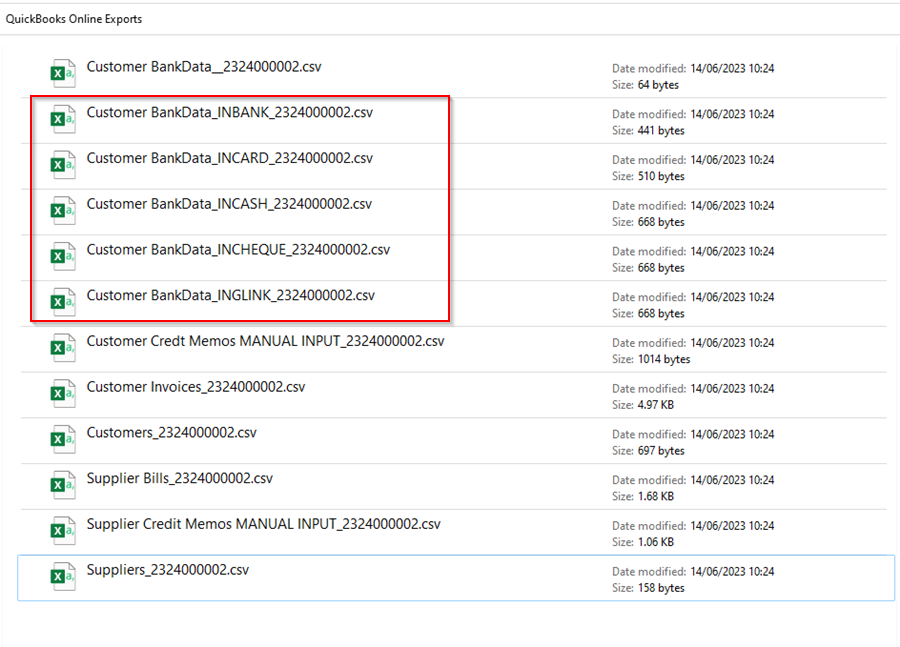
In this case you will have to import Bank Data for the different files with different payment methods. Each csv file is named with the payment method at the end, for example Customer BankData_INCASH.
-
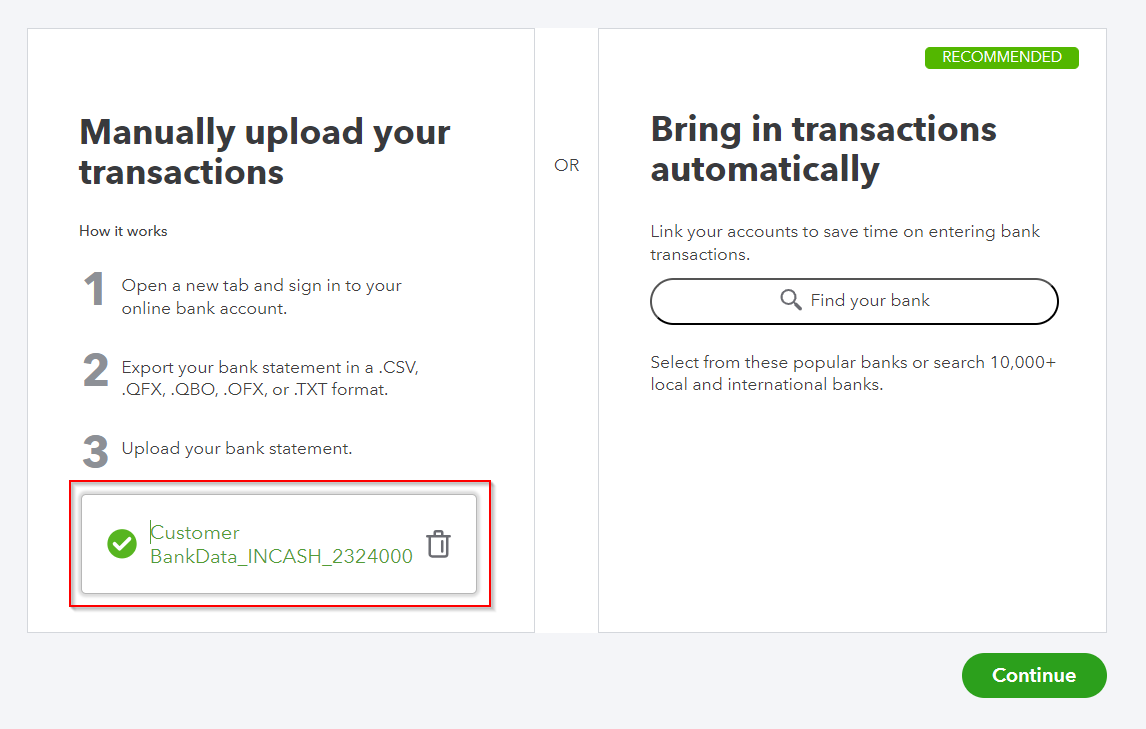
Upload each file at a time, you can start with Customer BankData_INCASH, under the Manually Upload Your Transactions section. Click Continue.
-
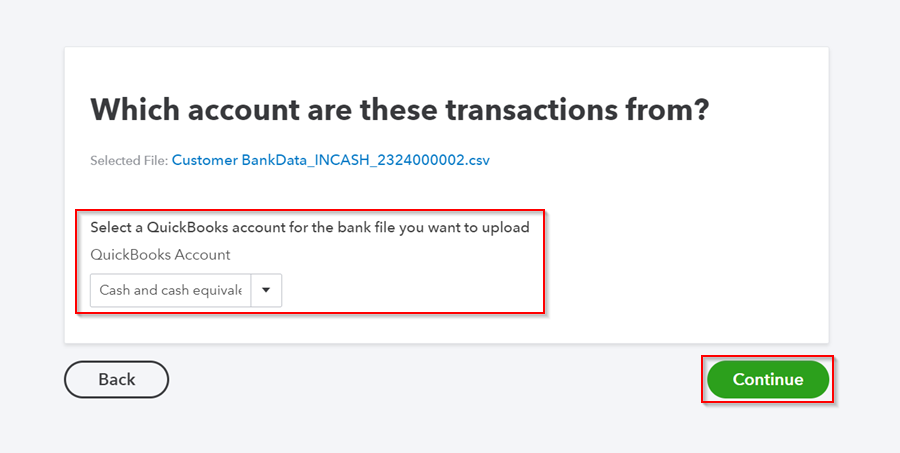
Select the Account for the transactions, in this case we will select Cash. Click Continue.
-
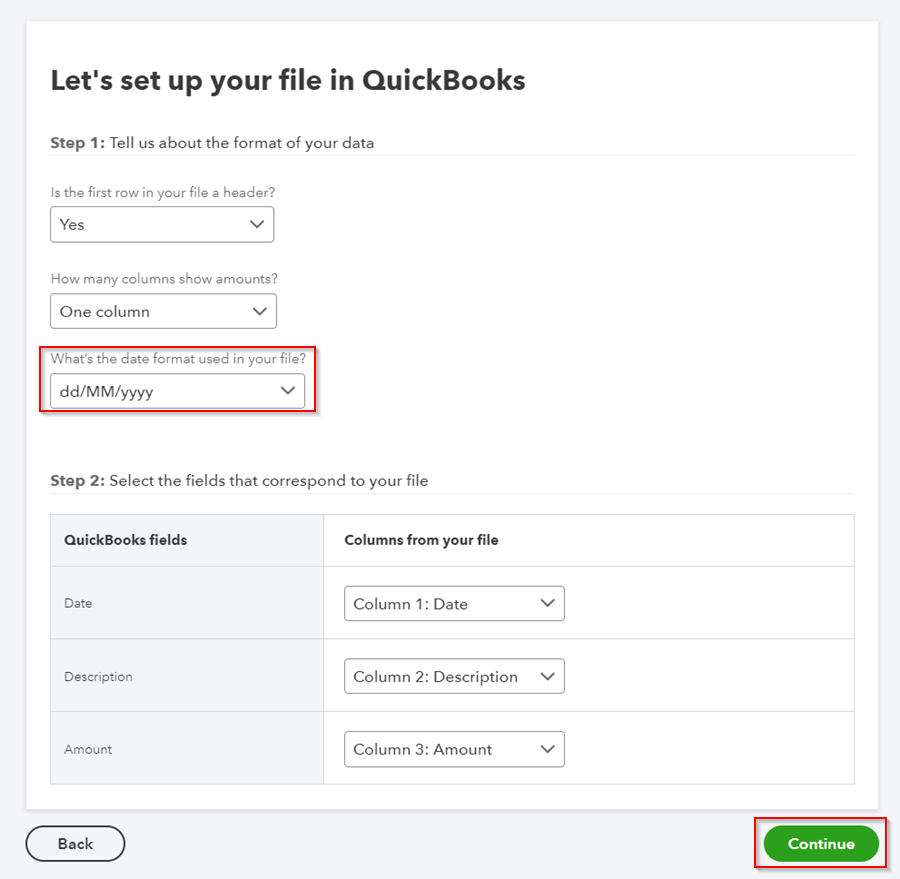
Select date format as dd/mm/yyyy. Click Continue.
-
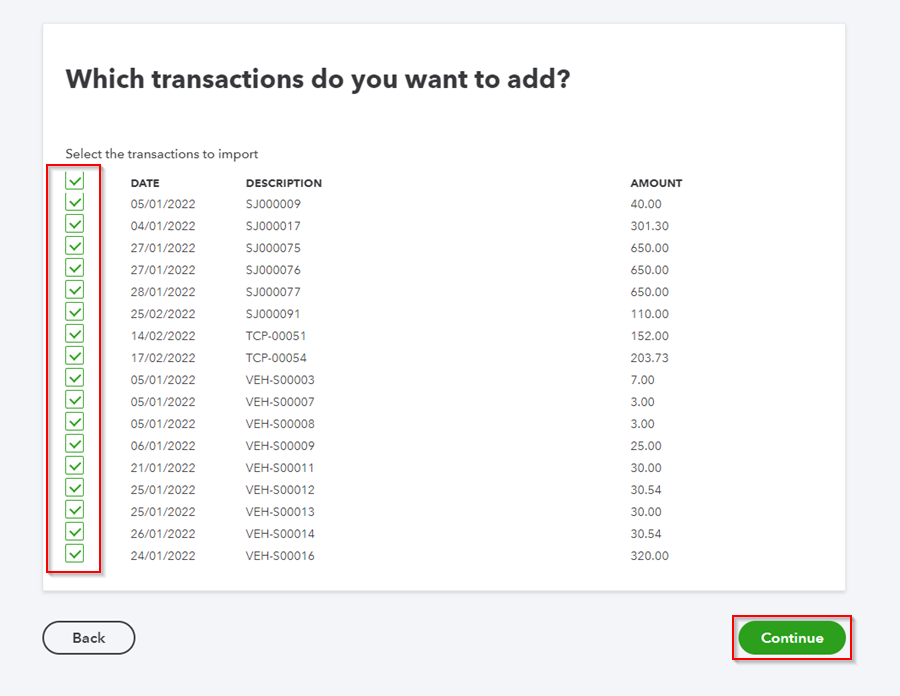
Select the transactions you want to add by checking on the checkbox. Click Continue.
-
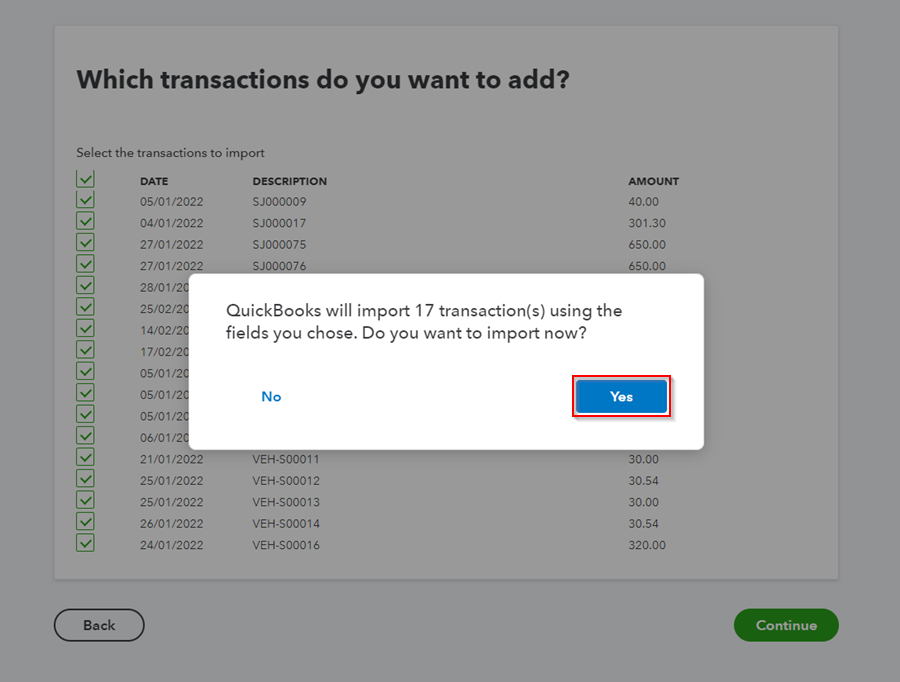
In the pop-up notification, click Yes to import the transactions. When completed, click Done.
-
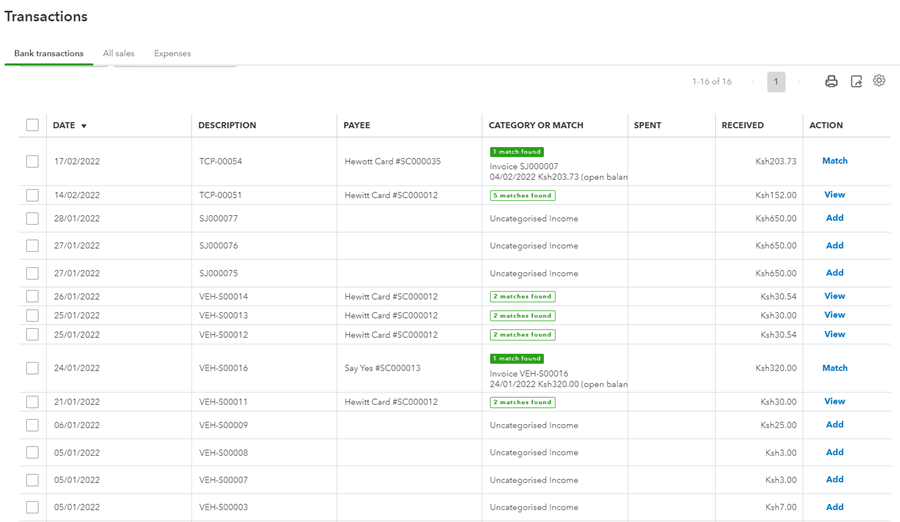
Match the transactions in the next page using the actions in the Action column, to ensure they are correctly added.
-
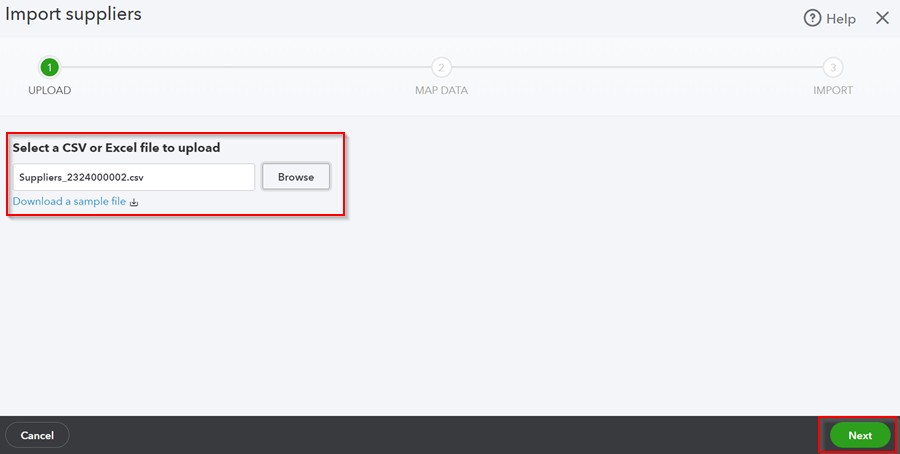
To Import suppliers, select Suppliers and then select the Suppliers csv file in your folder. Click Next.
-
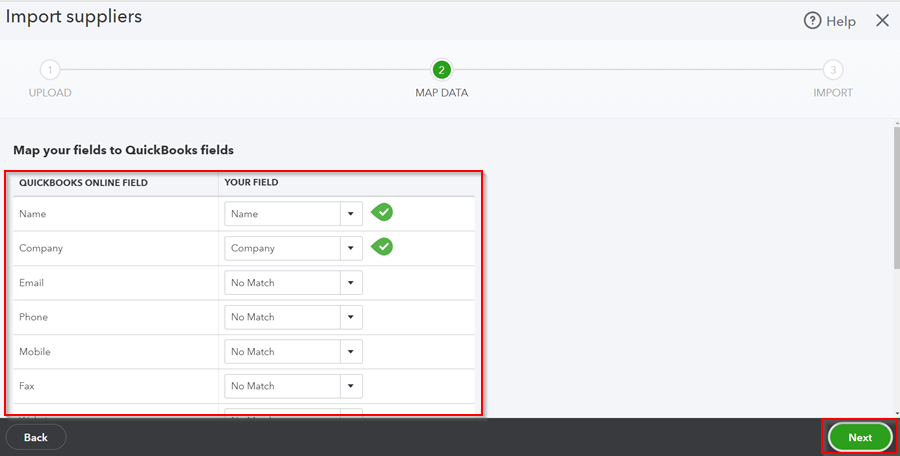
Match the details from the suppliers file with the right field. Click Next.
-
You will get a summary of the suppliers details to be imported. Click Import to complete the import.

- Your data has now been imported successfully. If you run into any problems while importing, please contact our support team.
- Open the QuickBooks Online Exports folder on your computer and copy all the imported files to the Done folder you created; this ensures that you do not reimport the same files the next time you import files to the QuickBooks Online system.
See Also
Accountancy System Integrations
How to Export to Your External Accountancy System