How to Integrate Garage Hive With QuickBooks Online
Garage Hive has made it possible to integrate QuickBooks online accounting system in order to streamline your accounting processes and make them more efficient and accurate.
In this article
- Initial Setup
- Integrate Chart of Accounts
- Integrate Payment Methods
- Integrate VAT Posting
- How to run the export
Initial Setup
To integrate QuickBooks Online with Garage Hive, follow these steps.
Quickbooks Mandatory Setup
To be able to integrate QuickBooks Online with Garage Hive, the following mandatory setup must be done on your QuickBooks Online system:
-
Click on the settings
 icon in the top right corner of screen, and choose Accounts and Settings from the dropdown menu..
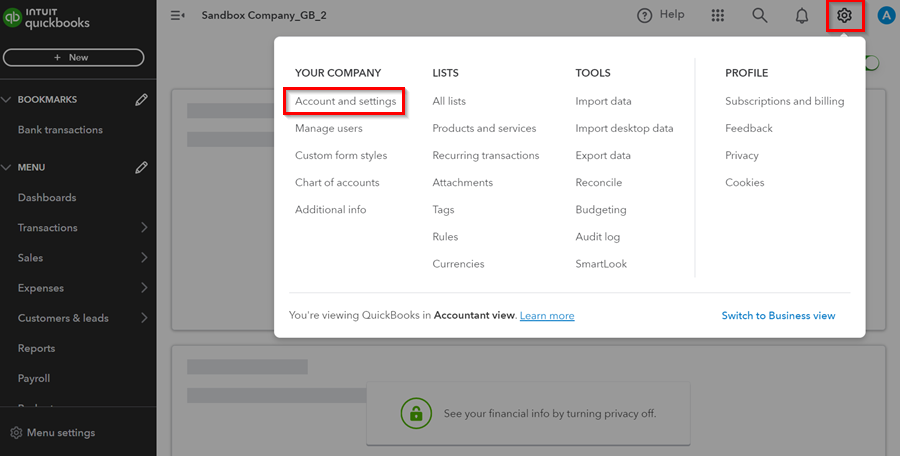
-
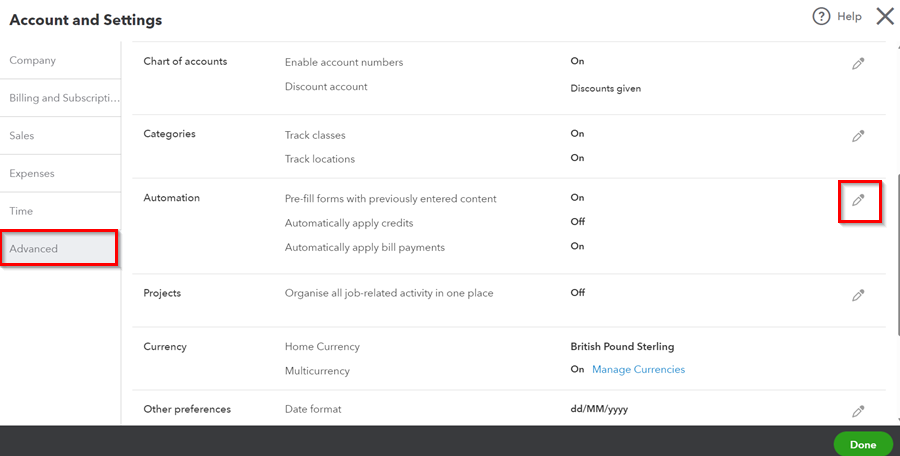
Select Advanced tab located on the left side. Then, click on the edit icon along the Automation section.
-
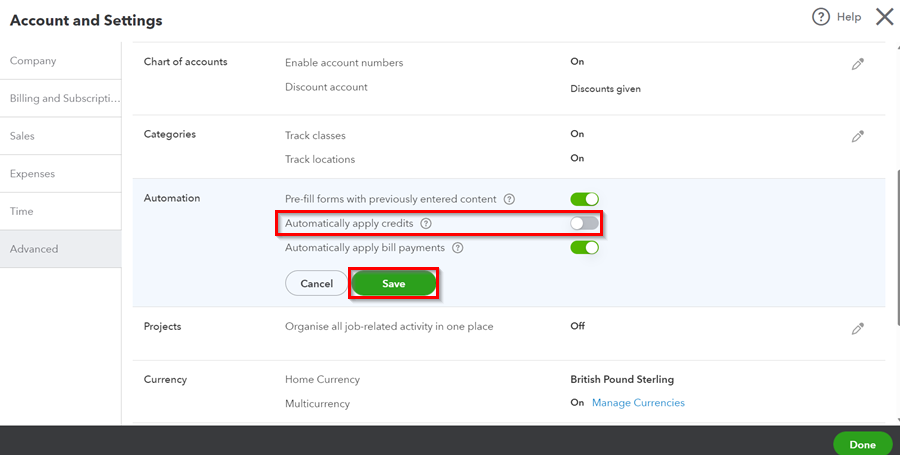
Disable the Automatically Apply Credits option, and click on Save.
Garage Hive Initial Setup
-
In the top-right corner, choose the
 icon, enter Accountancy Integration Setup, and select the related link.
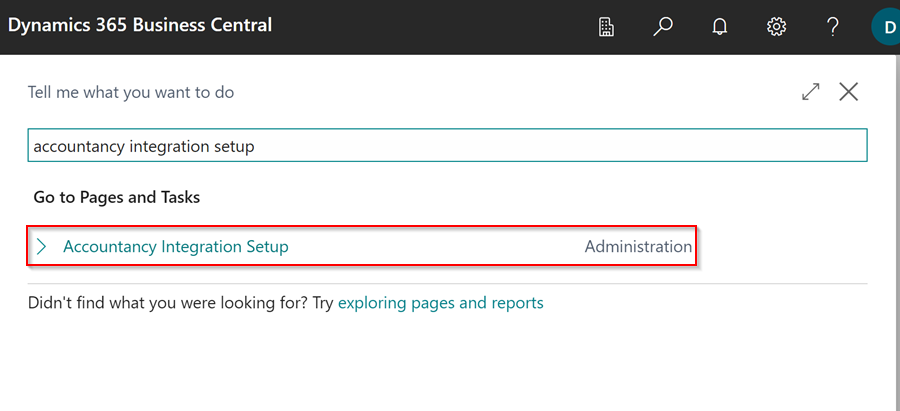
-
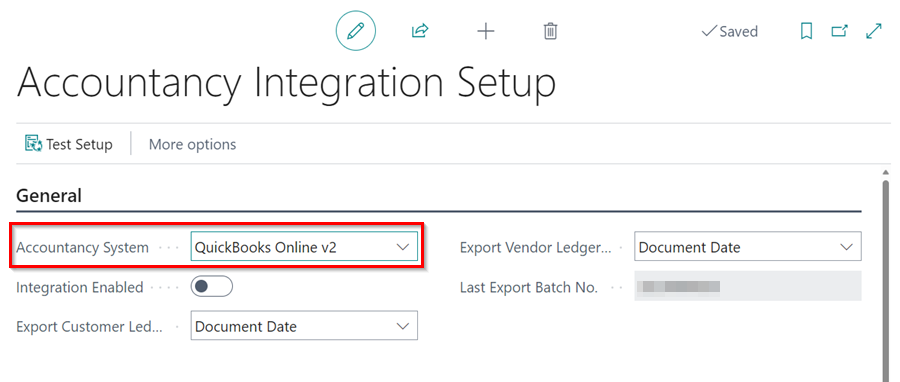
In the General FastTab, select QuickBooks Online v2 as your accounting system in the Accountancy System field.
-
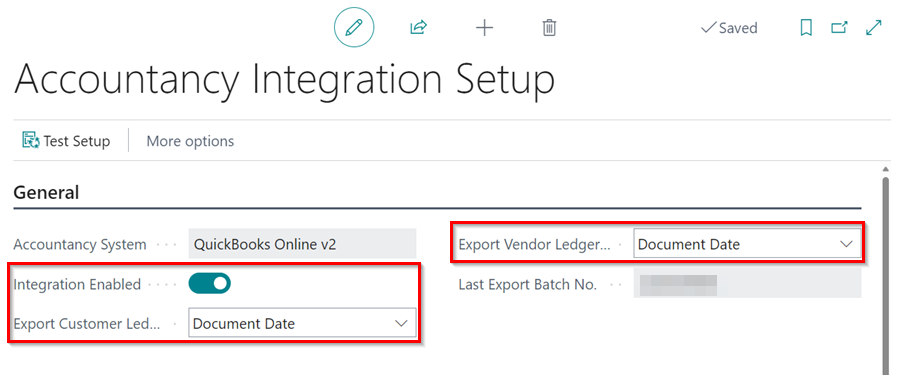
Select Document Date in both the Export Customer Ledger by and Export Vendor Ledger by fields, and turn on the Integration Enabled slider.
Integrate Chart of Accounts
To integrate the Chart of Accounts to QuickBooks accounting system:
-
In the top-right corner, choose the
icon, enter Chart of Accounts and select the related link.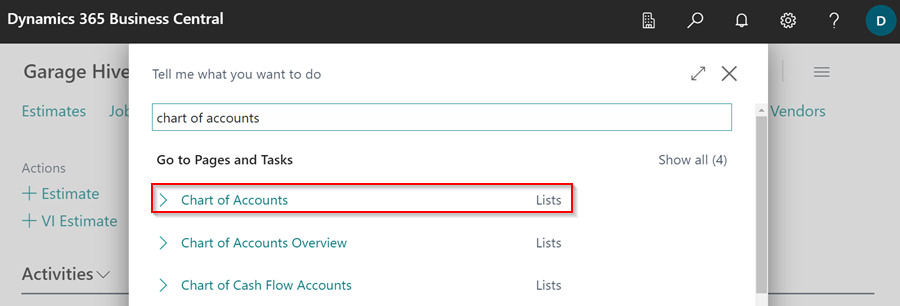
- In the Chart of Accounts page, select Edit List from the menu bar.
-
In the External System No. column, click on the three dots to select the corresponding Account that you use in your external system. In this case, we’ll integrate all of the 4000s accounts.
NoteTypically only the 4000's and 5000's accounts are needed.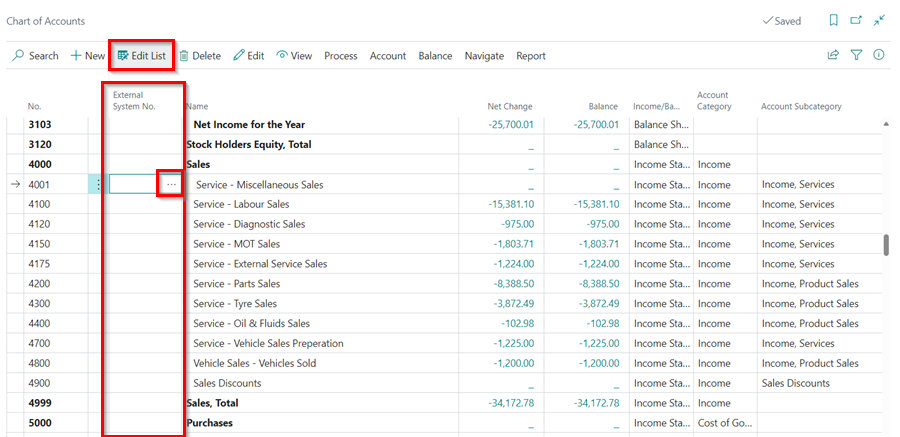
Integrate Payment Methods
To add the External System No. to the Payments Methods:
-
In the top-right corner, choose the
icon, enter Payment Methods and select the related link.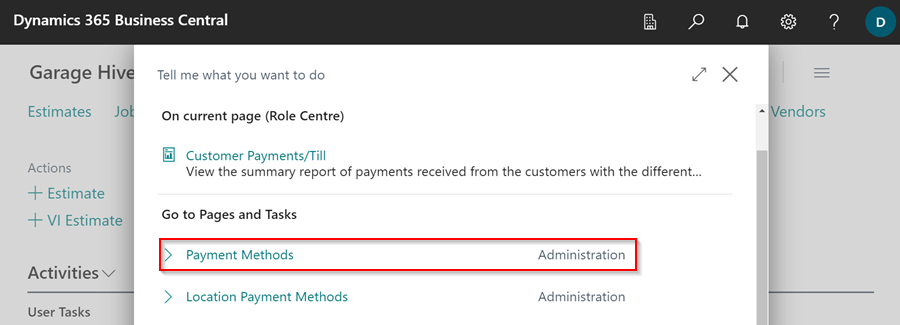
-
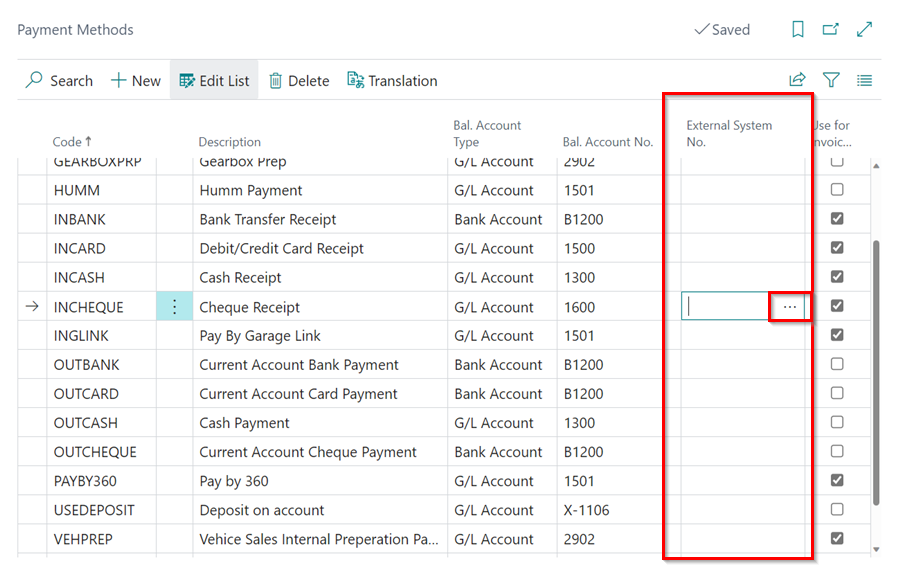
In the External System No. column, click on the three dots to select the corresponding code for the Payment Methods that you use in your external system.
Integrate VAT Posting
To integrate the VAT posting in your system:
-
In the top-right corner, choose the
icon, enter VAT Posting Setup and select the related link.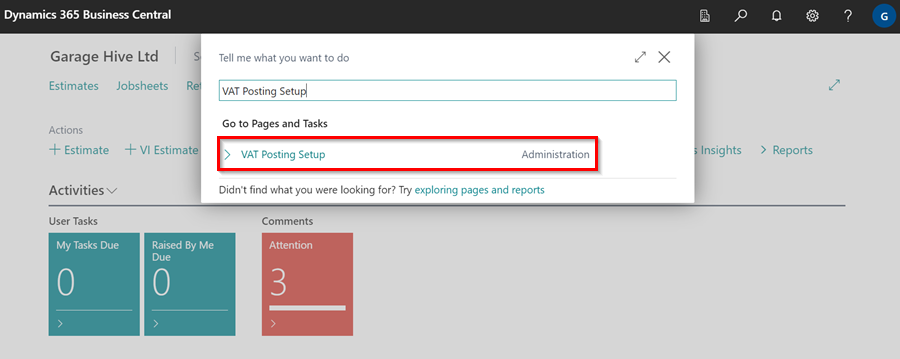
-
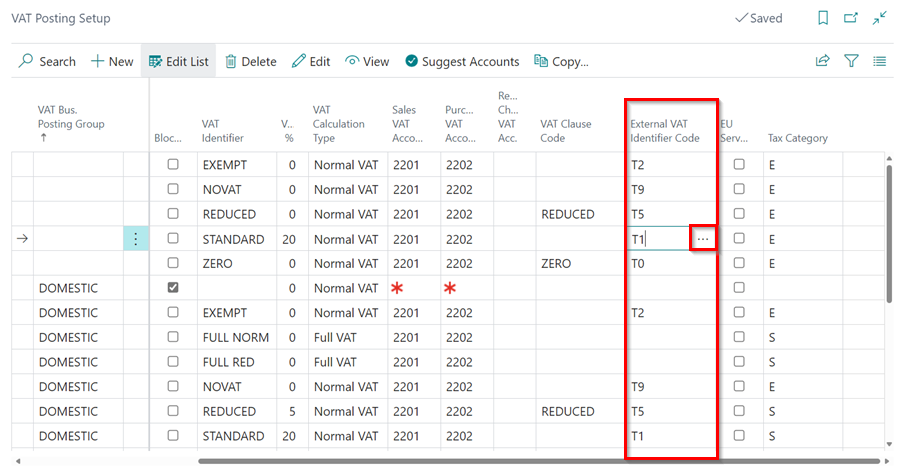
In the External VAT Identifier Code column, click on the three dots to select the corresponding code for the VAT Posting that you use in your external system.
How to run the export
-
In the top right corner, choose the
icon, enter Export to Accountancy System, and select the related link.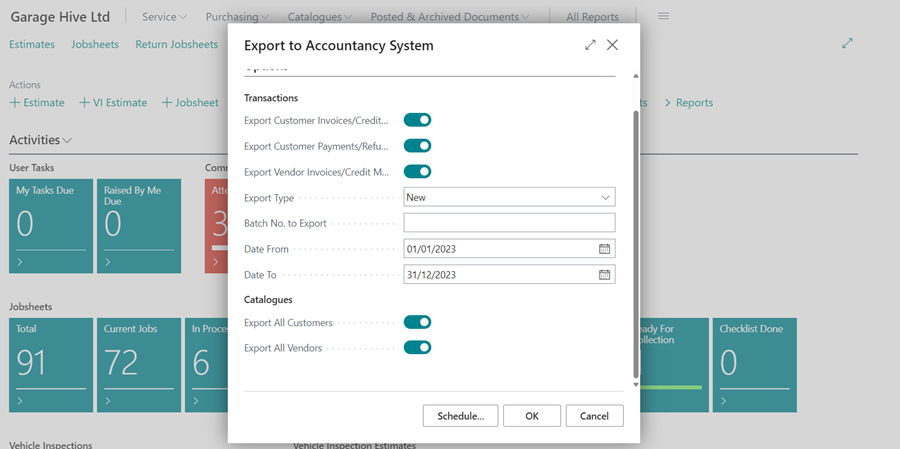
- Select the following options:
- Export Customer Invoices/Credit Memos - This will export all Customer invoices/credit memos for the given date range.
- Export Customer Payments/Refunds - This will export Invoice payments/refunds as well as payments to accounts within the specified date range.
- Export Vendor Invoices/Credit Memos - This will export all posted purchase orders/purchase invoices as well as posted purchase return orders/purchase credit memos within the given date range.
- Export Type - All or New. Select New. Selecting New will exclude any previously exported documents. When using New, a transaction that has already been exported, will not be exported again.
- Date From and Date To - Choose your date range.
- Under Catalogs:
- Export All Customers - This will generate an export of all customers in the system (It is highly recommended that you do not select this).
- Export All Vendors - This will generate an export of all vendors in the system (It is highly recommended that you do not select this).
-
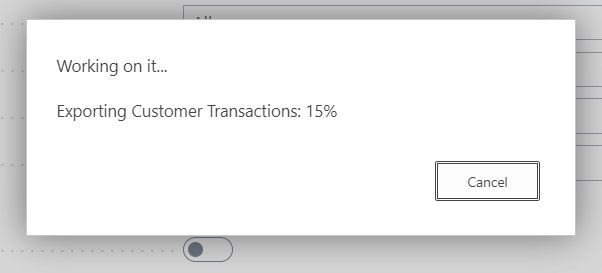
Click OK, to start exporting the data.
See Also
How to Export to Your External Accountancy System
How to Import the Exported Data to QuickBooks Online
Accountancy System Integrations