In this article
- Email setup
- Using the Emailing Feature
- Adding Email Text Templates
- Attaching a Document to the Email
- Accessing Email Outbox
- Accessing Sent Emails
- View Email Logs for Posted Documents
- Email Setup for Multi-Branch Garage
Email Setup
If your system does not have an email setup, you must do the setup before using the emailing feature:
- In the top-right corner, choose the
 icon, enter Email Accounts, and select the related link.
 - Select New and then Add an email account.
-
Read the information in the pop-up window and then press Next.
- The email setup uses the SMTP account type. We’ll go over how to set up a Microsoft Office 365 email account and a Gmail email account. To get to the setup you require, click on any of the links below.
Microsoft Office 365 Email Account Setup
There are two options for setting up the Microsoft Office 365 email account, one is when you have a Multi-factor Authentication method enabled, this is when the user is required to provide two or more verification factors to gain access to your Microsoft account, and two is when you don’t have the Multi-factor Authentication enabled. First, let’s look at scenario one.
- When you have the Multi-factor Authentication enabled, you will require an App Password which you get from your microsoft account, read more. An App Password is a 16-digit passcode that gives the Garage Hive app permission to access your Microsoft Account.
-
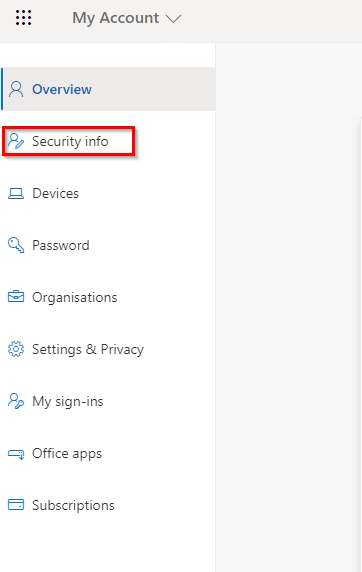
To get the App Password, sign in to your Microsoft account, go to the My Account page and select Security info.
-
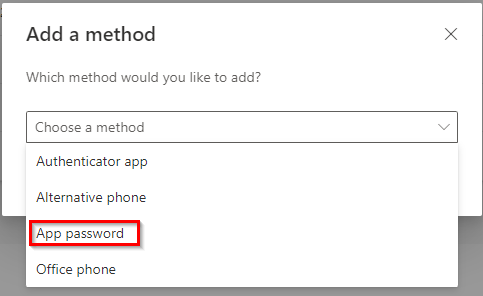
Select Add sign-in method, choose App password from the list, and then select Add.
-
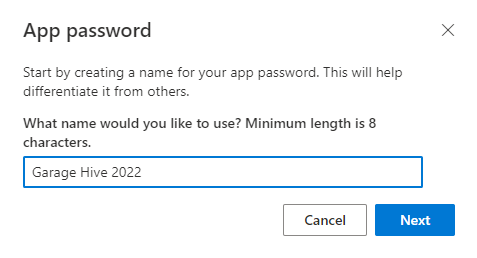
Enter a name for the app password, and then select Next; this name helps differentiate the app password from others.
-
Copy the password from the App password page, and then select Done.

-
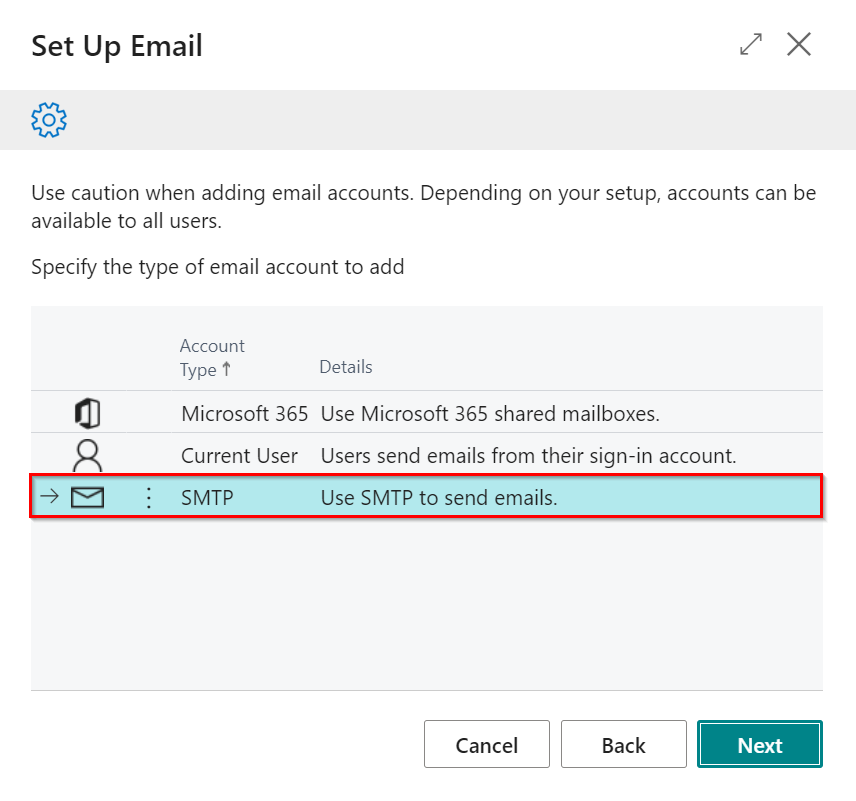
Open the Set Up Email page in Garage Hive, choose SMTP, and select Next.
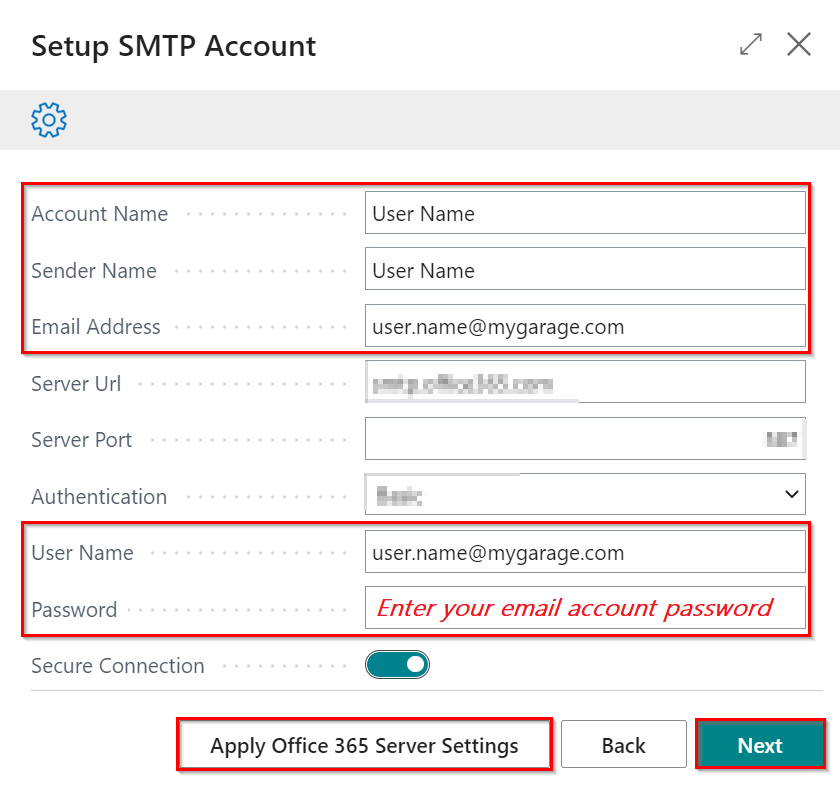
- In the Setup SMTP Account page, select Apply Office 365 Server Settings.
-
Enter the Account Name (this can be the user’s name), the Sender Name (the name that appears in the email header when an email is sent), your Email Address (the Microsoft office 365 email address to setup), the User Name (this is the Microsoft office 365 email address), and then paste the App Password, that you created in your Microsoft account, in the Password Field.
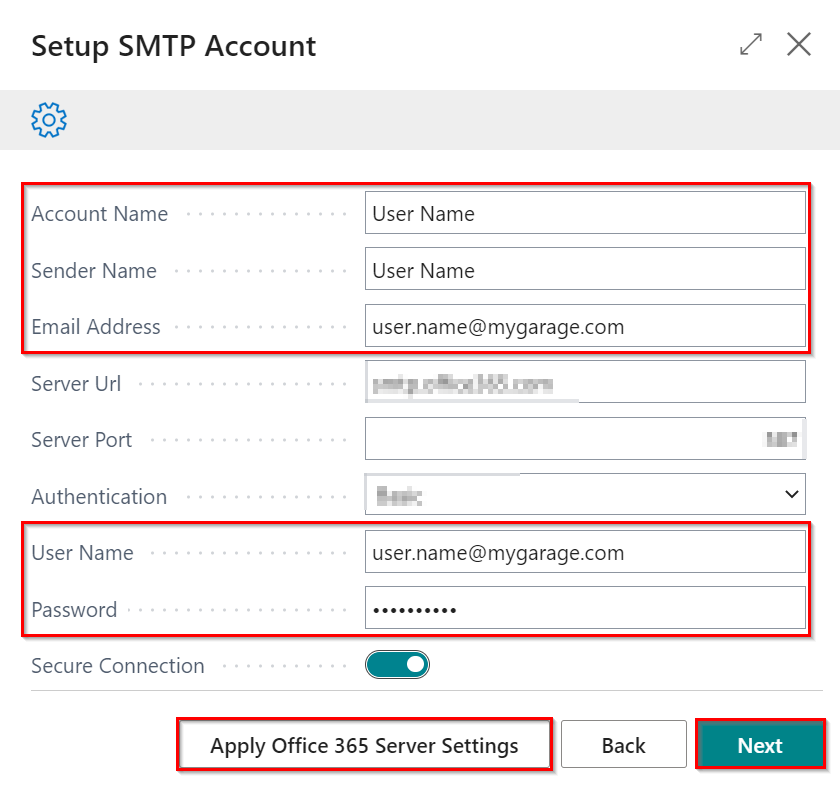
- When you’re finished, click Next.
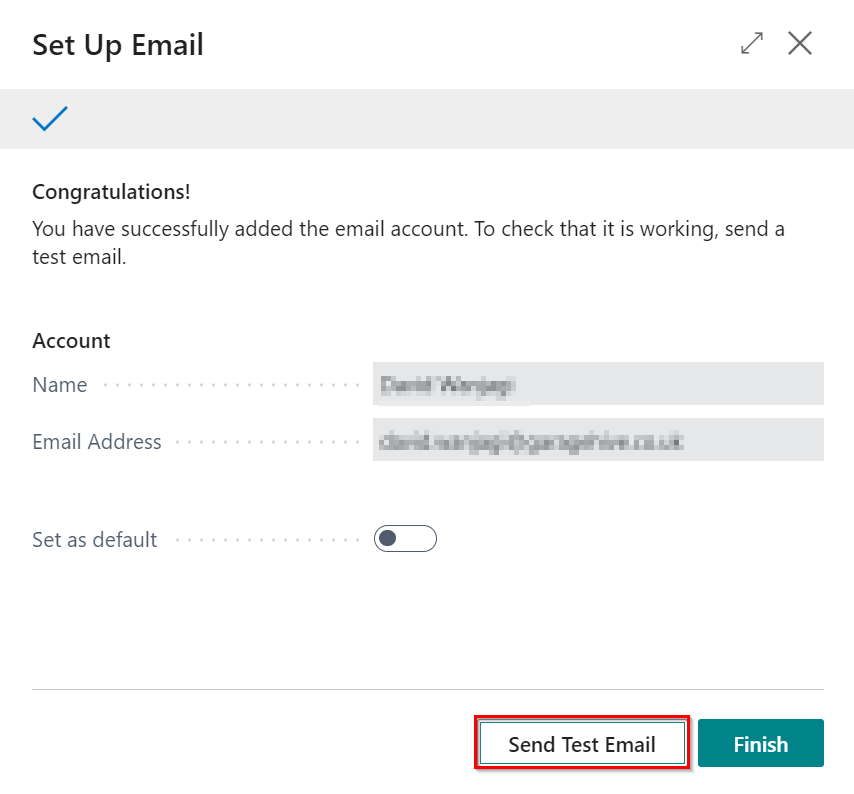
- To confirm the settings, click Send Test Email, then Other and enter the email address to which you want to send the test email. If an email is sent, the email settings are correct; otherwise, please contact the Garage Hive Support team for assistance with the setup.
-
Select Finish to add the email.
-
If you don’t have Multi-factor Authentication enabled, repeat steps 7 and 8 and enter your email account password instead of the App Password in the Password field.
Gmail Email Account Setup
To set up a Gmail email account:
- First you have to generate an App Password, from your Google Account. An App Password is a 16-digit passcode that gives a Garage Hive app permission to access your Google Account. App Passwords can only be used with accounts that have 2-Step Verification turned on, read more.
- From your google account, select Security, and under Signing in to Google, select App Passwords.
- At the bottom, choose Select app and select Other (Custom name). Enter the name of the App Password, and click Generate.
- Copy the App Password generated in the yellow bar.
-
Open the Set Up Email page in Garage Hive, choose SMTP, and select Next.
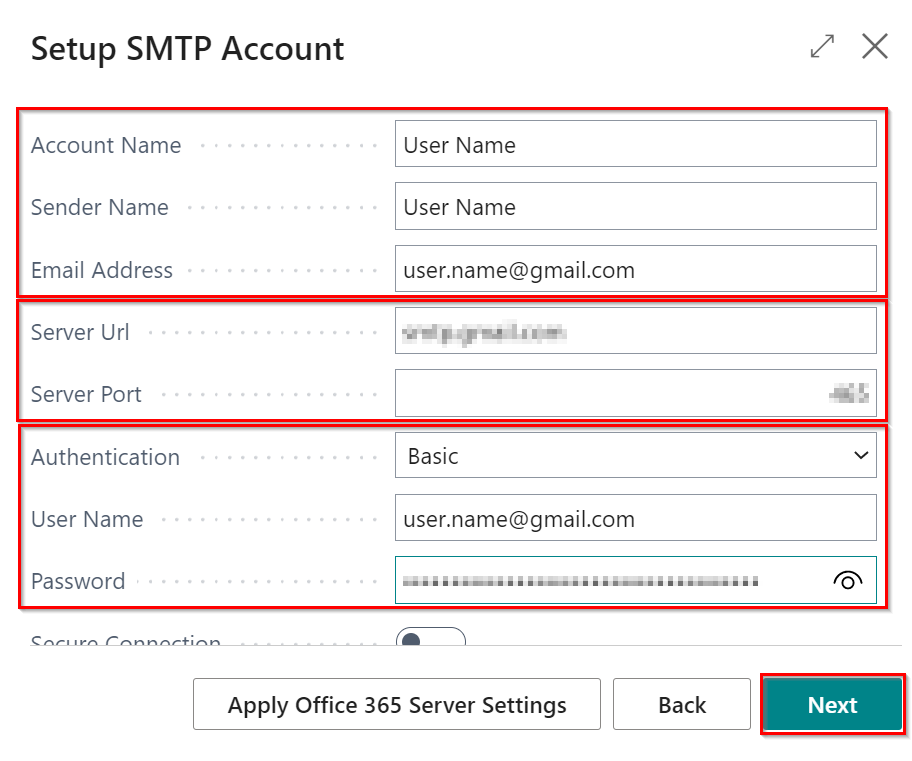
- In the Setup SMTP Account page, enter the Account Name (this can be the user’s name), the Sender Name (the name that appears in the email header when an email is sent), your Email Address (the Gmail email address to setup), select Authentication as Basic, the User Name (this is the Gmail email address), and then paste the App Password, that you created in your Google account, in the Password Field.
- For the Server Url and Port (Port for SSL), copy from Outgoing Mail (SMTP) Server section in this page from google.
-
When you’re finished, click Next.
- To confirm the settings, click Send Test Email, then Other and enter the email address to which you want to send the test email. If an email is sent, the email settings are correct; otherwise, please contact the Garage Hive Support team for assistance with the setup.
-
Select Finish to add the email.
Using the Emailing Feature
The emailing feature is available in Jobsheets, Estimates, Vehicle Inspection Estimates, and Checklists. Here’s how to get the most out of the feature:
- To use the Email feature, go to the document’s menu bar;
- Select Print/Send followed by Email for Estimates, Vehicle Inspection Estimates, and Checklists.
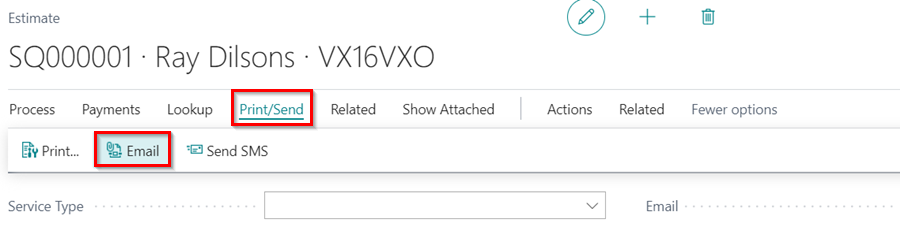
- Select Print/Send followed by Email Invoice or Email Proforma Invoice for the Jobsheets.

-
When you select the email option, the document is automatically attached to the email. You can find it at the bottom of the page under the Attachments FastTab.
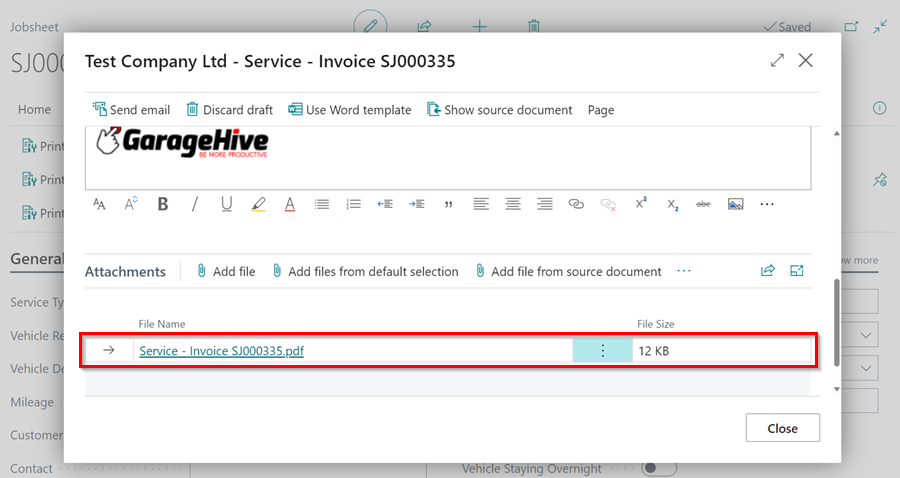
-
The email signature (which includes the company name, phone number, and email address) and the logo on the email message body are obtained from the system’s Company Information page.
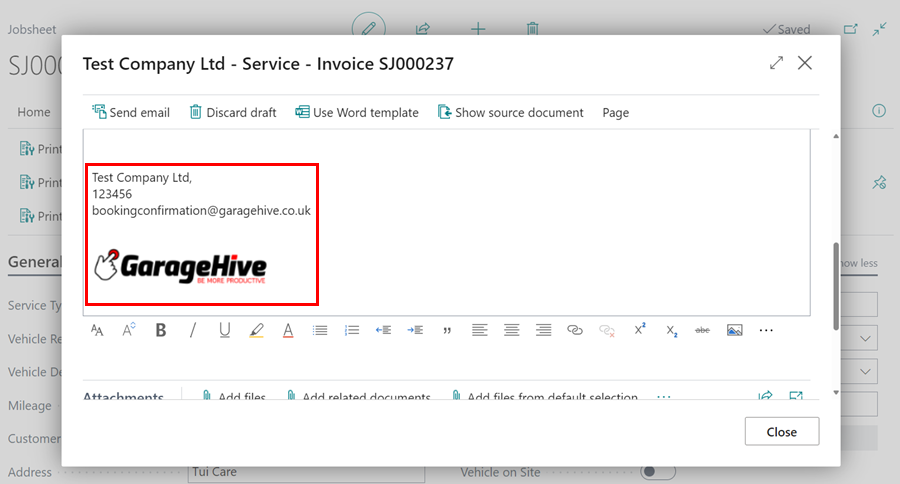
-
You can update the information by searching Company Information into the top right corner
icon and select the related link. Fields to update are: Name, Phone Number, Email, or Picture.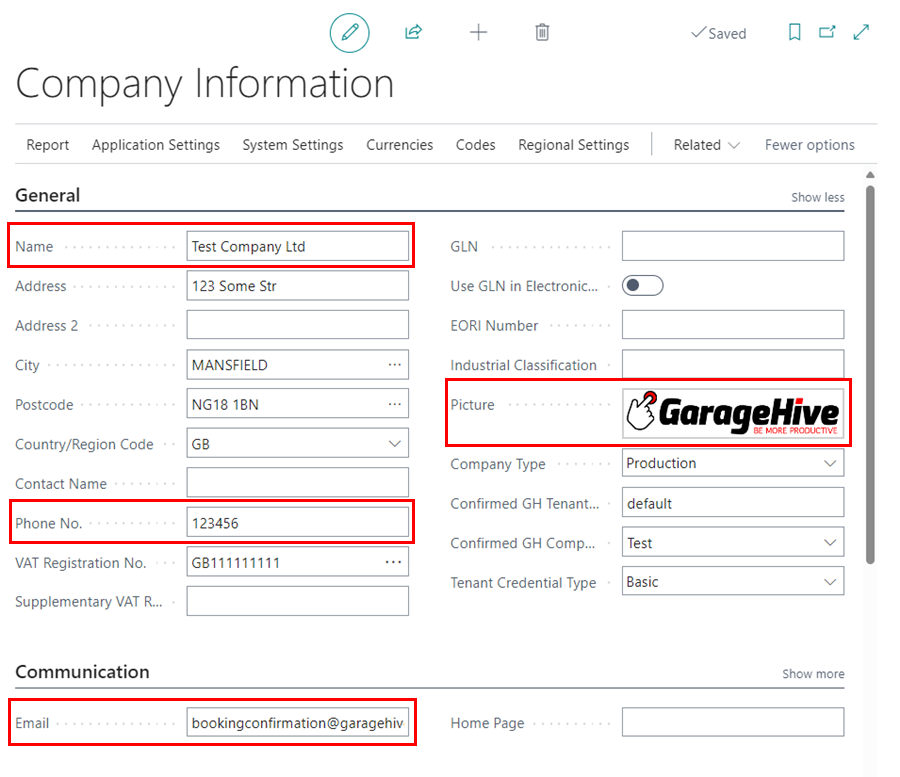
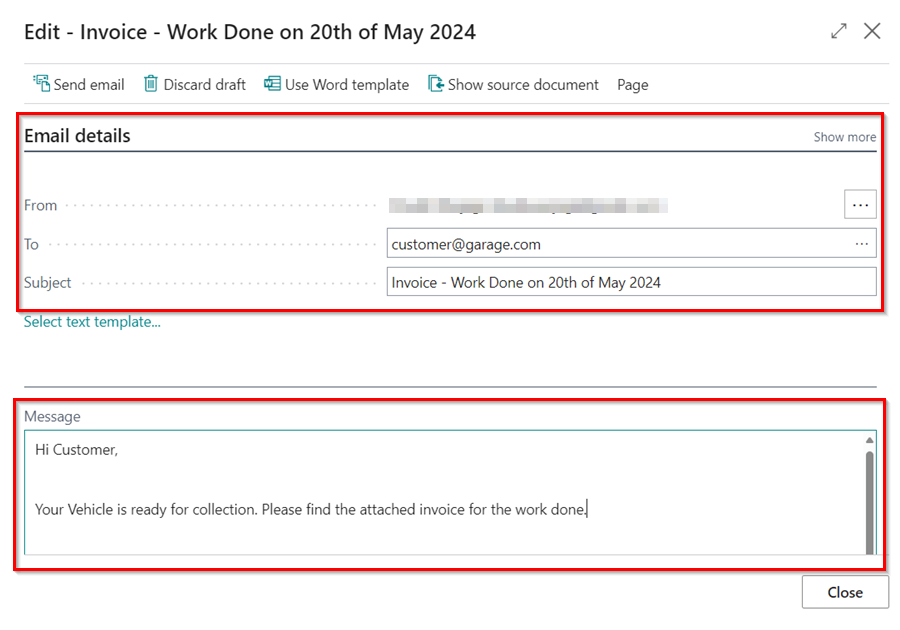
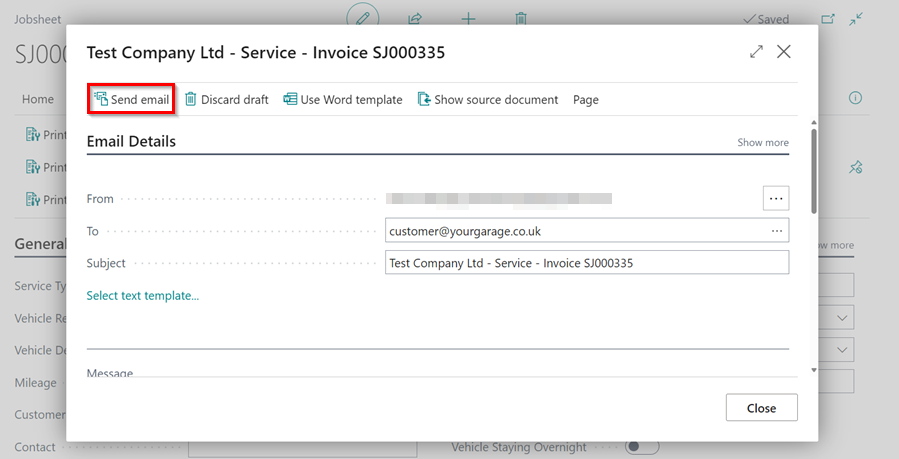
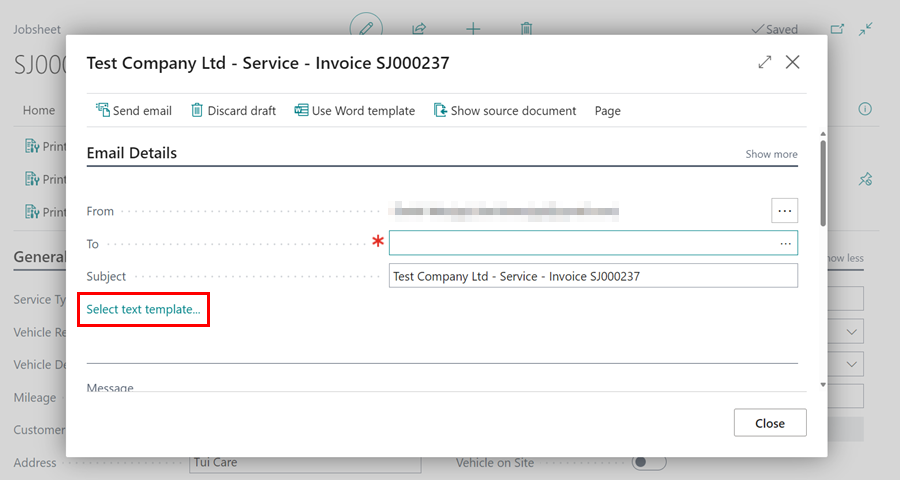
- Under Email Details FastTab, enter the email address to send to in the To field and the subject of the email in the Subject field.
-
You can now add the email Message body for the customer. You can format the message however you want by changing the different formats available at the bottom of the Message field, such as the font, font size, text colour, and so on.
- When you’re finished editing the email, select Send Email from the menu bar to send it.
- If you want to save the email as a draft and return to it later, click the back button and choose Keep as draft in Email Outbox; otherwise, choose Discard email.
Adding Email Text Templates
To make it easier to manage the email Message body, you can create Text Templates that will allow you to reuse similar text across multiple emails that you send.
-
Click on Select Text Template under the Email Details FastTab.
-
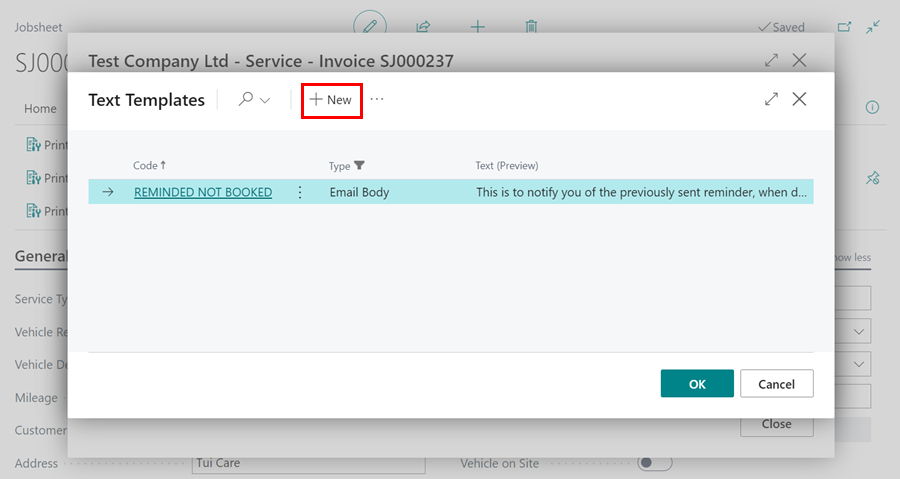
Select New from the menu bar.
-
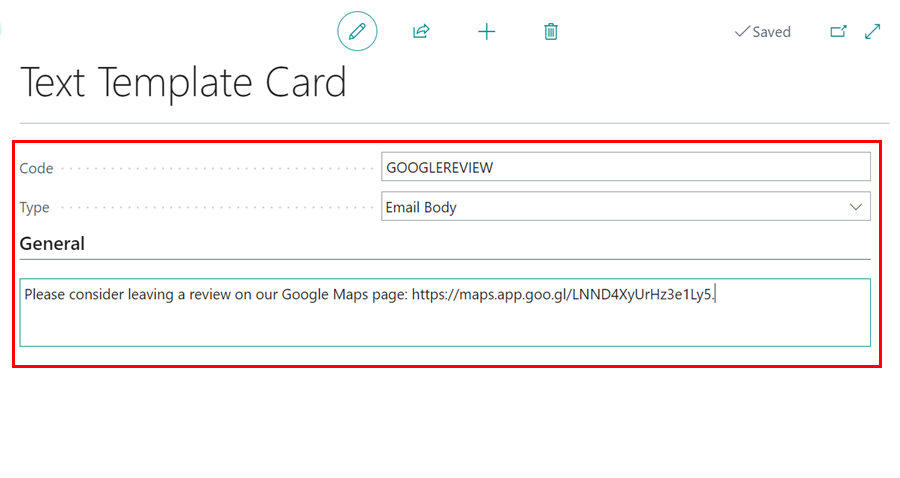
Enter the Code for the template (you can name it depending on what you put in the message body), select Type as Email Body, and then enter the Message body in the writing space under the General FastTab.
-
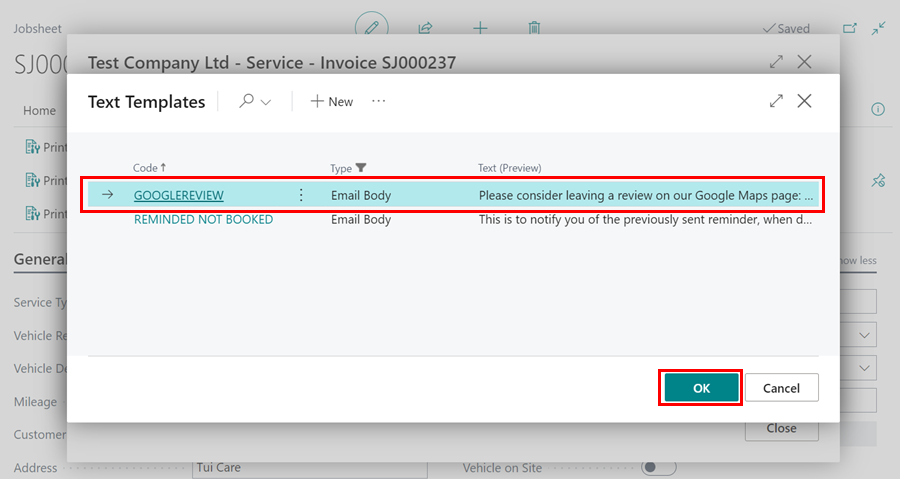
To add a template, click the Select Text Template link under the Email Details FastTab, then choose the template, and then click the OK button.
-
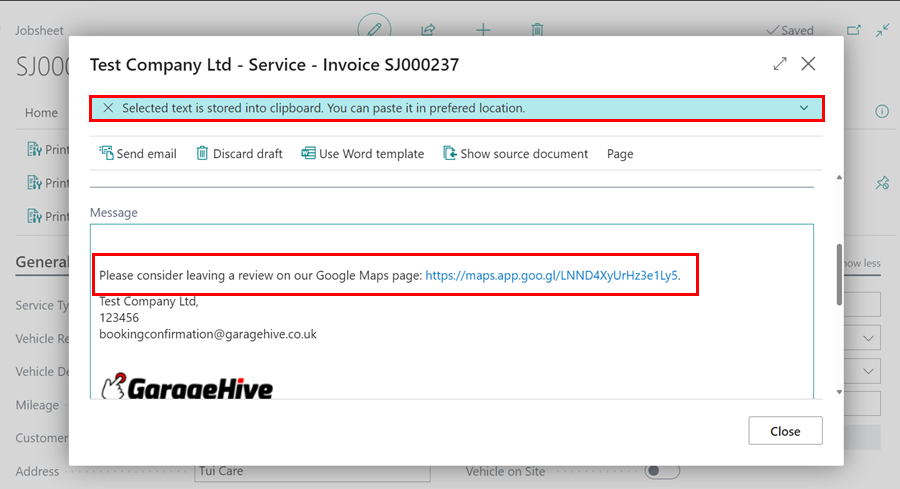
To insert the template into the Message body, select the desired position and press the Ctrl+V keys to paste the template.
Attaching a Document to the Email
- You could attach a file to the email by scrolling down to the Attachments FastTab and selecting either of the following options:
- Add related documents - You can attach related documents to the current document such as estimates, VI estimates, or Checklists.
- Add files from default selection - You can attach files stored in Email Scenario Attachments.
- Add file - You can attach various file types such as PDFs, Word documents, images, etc directly from your computer.
-
Add file from source document - You can add documents linked to the source document, if the document you are working on was created from another document.

Accessing Email Outbox
To access the draft emails in the outbox:
-
In the top-right corner, choose the
icon, enter Email Outbox, and select the related link.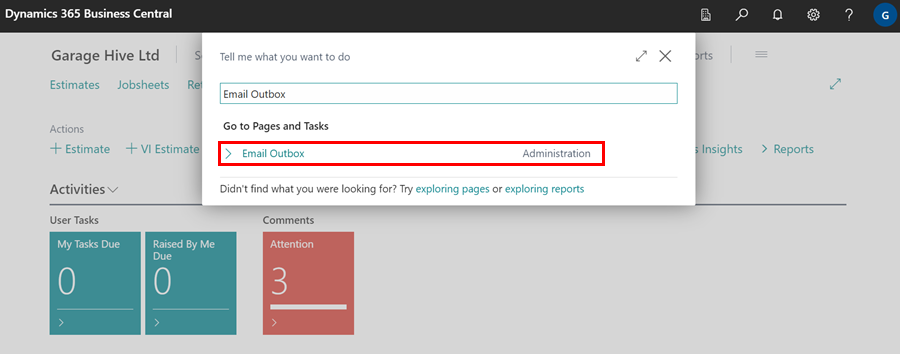
-
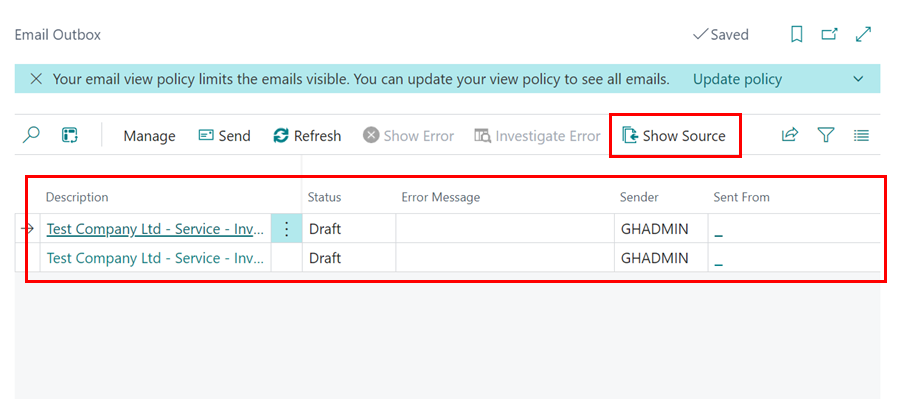
Choose the draft email that you want to continue editing. You can view the document from which the email was created by selecting Show Source.
Accessing Sent Emails
To access the sent emails in the system:
- In the top-right corner, choose the icon, enter Sent Emails, and select the related link.
- You can view the sent email by selecting it from the list that appears.
-
Select Resend if you want to resend the email, or Edit and Send if you made an error and want to correct it.
View Email Logs for Posted Documents
You can keep track of how many copies of a posted document were sent via email. This is how you do it:
-
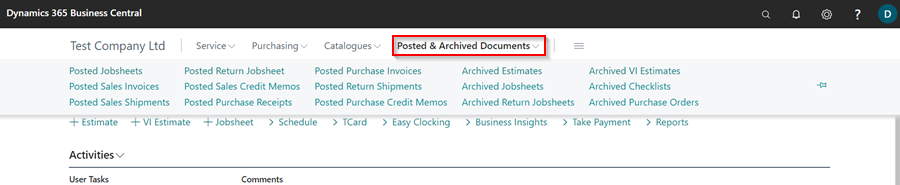
Open the posted document you want to check from the Posted & Archived Documents menu in the Role Centre, such as Posted Jobsheet and Posted Sales Invoice.
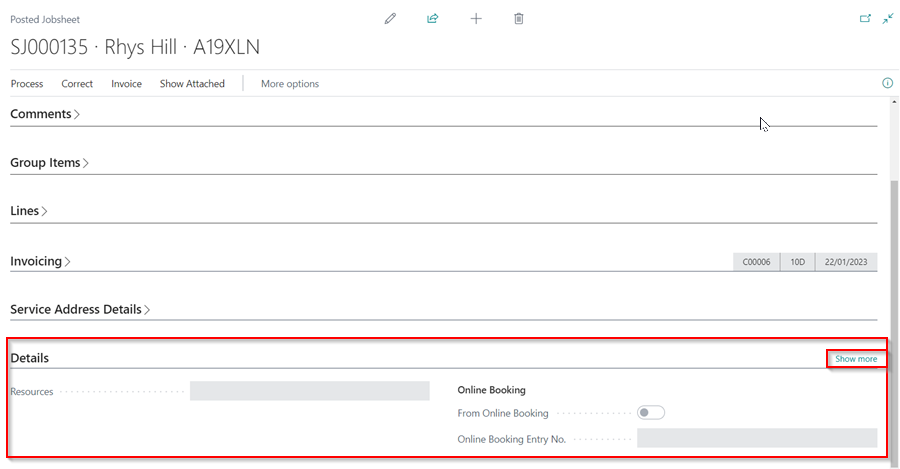
- Scroll down to the Details FastTab in the Posted Jobsheet document you’ve chosen (click Show More to see all the fields).
-
The No. of Emailed Documents field indicates how many copies of that document have been emailed.
-
For the Posted Sales Invoice document, go to the General FastTab.

-
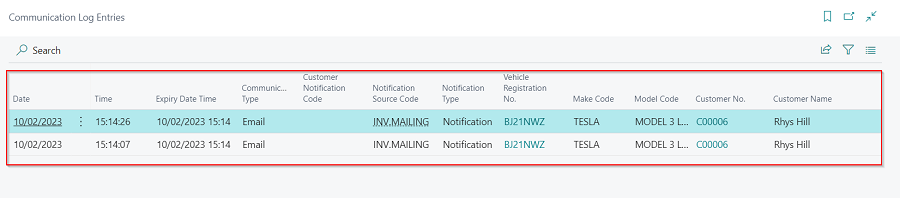
When you click on the number in the No. of Emailed Documents field, the Communication Log Entries for that document open, and you can view the customer to whom the document was sent, who sent it, and so on.
Email Setup for Multi-Branch Garage
Garage Hive allows you to set up custom email addresses for each branch, enabling you to send emails from documents or reminders to customers using branch-specific email addresses. To setup this:
-
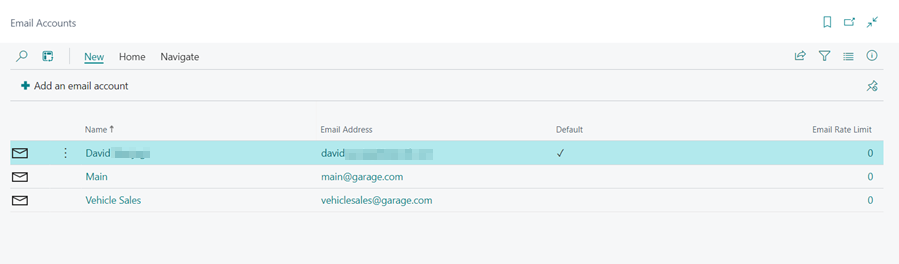
Ensure that all the email accounts for your branches are set up, see how to setup the emails here.
-
Then in the top right corner, choose the
icon, enter Locations, and select the related link.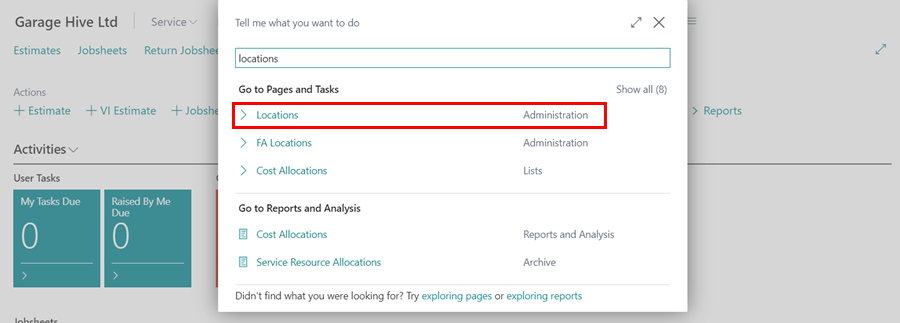
-
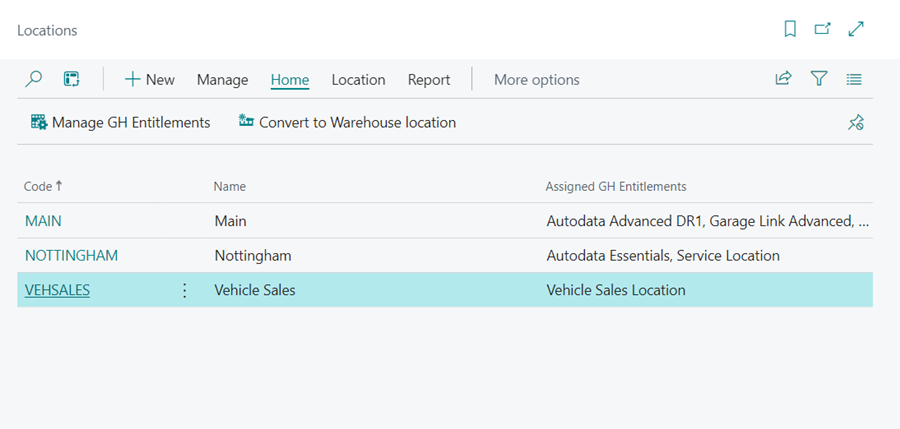
Click on the Code of the location card for the branch where you want to setup a custom email.
-
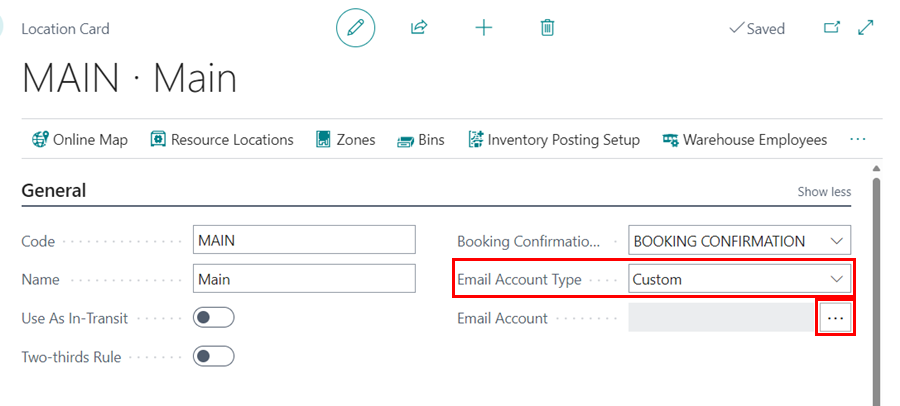
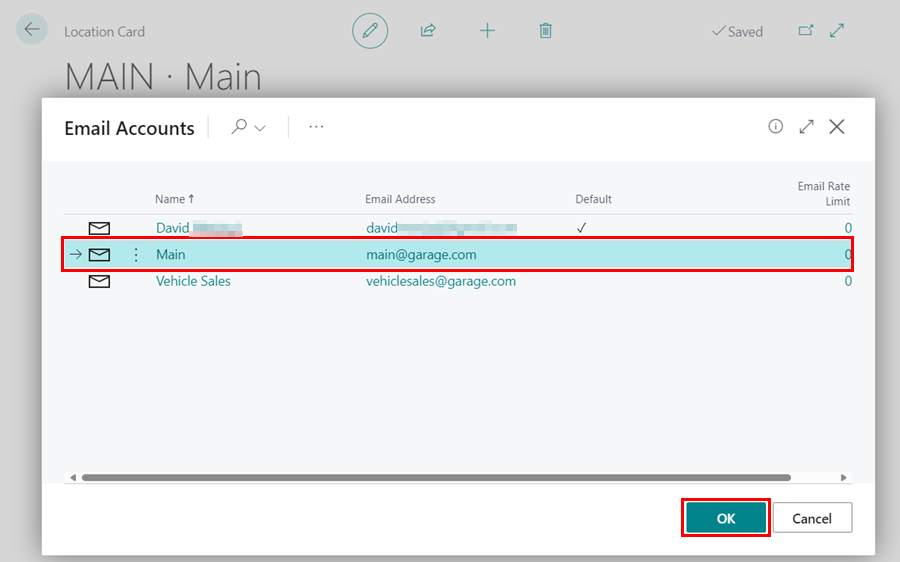
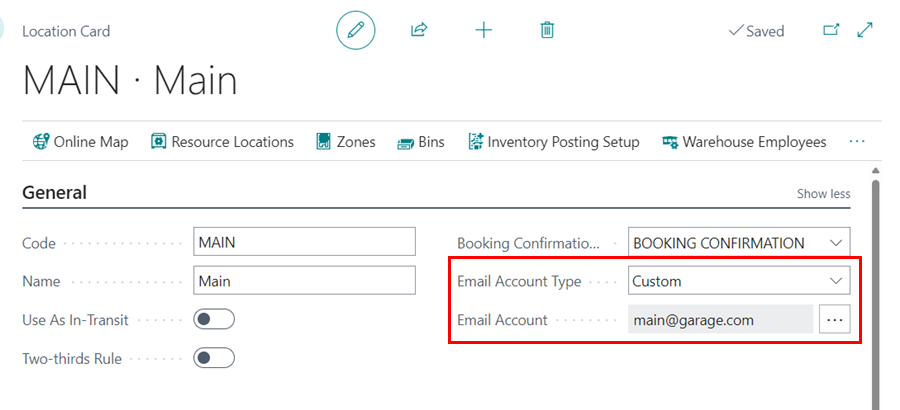
On the location card, under the General FastTab, set the Email Account Type field to Custom. Then, click on the ellipsis(…) next to the Email Account field to choose the desired email address.
-
Select the appropriate email account and click OK.
-
The custom email for the branch is now set up. Repeat this process for each branch to setup their respective emails.
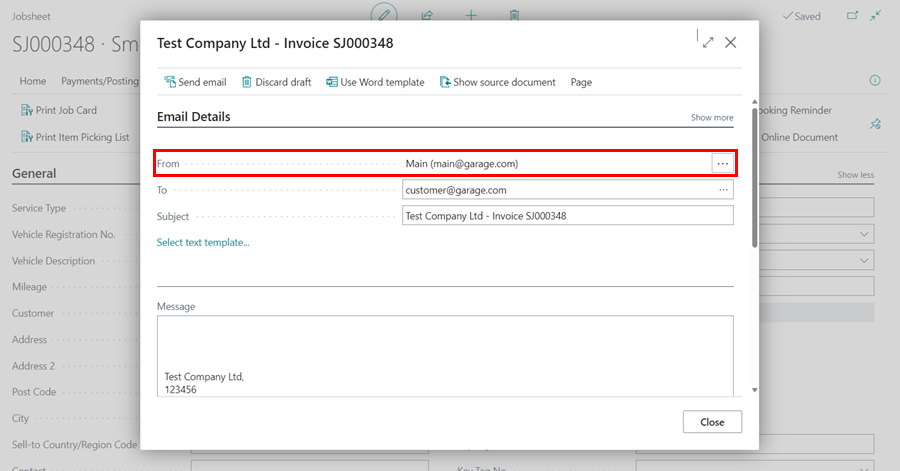
-
When you send an email from the system, whether it’s a document or a booking reminder, the default “From” address will be the email you setup for that branch.