Getting Started with Financial Reporting in Garage Hive
If you are familiar with the Account Schedules feature in Garage Hive, you may have noticed some changes in the latest releases. Account Schedules has been renamed to Financial Reporting, and the way you create and manage financial reports has been improved.
In this article
Improvements on Financial Reporting
The new Financial Reporting feature has several improvement for users who want to create customized financial reports in Garage Hive:
-
It makes it easier for new users to get started with financial reporting by using a more intuitive name and interface. To access the Financial Reports, search Financial Reports In the top right corner
 icon, and select the related link.
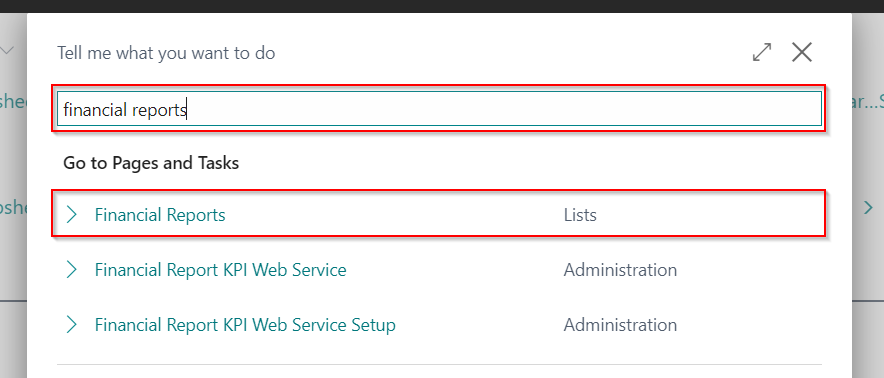
-
It allows users to create multiple financial reports with different names, row definitions, column definitions, and parameters without having to modify existing ones. A Row Definition determines which accounts or dimension are to be included in each row of a financial report and a Column Definition determines which columns are included in each financial report.
-
It provides more flexibility and control over how data is presented and filtered in financial reports.
-
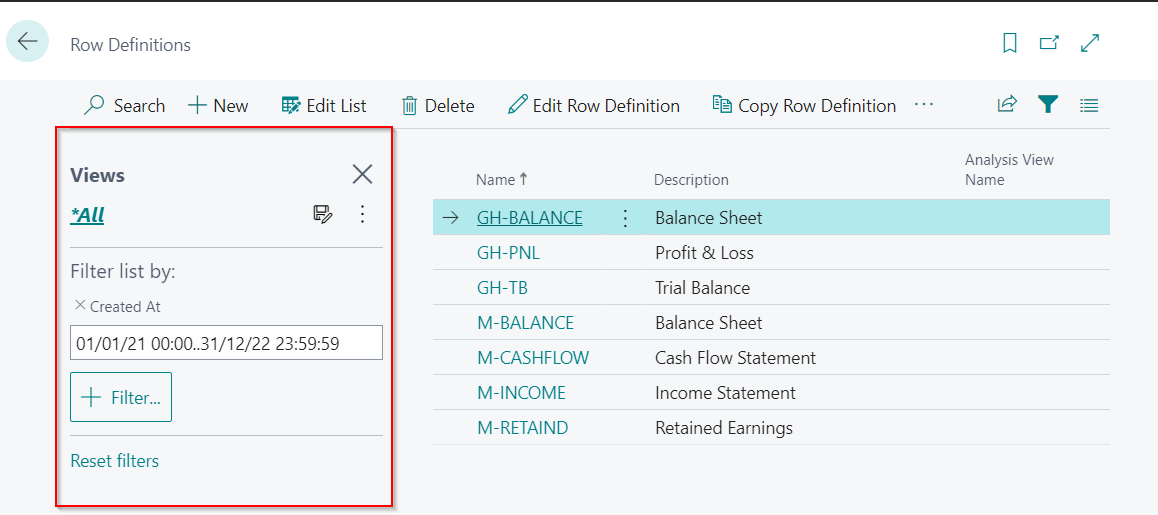
It enables users to access their Row Definitions or Column Definitions directly from the Role Centre by searching on the top right corner
icon, and selecting the related link.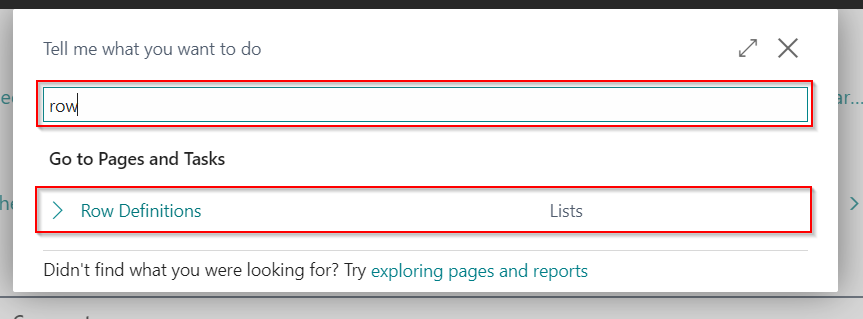
How to Get Started with Financial Reporting
If you want to try out the new Financial Reporting feature in Garage Hive, here are some steps you can follow in creating a new report:
-
Go to your Role Centre and in the top right corner, choose the
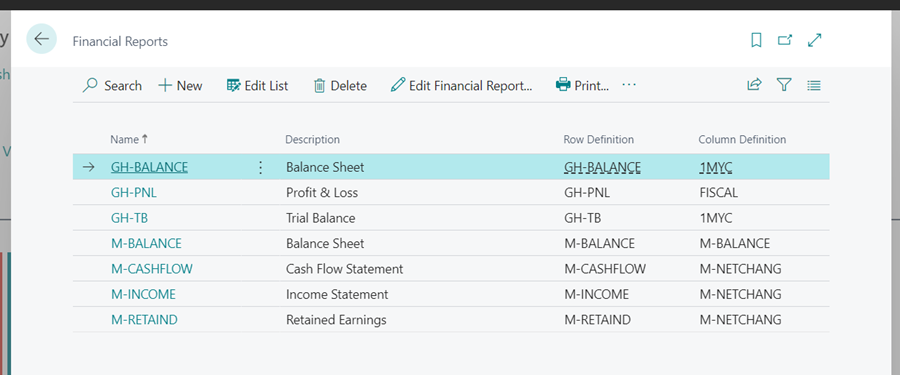
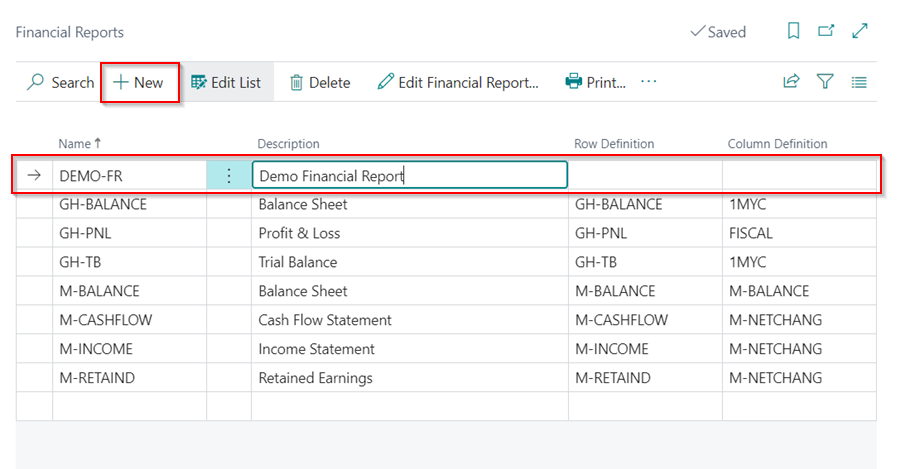
icon, enter Financial Reports, and select the related link. - On the Financial Reports page, choose New to create a new report or Edit Financial Report if you want to modify an existing one.
-
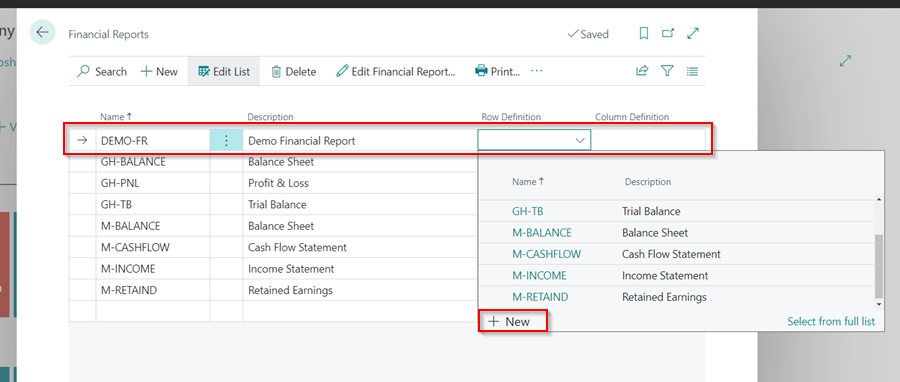
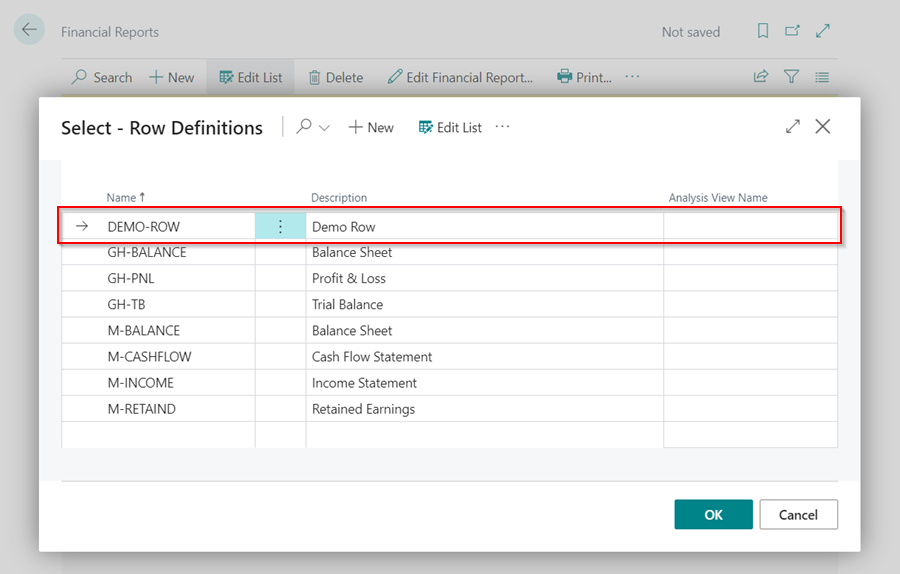
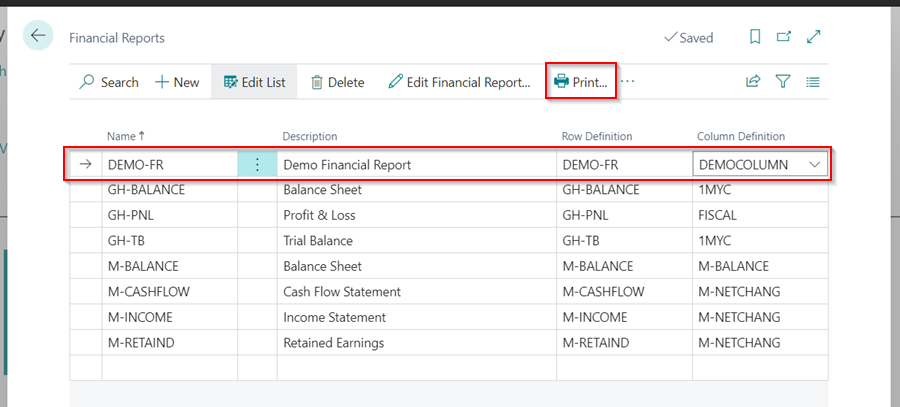
On the New report page, enter a Name and a Description for your report and select a Row Definition and a Column Definition from the drop-down lists in their respective fields.
-
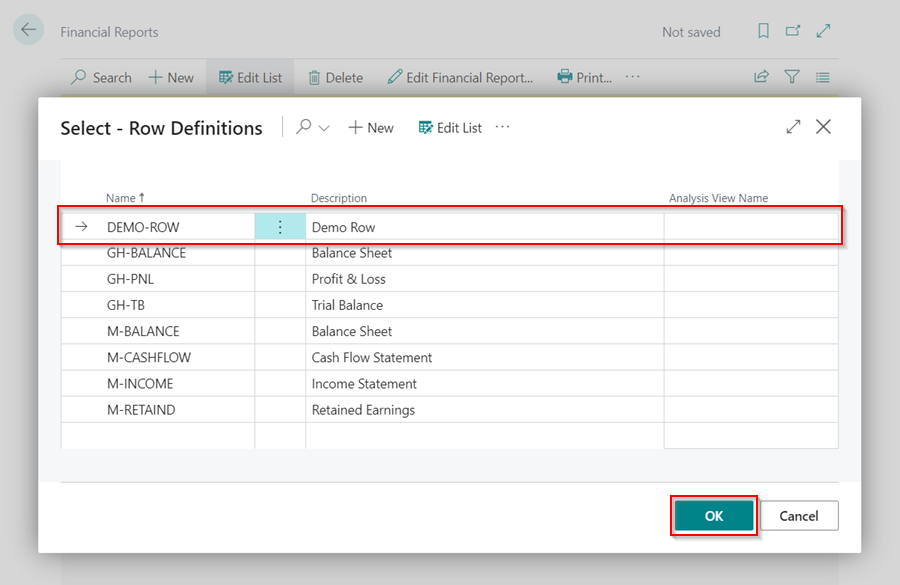
If you need to create a new Row Definition, choose New at the bottom left of the drop-down in the Row Definition field.
-
Enter a Name and a Description for the Row Definition.
-
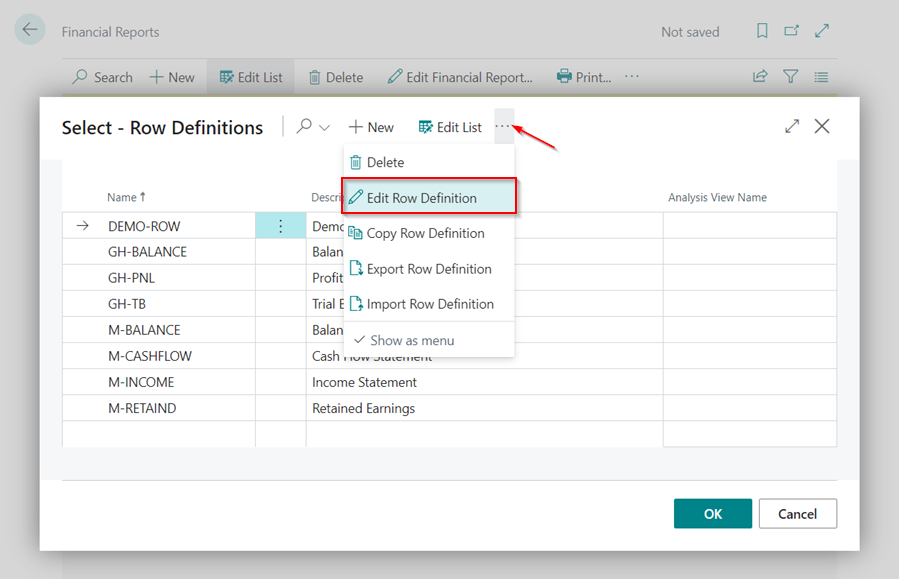
Click on the ellipsis (…) in the menu bar, and select Edit Row Definition.
-
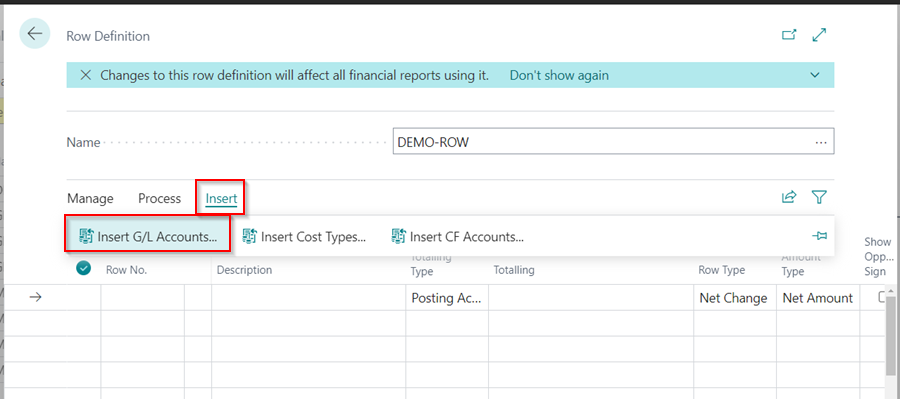
This gives you the option to add the accounts you want to put in the Row Definition. Select Insert from the menu bar, followed by Insert G/L Accounts. You can as well insert the Cost Types or Cash Flow accounts.
-
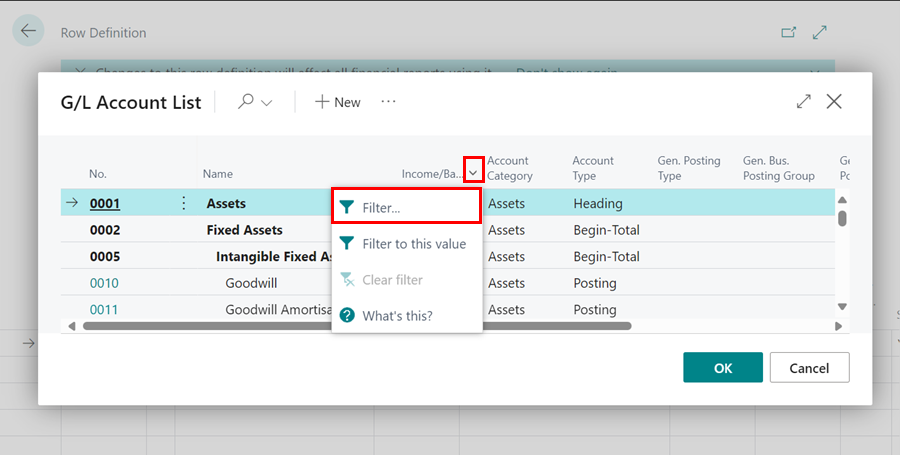
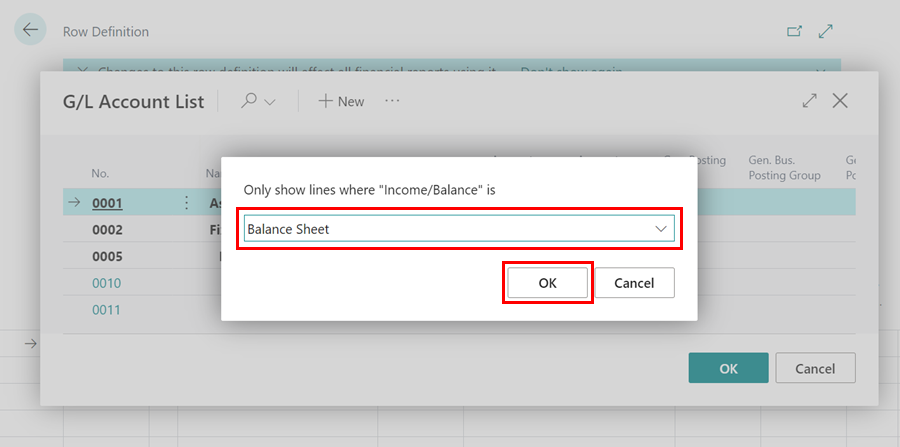
In the G/L Accounts List you can filter to only Balance Sheet accounts or Income Statement accounts. Click on the Income/Balance column header and select Filter.
-
Select either Balance Sheet or Income Statement depending on the accounts you want to add to the new report, and click OK.
-
Hold down the Ctrl key and select the accounts you want to add to the report, or select all. Click OK to add the accounts in the Row Definition.

-
Click the back arrow (←) to exit the Row Definition page, and then click OK to add the Row Definition you have just created in the report.
-
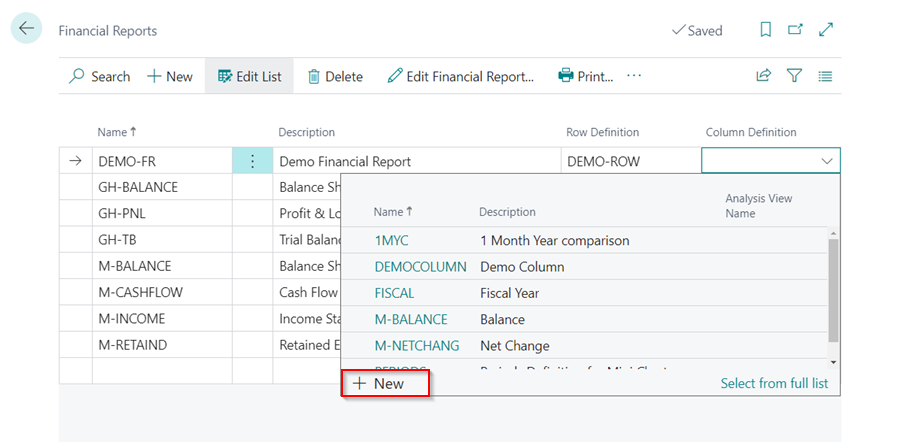
To create a new Column Definition, choose New at the bottom left of the drop-down in the Column Definition field.
-
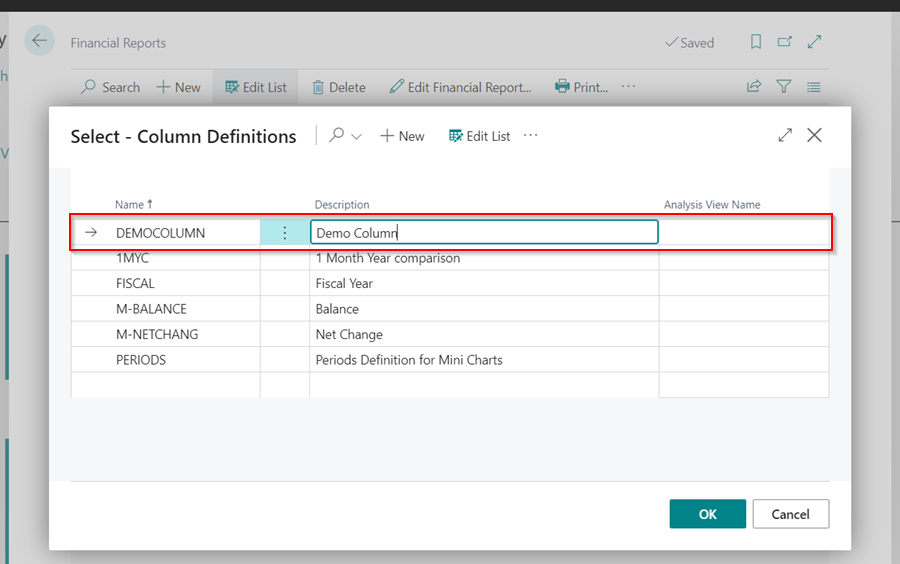
Enter a Name and a Description for the Column Definition.
-
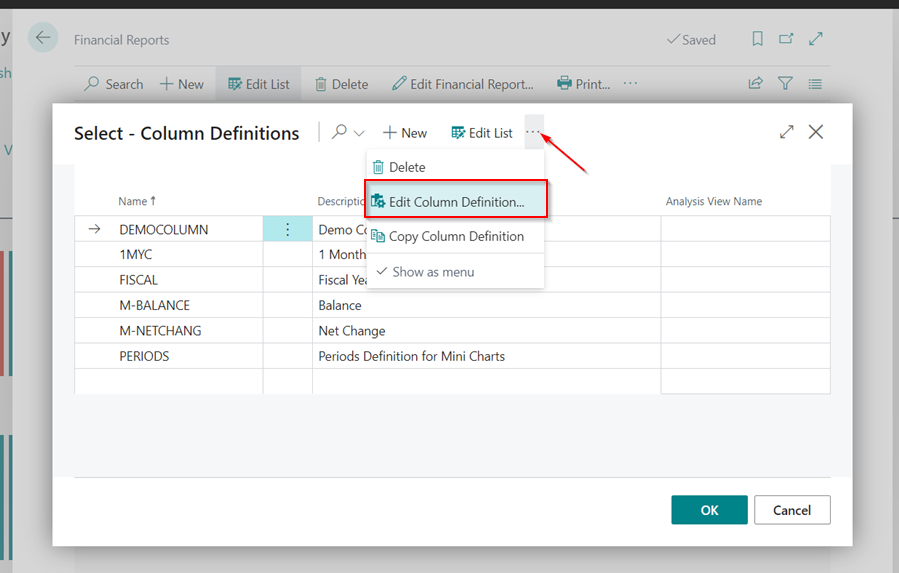
Click on the ellipsis (…) in the menu bar, and select Edit Column Definition.
-
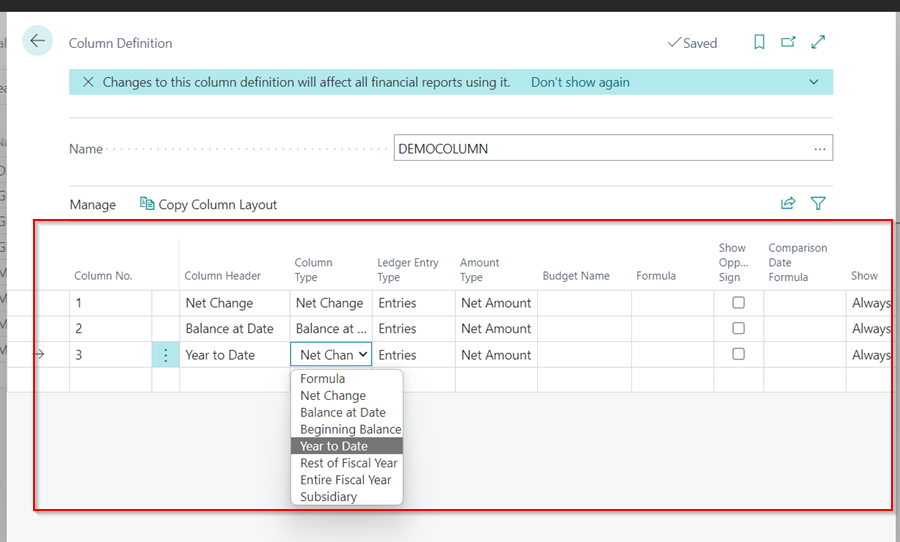
Enter Column No., Column Header and select the Column Type.
-
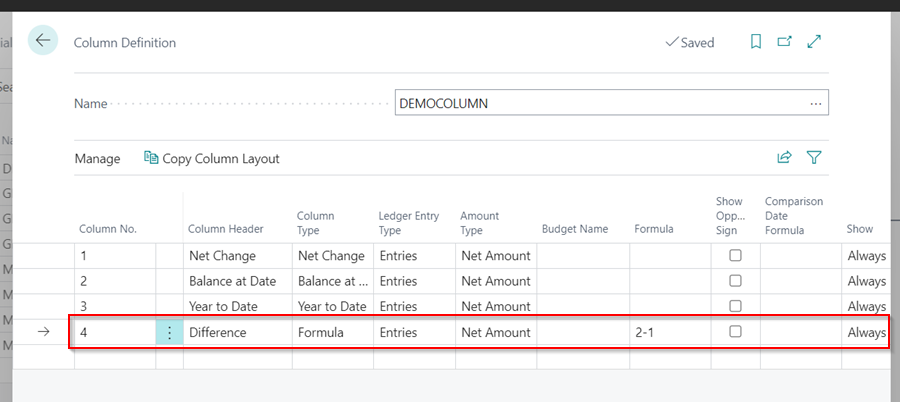
You can also introduce a formula between the columns, by selecting the Column Type as Formula. When done click on the back arrow (←) to exit the page.
-
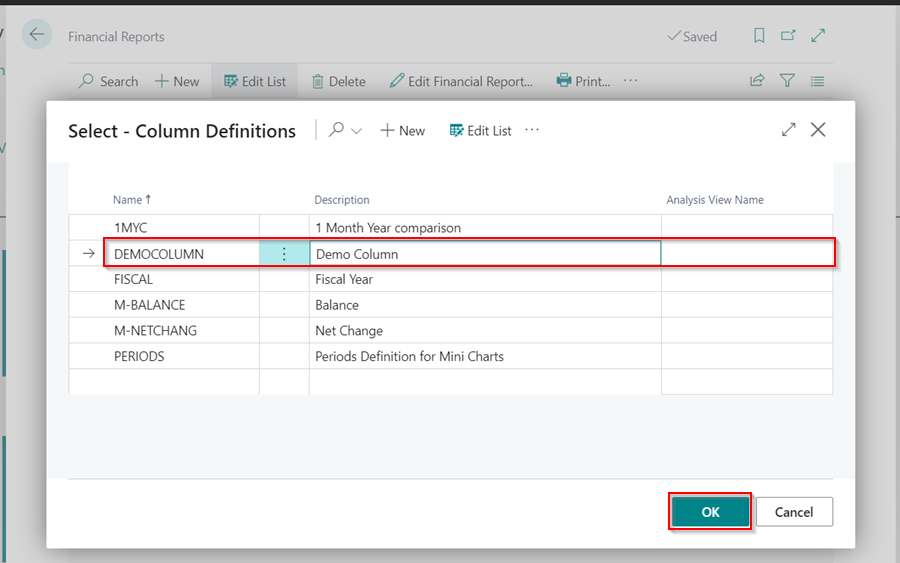
In the Column Definitions page, click OK to add the Column Definition that you have just created.
-
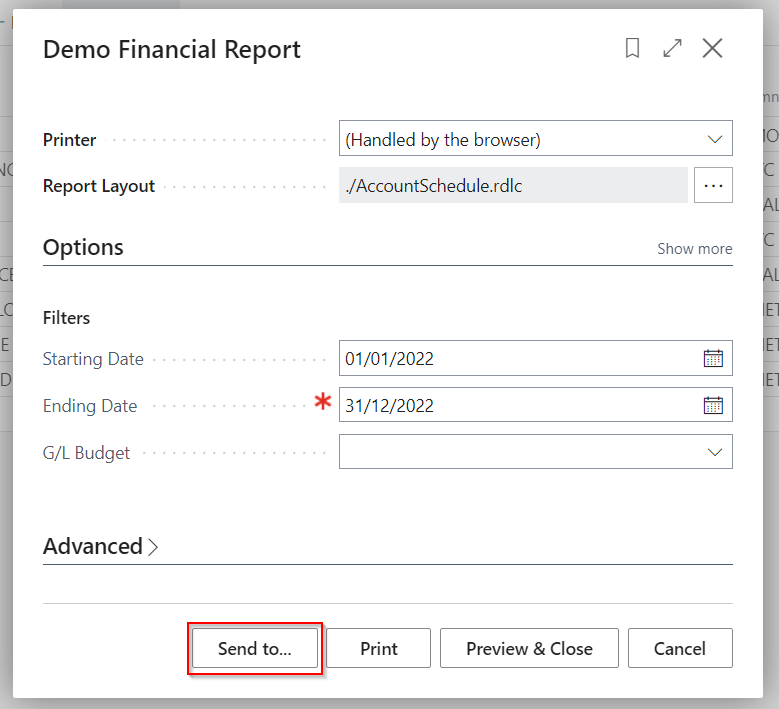
You can now Print the Report or Preview the Report by selecting Print from the menu bar.
- Enter the dates to filter the report to that is, the Starting Date and Ending Date.
-
Select Print or Preview & Close depending on how you want to view your report.

-
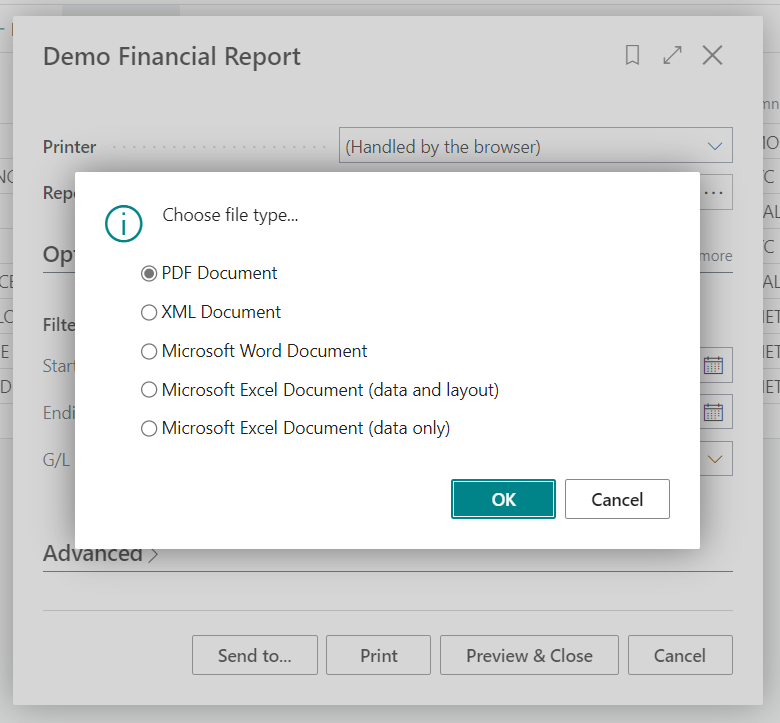
You can also save your report as Excel or PDF files by selecting Send To and choosing the type of file to save the report.