TScan Trial
This article provides a guide for new TScan customers who want to experience the functionality of Tyre Scanner within their Garage Hive system.
In this article
Enable Your Trial
-
To enable your trial, click on the form link below and follow the instructions.
Enable your tScan Trial: tSCAN Trial Account Information
- Enter the necessary information required for the creation and setup of your trial customer account.
- To obtain the Endpoint URL, which is required in the form, select the
 icon, enter Tyre Scan Setup, and select the related link.
 -
In the Tyre Scan Setup page, click Get Endpoint Url and copy the URL from the pop-up notification.

- When you’ve finished filling out the form, click Submit and wait to hear back from the tScan team.
Tyre Scanner Trial System Setup
To connect the Tyre Scanner to the system:
- In the top right corner, choose the icon, enter Tyre Scan Setup, and select the related link.
- Create a new text template code to be used in the Checklists in the field Alignment Text Template Code.
- Click New at the bottom left of the drop-down list, enter the Code as ALIGNMENT, and enter the Text that will inform the customer about the report, such as “Based on tyre thread depth scans, we recommend performing wheel alignment.”.
- Select the Align service package in the Service Package Filter column to use when quoting for the alignment. When completed, click OK.
-
Then, to enable the Tyre Scan in the system, slide the Enable slider to the right.
Import Checklist Template
The next step is to import a checklist template for use with the Tyre Scanner:
-
Click on the link below to download and save the checklist for use with the Tyre Scanner.
Download the Tyre Scanner Checklist Template: Checklist Template
-
In the top right corner, choose the
icon, enter Checklist Templates, and select the related link.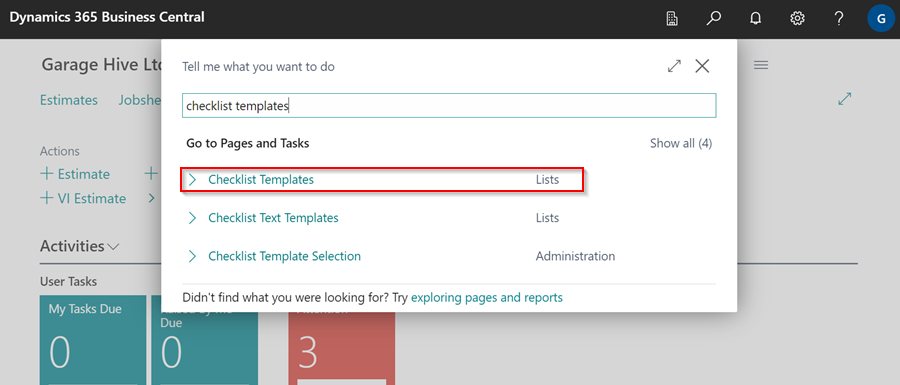
-
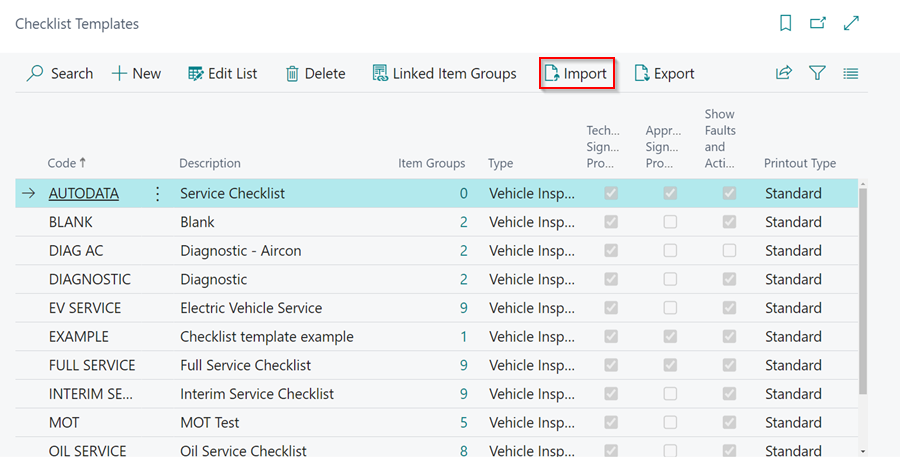
In the Checklist Templates page, select Import from the menu bar.
-
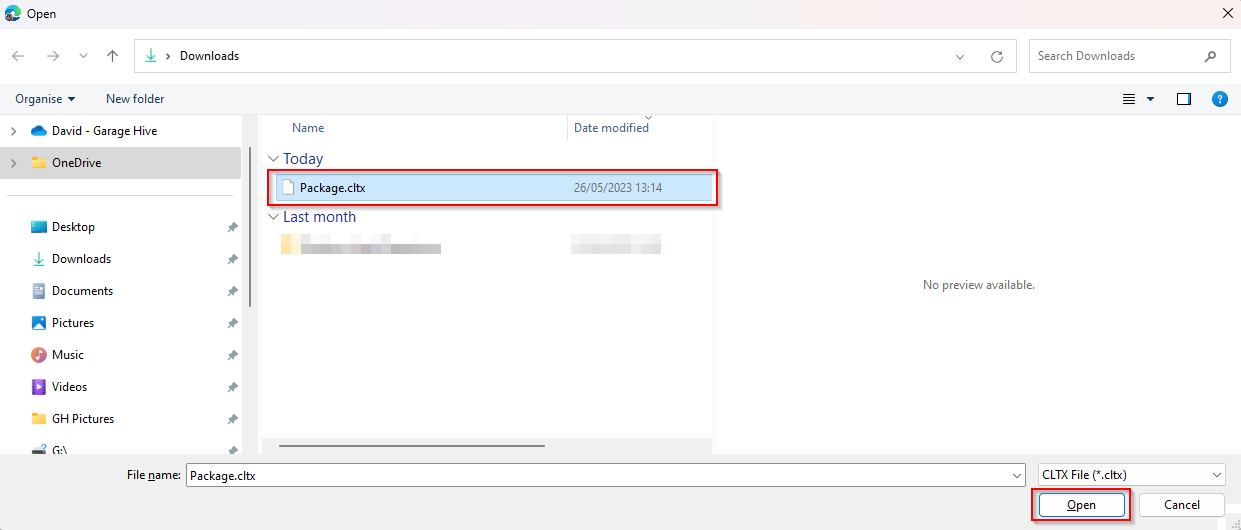
Select Choose, and go to the file that you downloaded and click Open.
-
You will get the following warning, click Yes to import the checklist template.

-
Your Garage Hive system is now ready for the trial with Tyre Scanner.