Gearbox Sales Setup
To start using the Gearbox Sales module, the following setup is required in the Vehicle Sales Setup page:
- Create an Internal Vendor and a Gearbox Preparation Payment Method
- Create an Internal Customer
- Create a Gearbox Vehicle Card, add Service Type and Comment Type
- Create a Gearbox Item Category
- Create Gearbox Item Number Series
Create an Internal Vendor and a Gearbox Preparation Payment Method
-
In the top right corner, choose the
 icon, enter Vehicle Sales Setup, and select the related link.
-
Scroll down to the Advanced FastTab. Create a new Default Internal Vendor No. with the following setup:
No. Name General Bus. Posting Group VAT Bus. Posting Group Vendor Posting Group INTERNALGEARBOXPREP Internal Gearbox Preparation VEHSALES INTERNAL VEHSALES 
-
Create a new payment method in the Payment Method Code field with the code GEARBOXPRP, Description Gearbox Prep, Bal. Account Type G/L Account, and Bal Account No. 2902.
-
After creating the vendor as described above, add the vendor to the Default Internal Vendor No. field.

Create an Internal Customer
-
Now create a new Default Internal Customer No. with the following setup:
No. Name General Bus. Posting Group VAT Bus. Posting Group Customer Posting Group Promote Sell-to Cust. on Invoice INTERNALGEARBOXPREP Internal Gearbox Preparation VEHSALES INTERNAL VEHSALES Enable 
-
Select the Service Recharge Item Charge No. field and add a new one with the No. as GEARBOXPREP, the Description as Gearbox Sales Preparation, and the Gen. Prod. Posting Group as VEHSALES.
-
Add the Corresponding Vendor No. as the vendor that you created in the Default Internal Vendor No. field above.
-
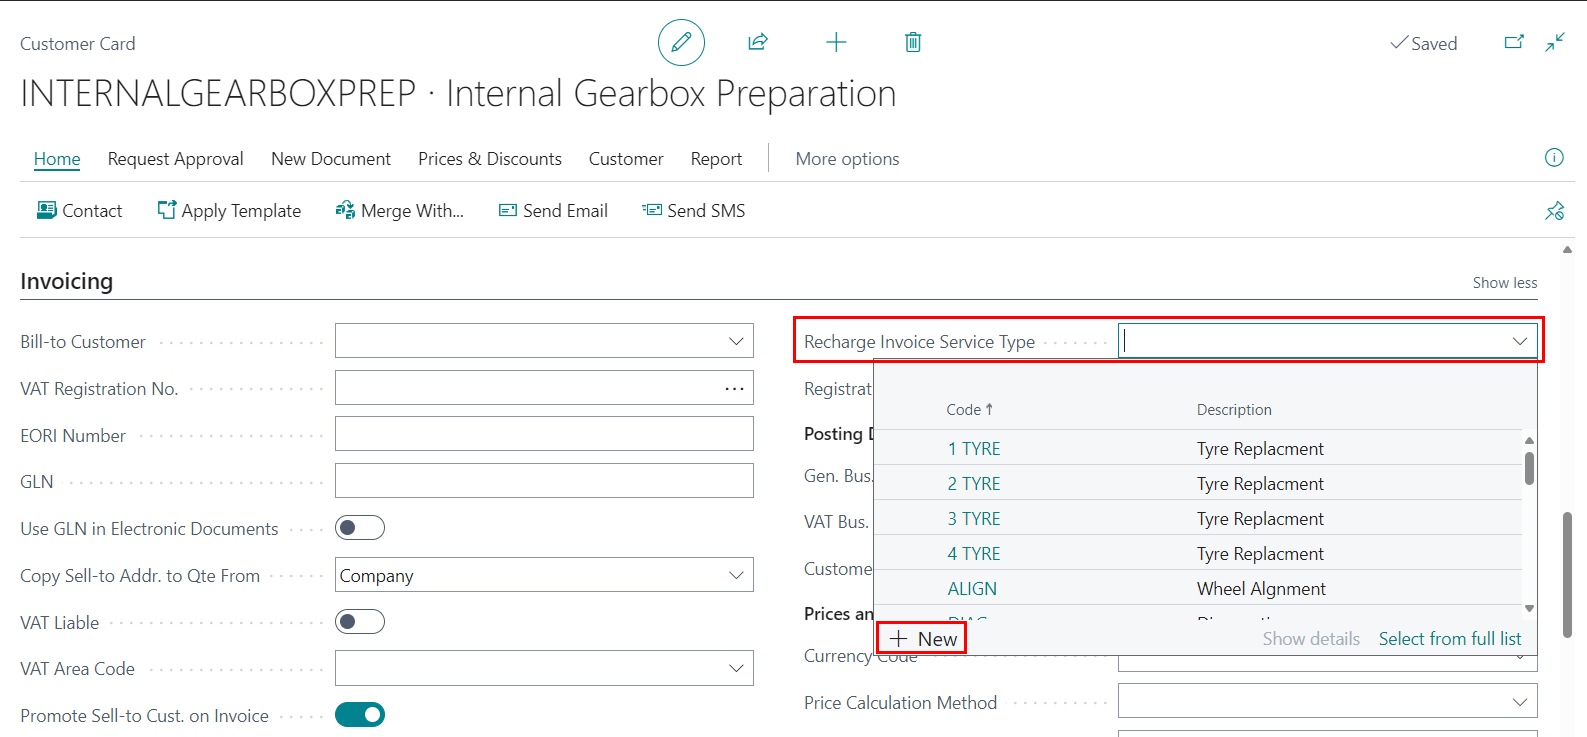
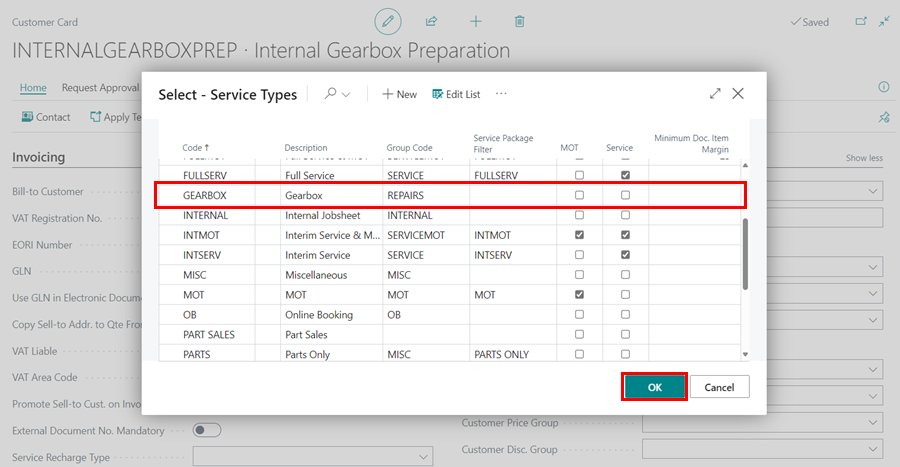
Create a new Service Type in the field Recharge Invoice Service Type.
-
Add the code as GEARBOX, Description as Gearbox, and the Group Code as Repairs.
-
Add the new customer card to the Default Internal Customer No. field.

Create a Gearbox Vehicle Card, add Service Type and Comment Type
-
Create a new Default Vehicle No. with the No., Reg. No., VIN, Make, and Model fields set to Gearbox. Make sure to add a new Make and Model, as it will give you an error if it is not found in the system.
-
Enable the Gearbox Actions in Sales Invoice slider.

-
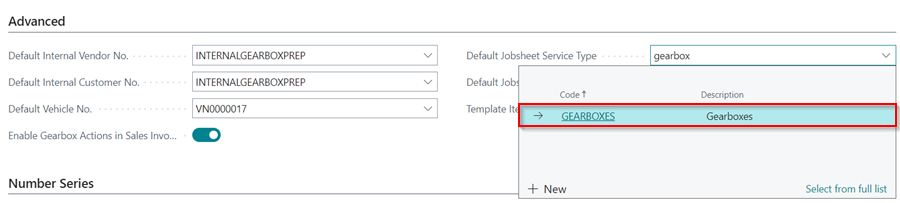
Set the Default Jobsheet Service Type as the Gearbox, the one you created above.
-
The Default Jobsheet Comment Type can be any that you want to use; in this case we’ll use OFFICE.

Create a Gearbox Item Category
-
For the Template Item Category Code you’ll have to create a new Item Category. Search for Item Categories In the top right corner
icon.
-
Select New and create a category called GEARBOXES and the description to be Gearboxes as well. Exit the Item Category Card page.
-
Select Create Item Template on the Item Categories page, enter the Example Template Code as Vehicle Sales, the New Template Code as Gearboxes, the New Template Description as Gearbox Sales, and the Item Category Code search for the one you just created, GEARBOXES. Click the OK button.
-
Exit the Item Categories page, and enter the Item Category Code that you have just created, in the Template Item Category Code.
Create Gearbox Item Number Series
- Scroll down to the Number Series FastTab and create a new number series for the Gearboxes in the Gearbox Item Nos. field. Select New on the No. Series List page, enter Code as GEARBOXES, and Description as GEARBOXES.
-
Click on the Starting number field and enter the Starting Date as today’s date and the Starting Number as 00001. To add the number series, click the Close and OK buttons.
-
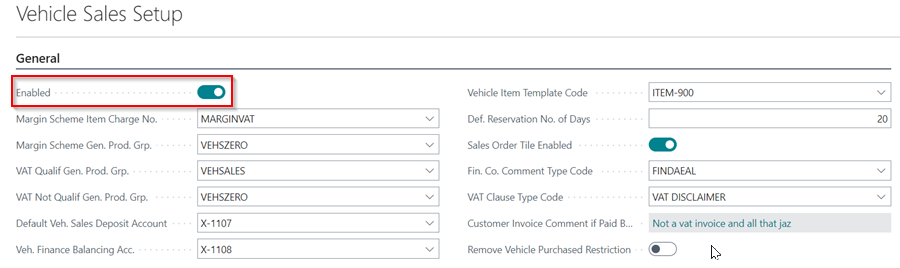
Scroll up to the General FastTab and select the Enable slider to enable the setup in the system.