Reconcile Payments Using the Automatic Application
Lines in the Payment Reconciliation Journal can be filled in by importing a bank statement as a file or manually entering transactions made on your payment service. The following describes how to reconcile payments using the automatic application:
-
Choose the
 icon, on the top-right corner, enter Payment Reconciliation Journals, and select the related link.
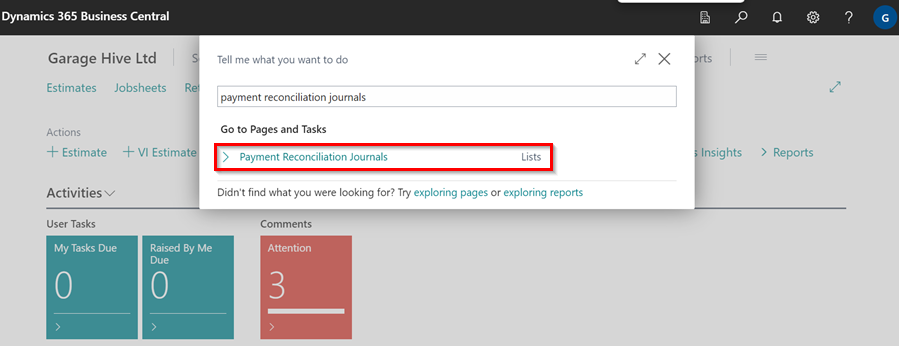
-
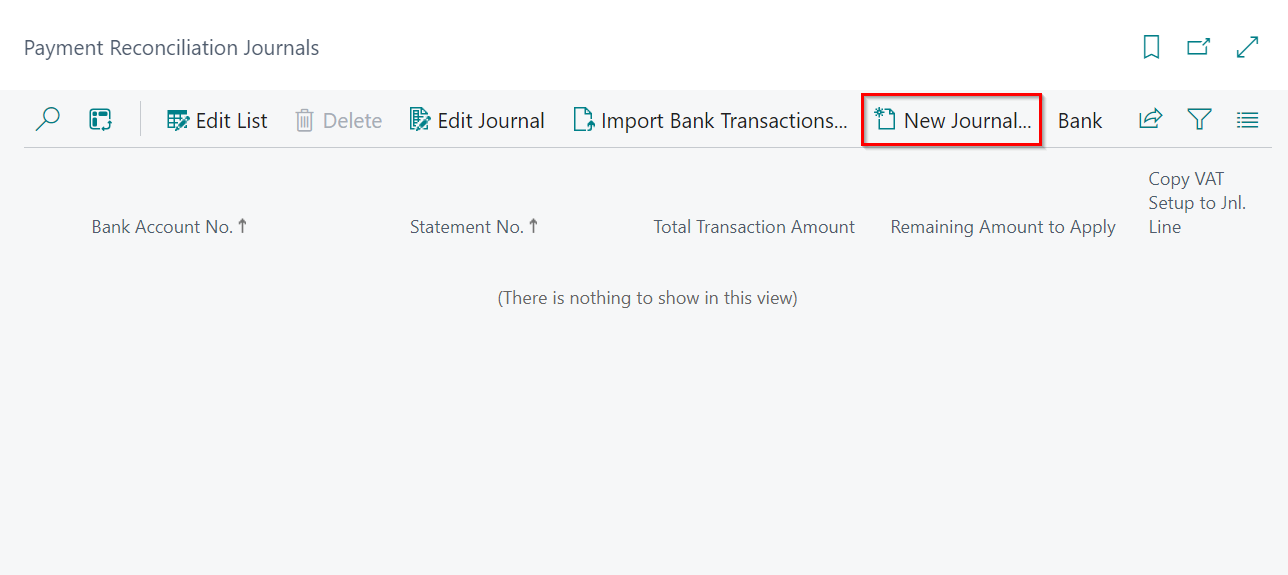
Select New Journal from the menu bar to start a new payment reconciliation journal.
-
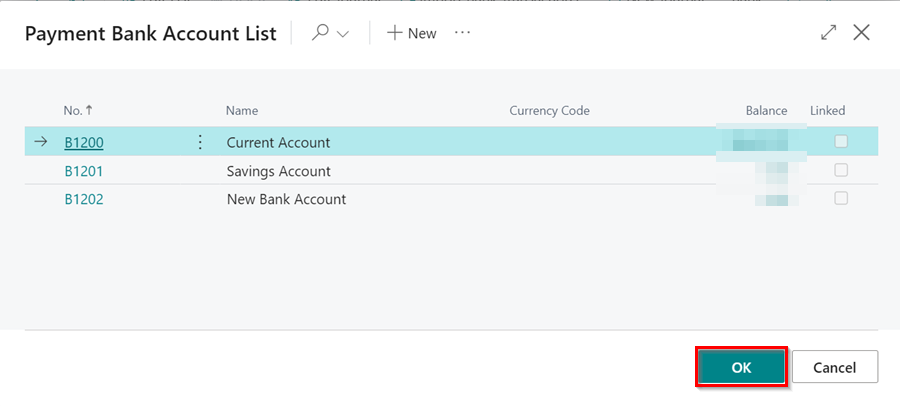
On the Payment Bank Account List page, select the bank account you want to reconcile payments for, and then choose the OK button.
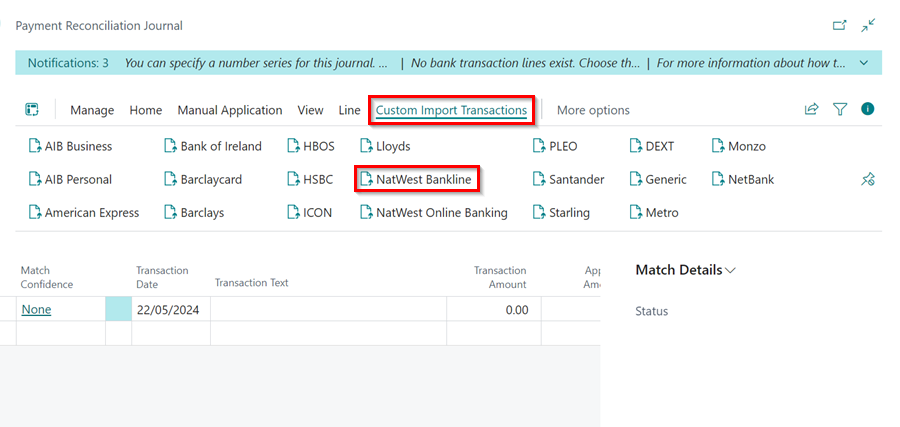
- Select Custom Import Transactions from the menu bar, then the company’s bank import format. In our example, we’ll use the NatWest Bankline action to import the bank statement obtained from the bank.
-
Select the file containing the bank transactions for payments you want to reconcile on the Select a file to import page, and then click the Open button. The other option would be to manually enter the transactions into the journal.
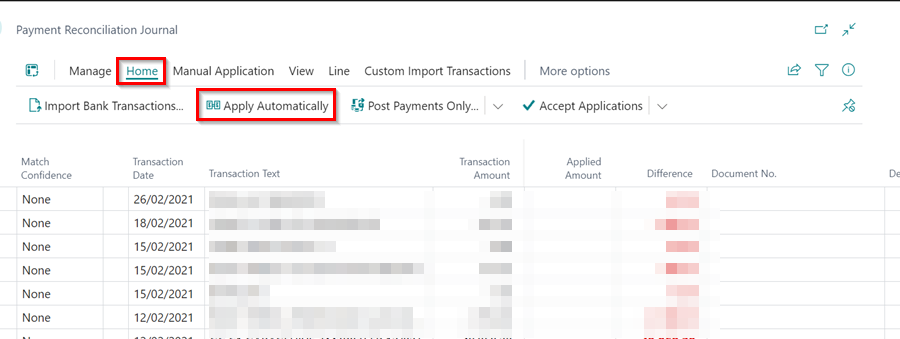
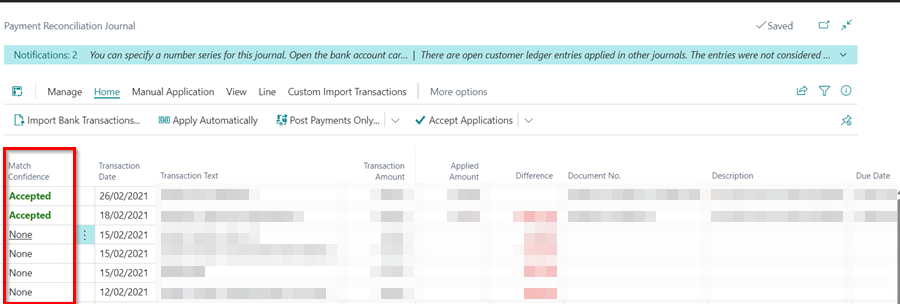
- The Payment Reconciliation Journal page is filled with lines for payments representing bank transactions from the imported bank statement or manually entered transactions.
-
To apply the reconciliation automatically select Home from the menu bar, and then Apply Automatically.
-
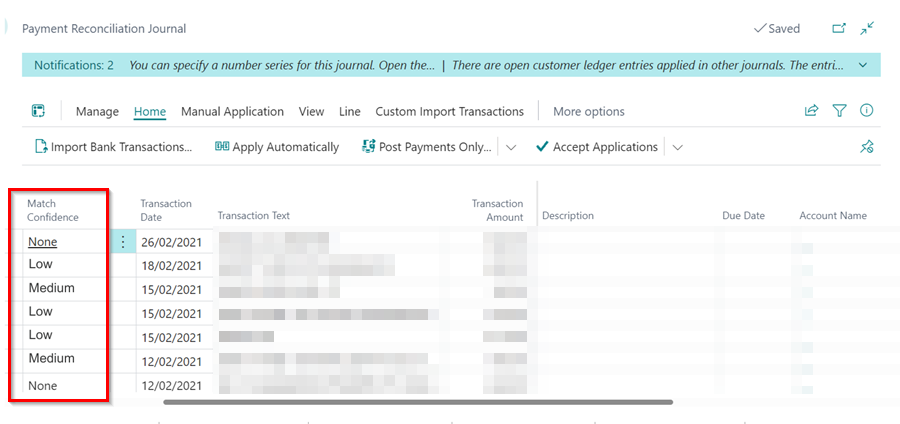
The Match Confidence field on lines for payments that have been automatically applied to their related open entries has a value of Low, Medium or High to indicate the quality of the data matching that the suggested payment application is based on. In addition, the Account Name, Account Type, and Account No. fields are filled with information about the customer or vendor to whom the payment is applied.
-
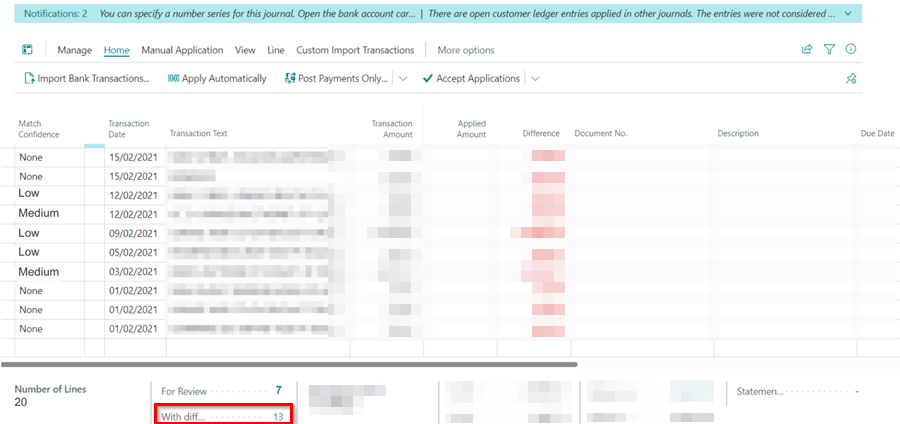
Choose the Lines with Difference action at the bottom to review, accept/remove, or manually change multiple payment applications that have a value in the Difference field.
-
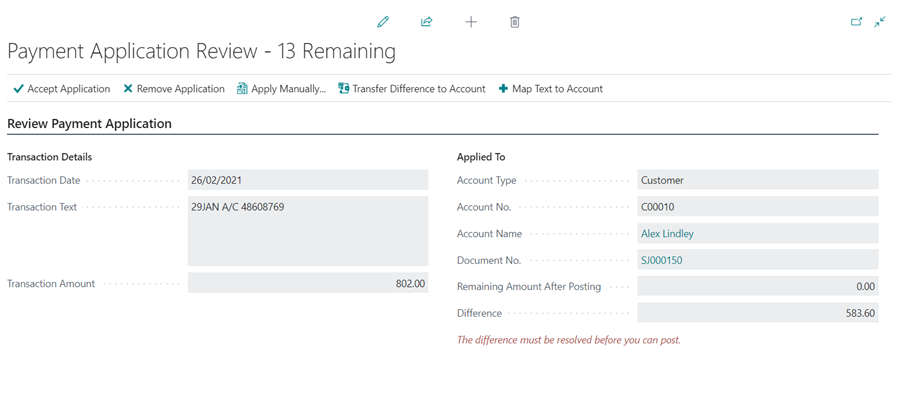
The Payment Application Review page appears, with the first application to be reviewed displayed. As you process the previous application, the next one will be displayed on the page. All relevant information about the customer or vendor to whom the payment is applied, the matching details and actions to process the line, such as the Accept Application and Apply Manually actions, are displayed.
-
Choose the Lines to Review action at the bottom, and then choose the Accept Application action to accept the automatic application, or Remove Application to remove the automatic application in the Payment Application Review page for the selected journal line. The Match Confidence changes to Accepted.
-
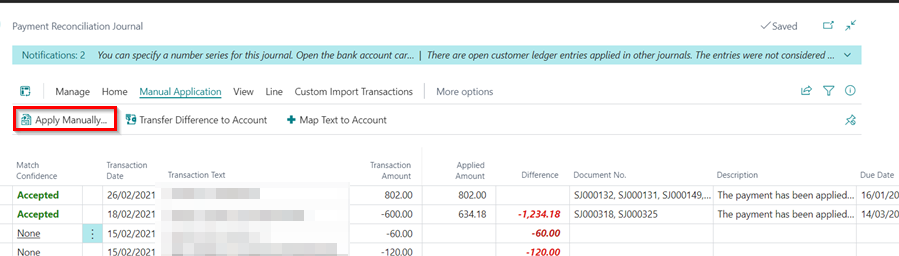
To change an automatic application, select a journal line, and choose Manual Application from the menu bar and then choose the Apply Manually action.
-
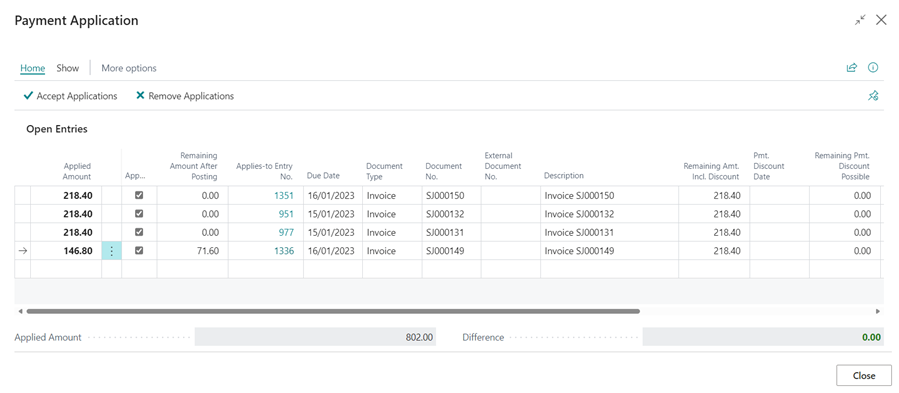
On the Payment Application page, you can reapply or manually apply the payment. See Review or apply payments after automatic application.
-
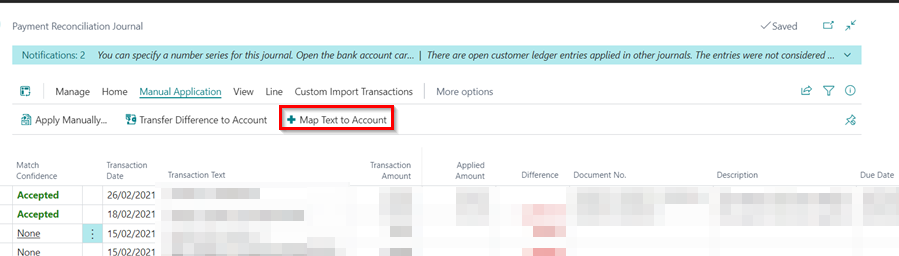
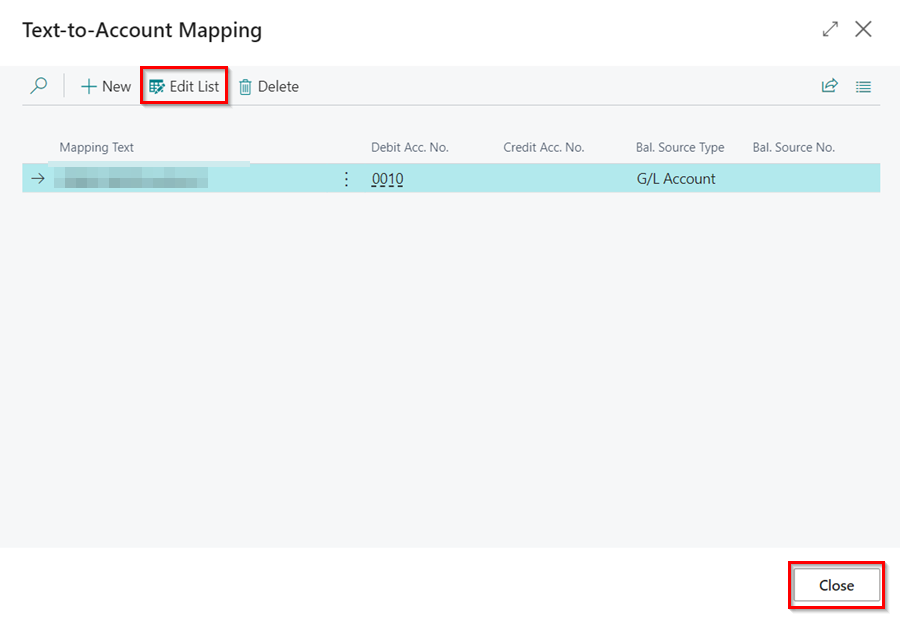
Select an unapplied journal line for a recurring cash receipt or expense, such as bank charges, and then choose Manual Application from the menu bar, followed by the Map Text to Account action. See Map Text on Recurring Payments for automatic reconciliation.
-
After you’ve finished mapping payment text to accounts, click on Edit List to save the changes, and then the Close button. From the dialogue box that appears, click Yes.
-
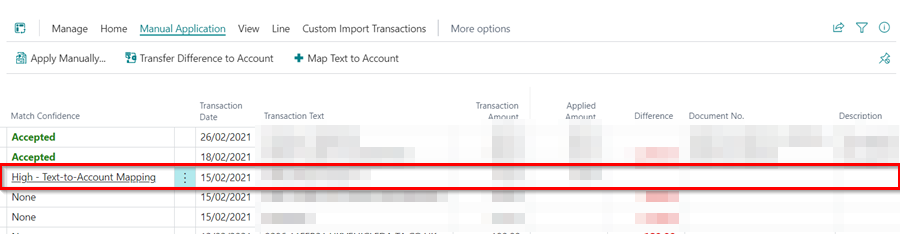
When you set up a text-to-account mapping, the resulting automatic payment application will have High - Text-to-Account Mapping in the Match Confidence field.
-
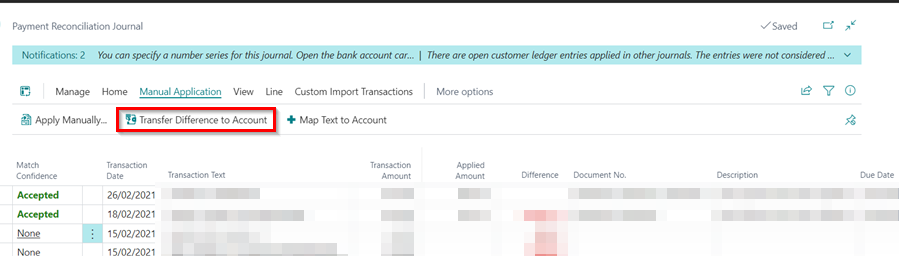
For a journal line that has no suggested application because no ledger entry exists to which it can be applied, use the Transfer Difference to Account action, in Manual Application sub-menus from the menu bar, to create and post the missing general ledger entry required to apply the payment. The Match Confidence field for the journal line changes to Manual. See Reconcile payments that cannot be applied automatically.
-
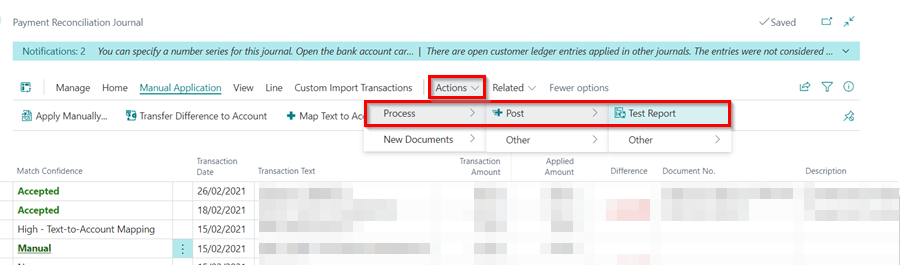
To review the result of posting before you post the journal lines, select More Actions, then Actions from the menu bar. In the Actions sub menus, select Process, Post, and then the Test Report action. The Bank Account Statement report opens and shows the same fields at the bottom of the Payment Reconciliation Journal page.
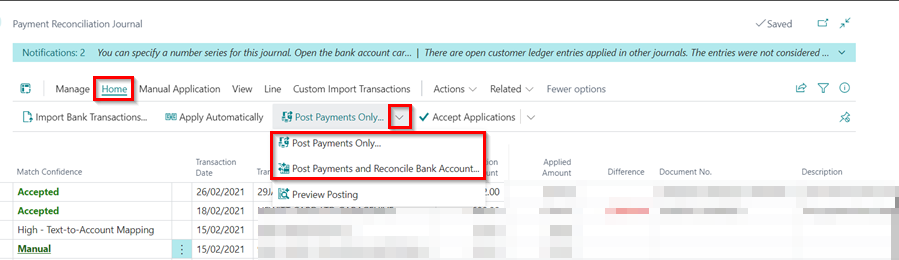
- When no more lines need to be reviewed and the Difference field on all lines is blank, select Home from the menu bar and then select the either of the following options from the Post Payments Only split button dropdown menu:
- Post Payments and Reconcile Bank Accounts - To post the applied payments and close the related bank account ledger entries as reconciled.
- Post Payments Only - To only post the payments as applied but leave the related bank account ledger entries open. This action requires that you reconcile the bank account separately. For more information, see Reconcile bank accounts.
See Also
Video: How to perform a Payment Reconciliation Journal in Microsoft Dynamics Business Central
Review or apply payments after automatic application
Reconcile payments that cannot be applied automatically
Map text on recurring payments to accounts for automatic reconciliation