Setting Up Payment by Garage Link for Access PaySuite in Garage Hive
Garage Link for Access PaySuite is an online payment service that has been integrated with Garage Hive to assist Garages that use this service in connecting their accounts to Garage Hive for a more efficient and faster payment process.
In this article
- Creating an Account with Access PaySuite
- ID Verification with Access PaySuite Partner
- Adding Access PaySuite to Garage Hive
Creating an Account with Access PaySuite
-
To register with Access PaySuite, please fill out the form below:
Access PaySuite registration form:
-
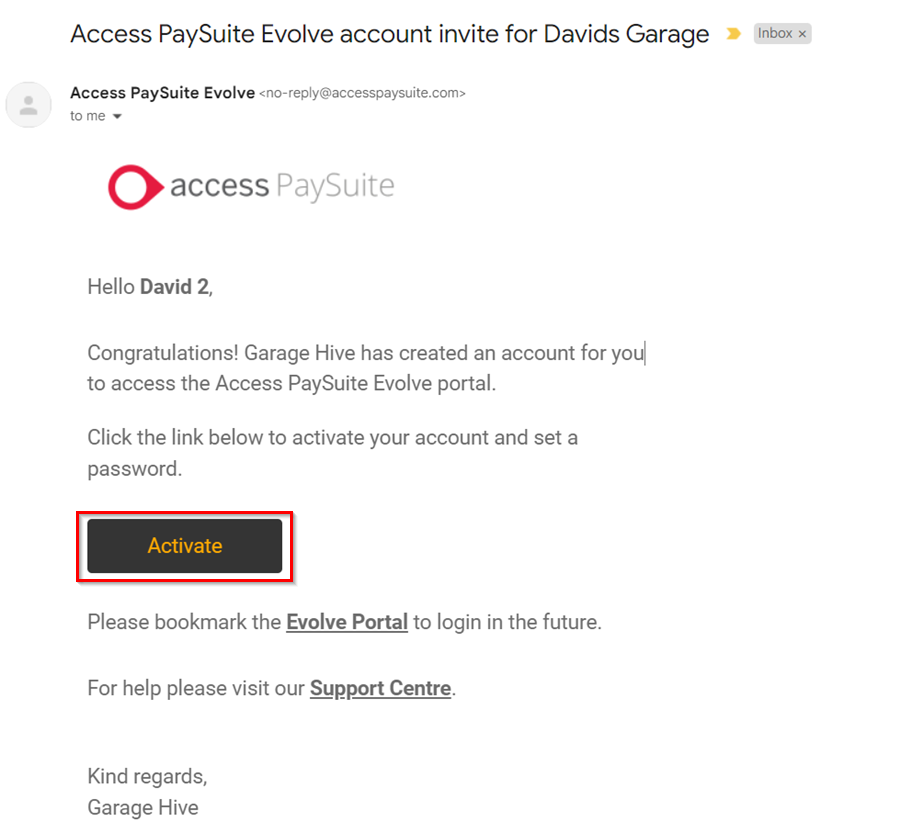
After registering by filling out the form above, you will receive an email from Access PaySuite inviting you to begin creating your account. In the email, click Activate.
-
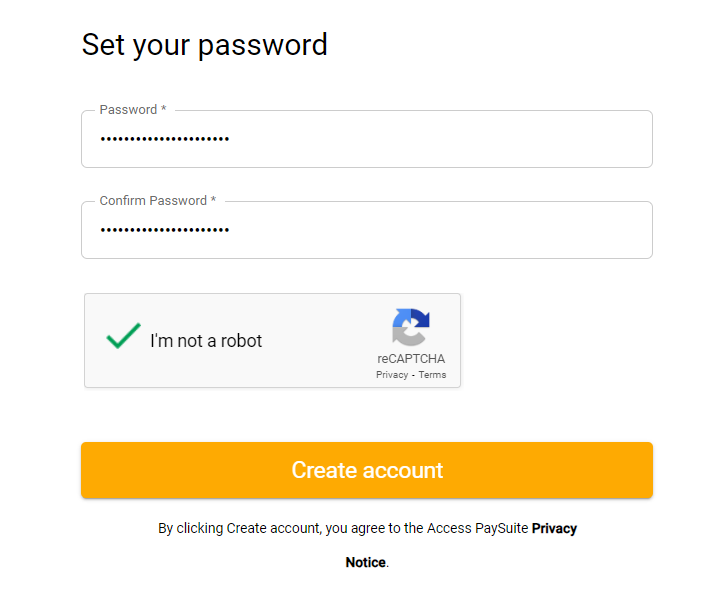
You will be redirected to the Access PaySuite website. Start by creating a password for your account, then check the I’m not a robot box and then click Create Account.
-
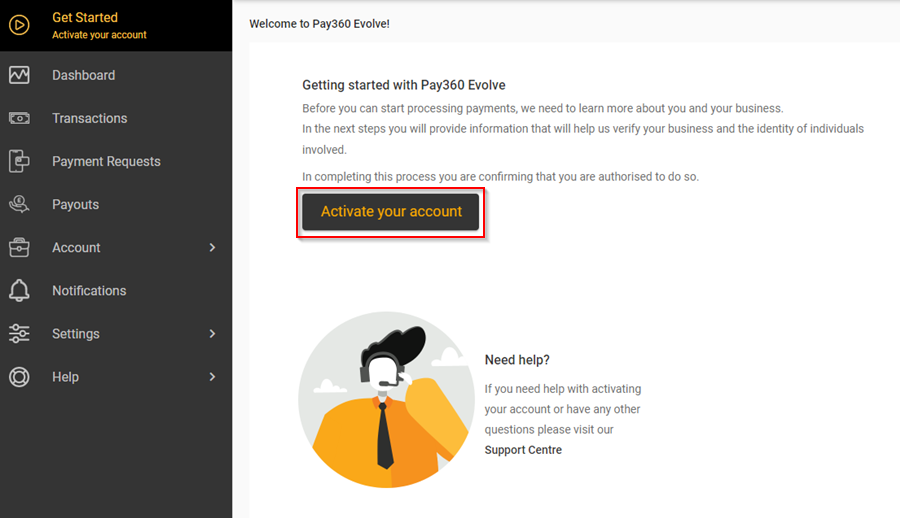
Select Activate Your Account on the next page, which opens the pages where you can enter your company information.
-
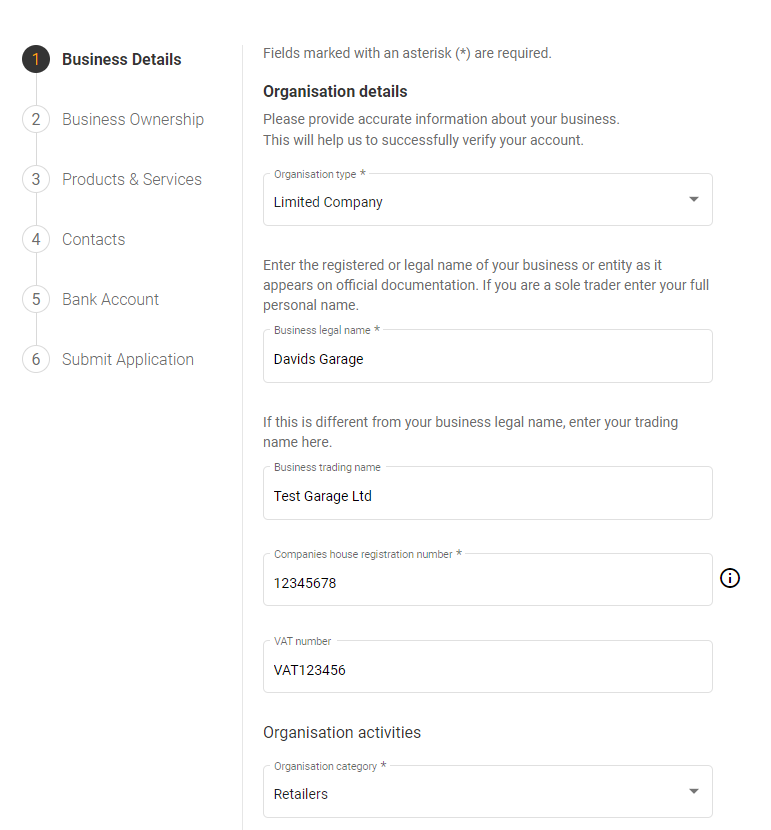
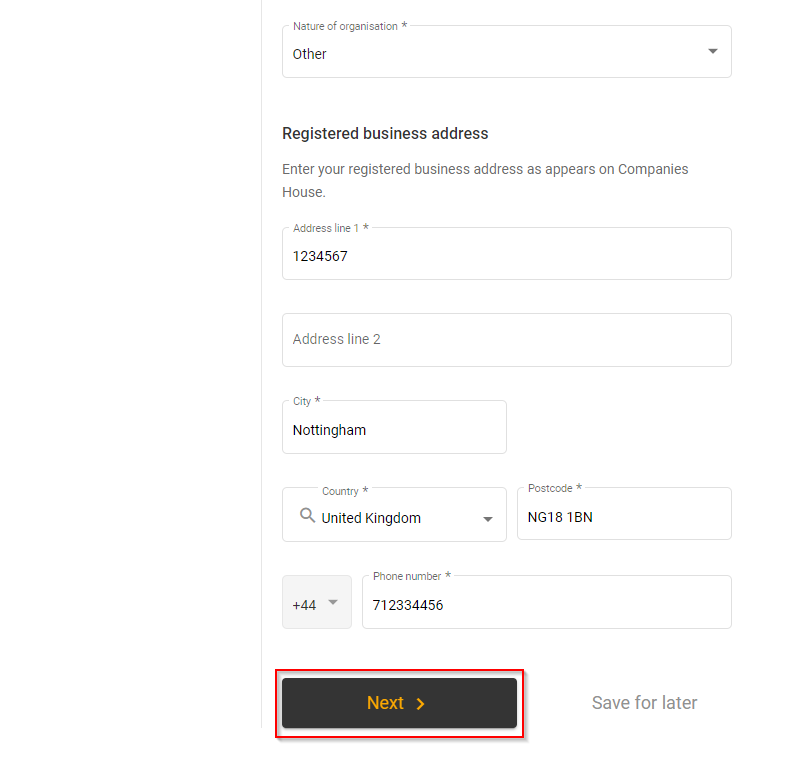
Start by entering Business Details, which must match the details found in the Companies House search. All fields marked with an asterisk (*) are required. When you’re finished, click Next.
-
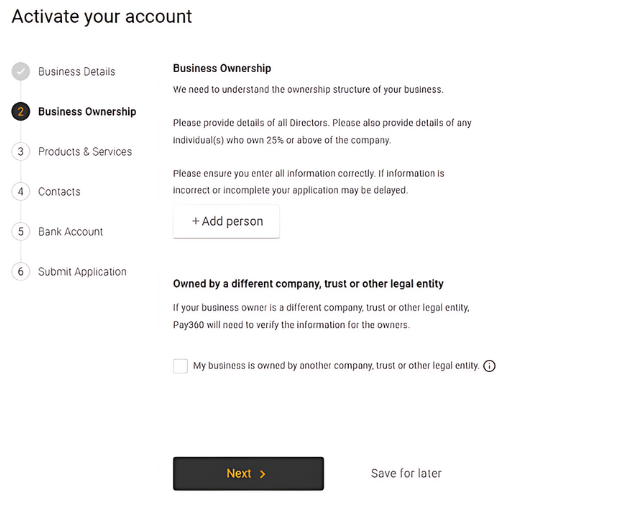
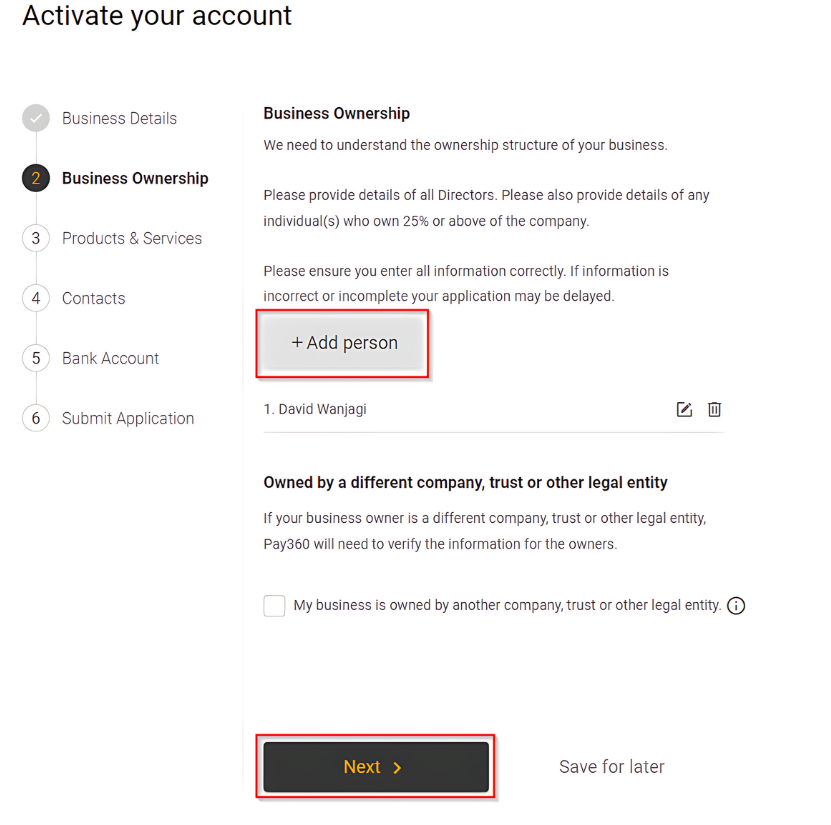
In the next page you need to add details of Business Ownership, which must also match the details found in the Companies House search. Click on Add person.
-
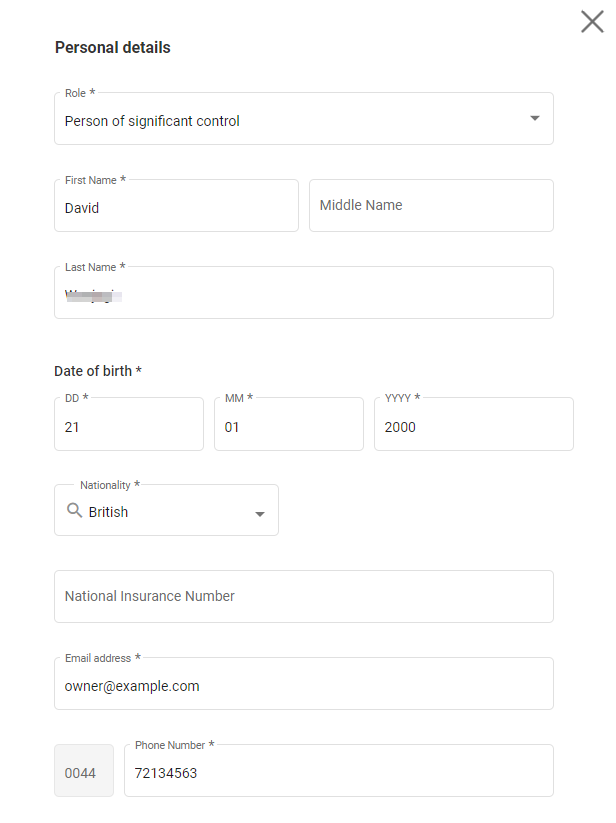
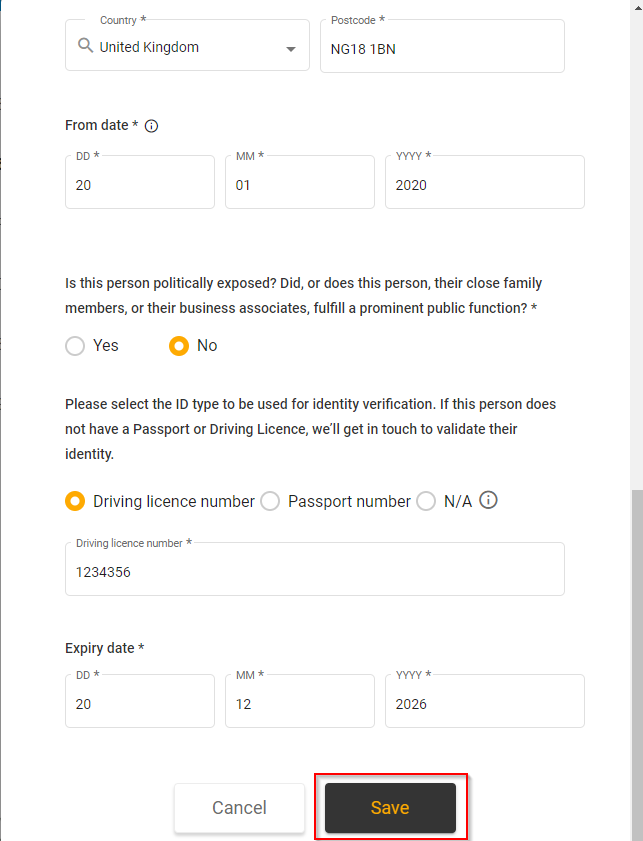
Enter the first person’s information as needed, and then click Save.
-
By clicking Add person, you can continue to add all of the people who are currently registered as the active business owners. After you’ve added everyone, click Next.
-
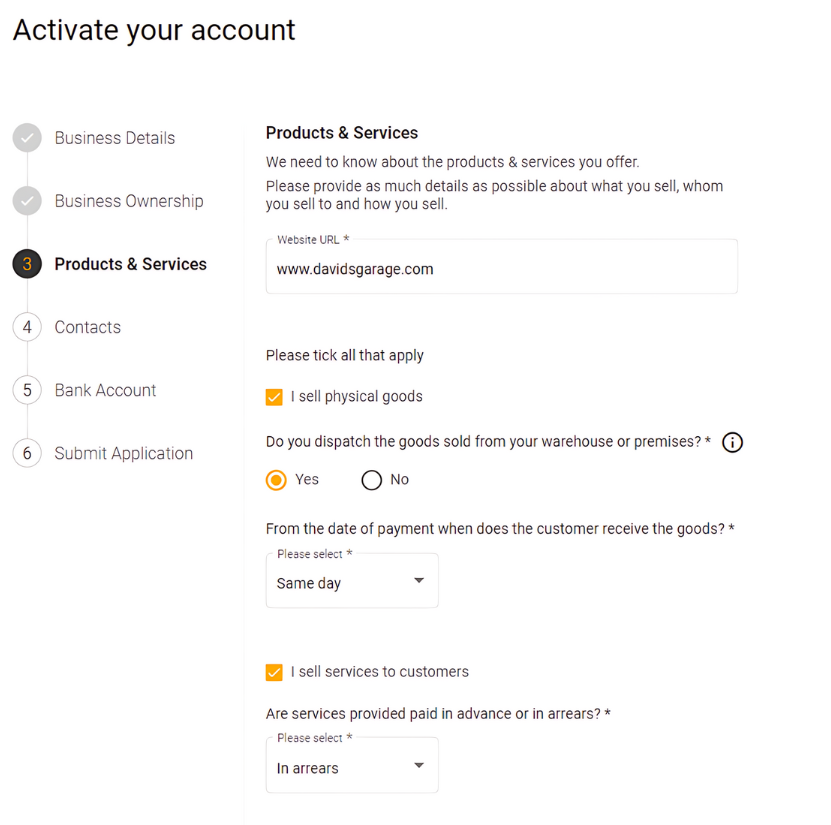
On the Products & Services page, specify whether you sell physical goods, sell services to customers, sell digital services, or you do all or some of the above. Check all the boxes that apply to your business.
-
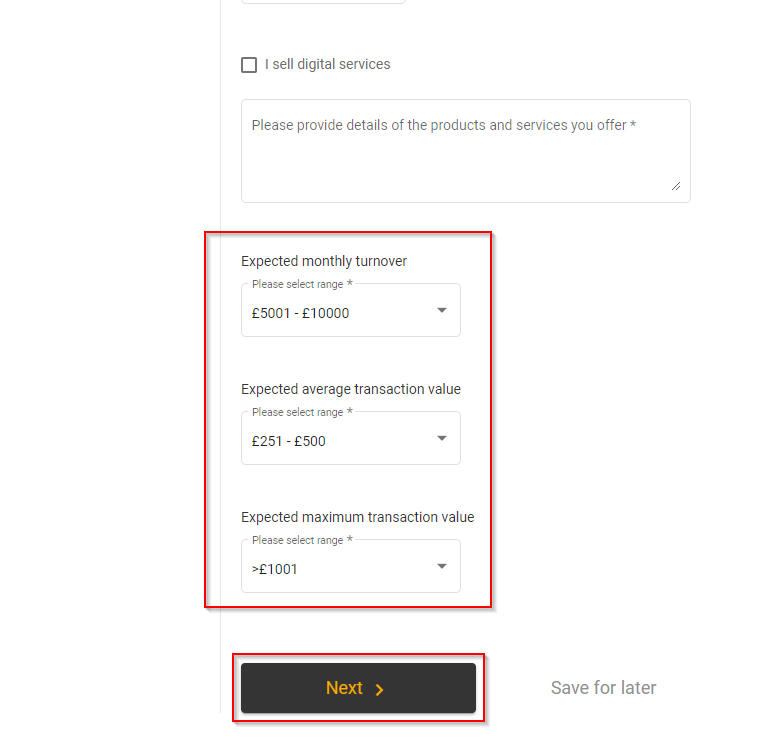
On the same page, specify the business’s expected monthly turnover, expected average transaction value, and expected maximum transaction value. When you’re finished, click Next.
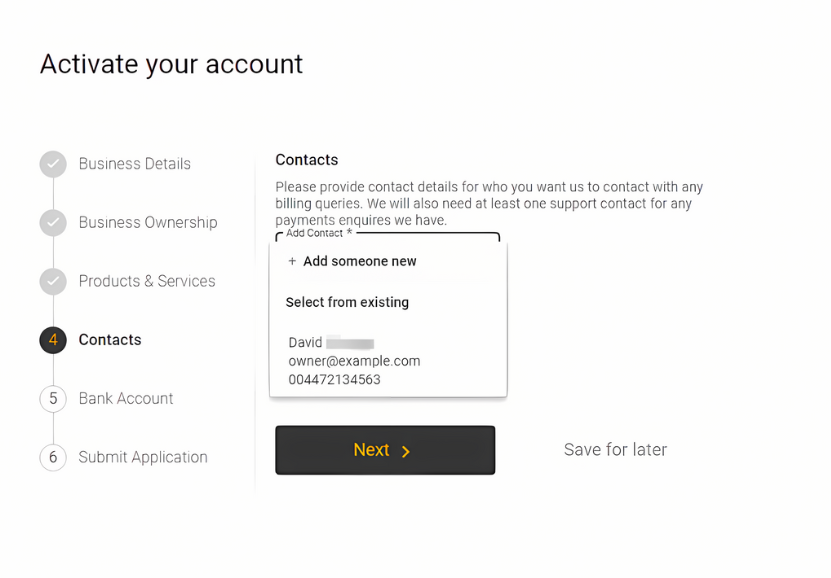
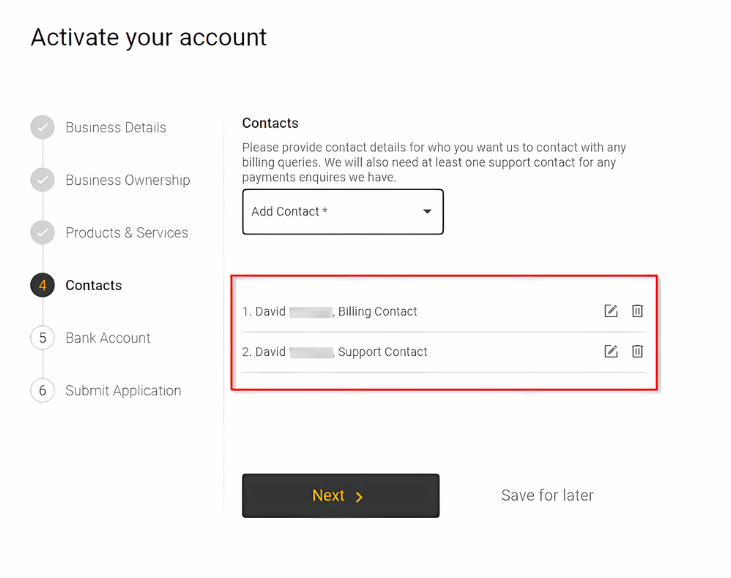
- Add the types of contacts to the Contacts page, one for Billing queries and one for Support queries. You can choose from the previously added contacts under Business Ownership or add a new contact.
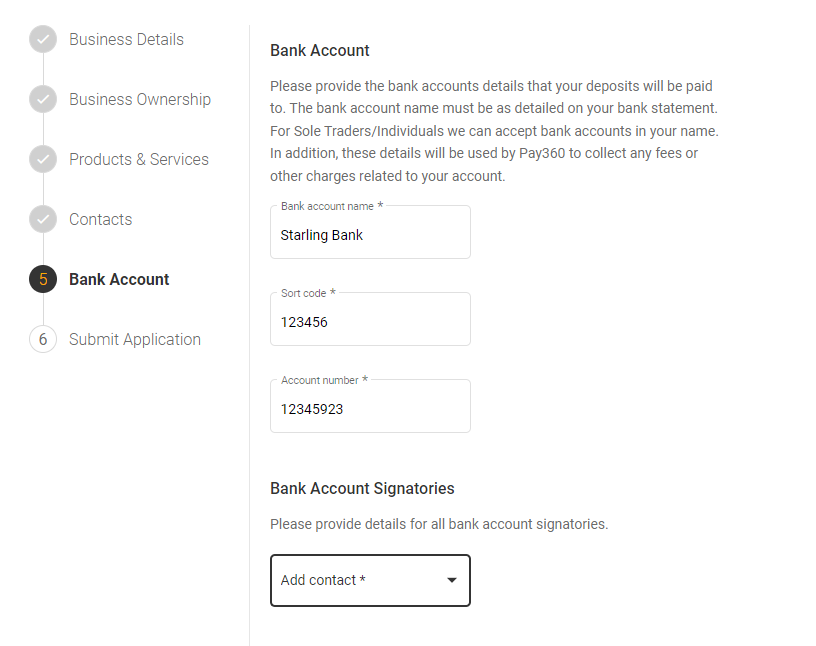
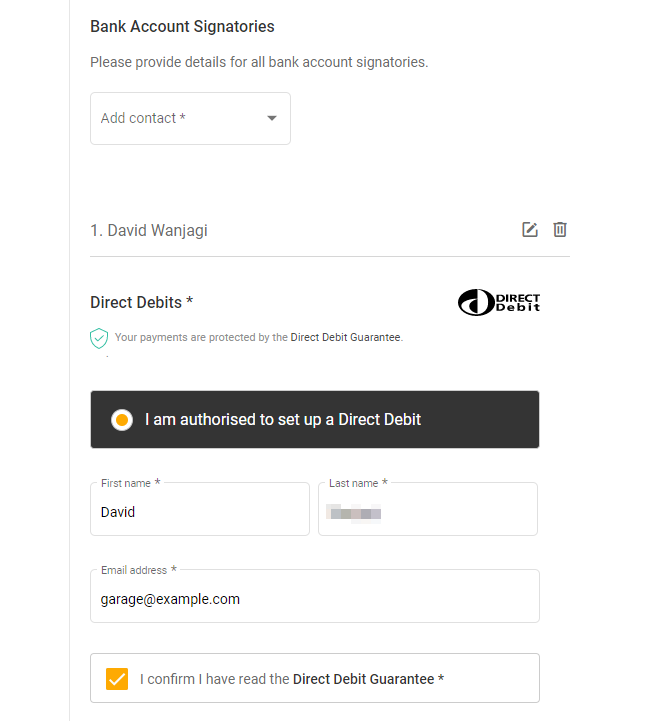
- On the Bank Account page, enter the details of your Bank Account, and select Bank Account Signatories.
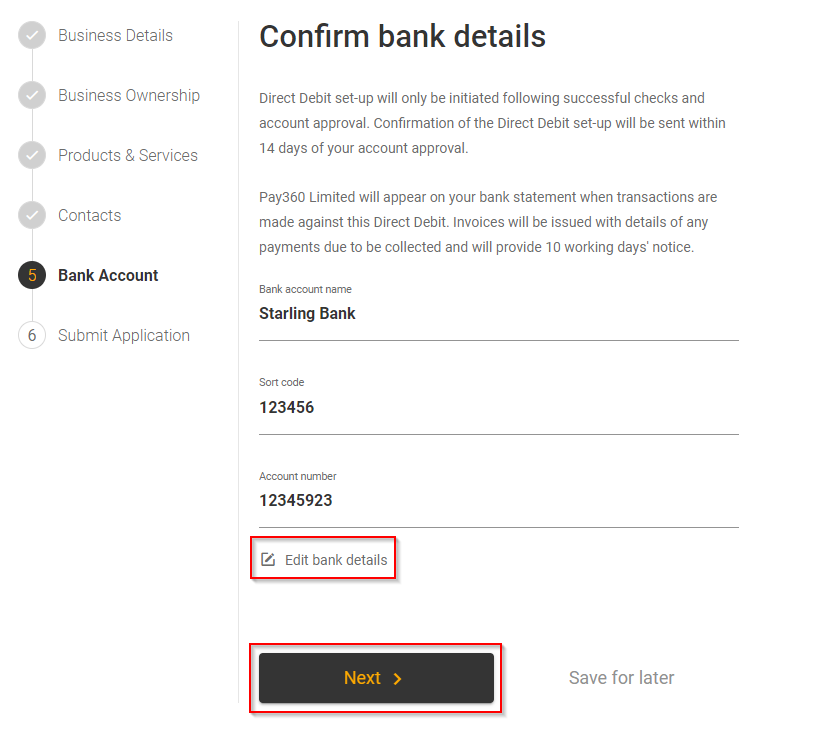
- Click Next to confirm the bank details you’ve entered. If everything is correct, click Next. If not, select Edit Bank Details.
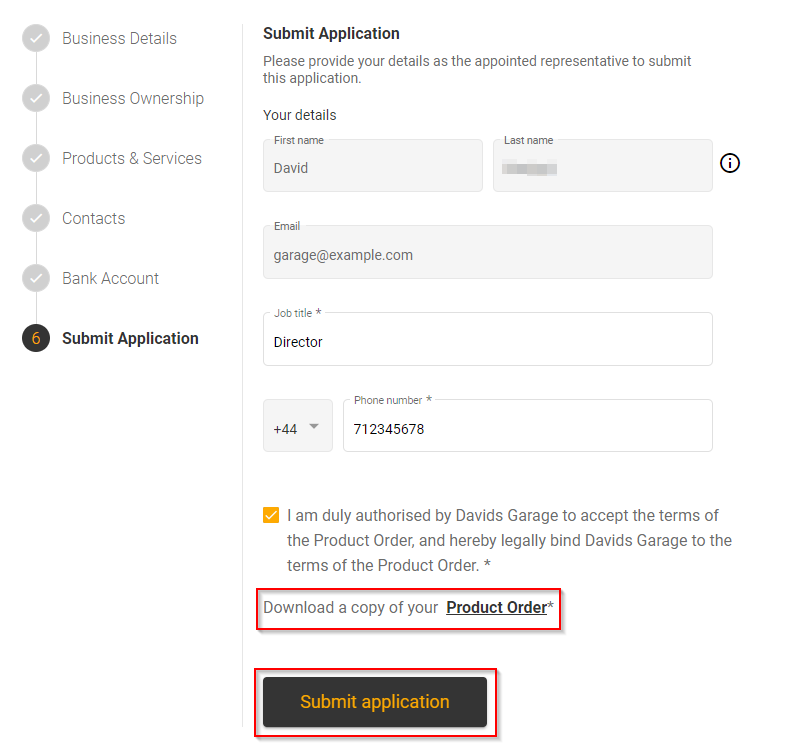
- To submit the application, enter the details of the appointed representative, check the box to confirm you are authorised to act on behalf of the business, and Download a copy of your Product Order. Then click the Submit application button.
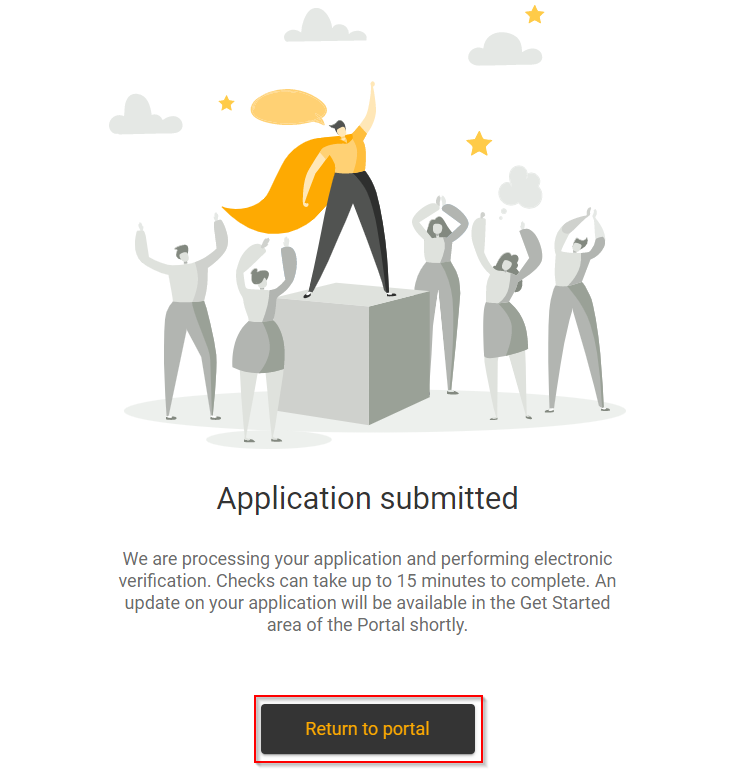
- Your application will be successfully submitted, and you can return to the portal by clicking the Return to portal button.
ID Verification with Access PaySuite Partner
After submitting your application, you will receive a new message informing you that Access PaySuite will send an ID Verification email through their partner NorthRow. The email will be as follows:
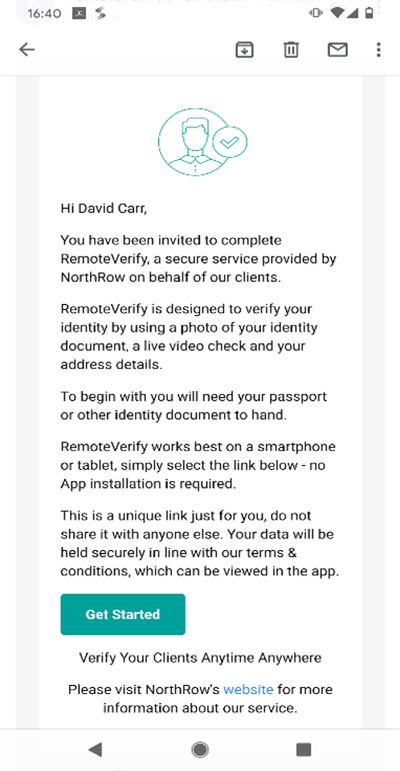
After receiving the email, follow these steps to complete the Live ID Verification check:
-
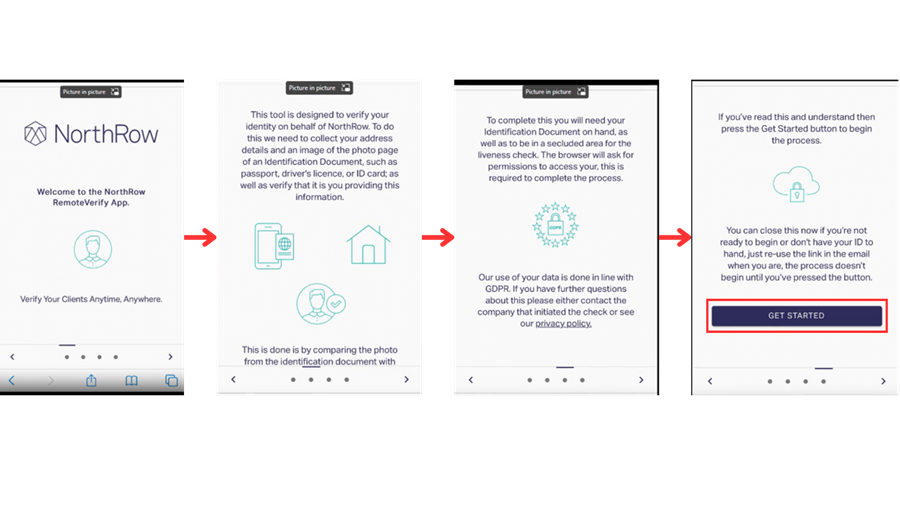
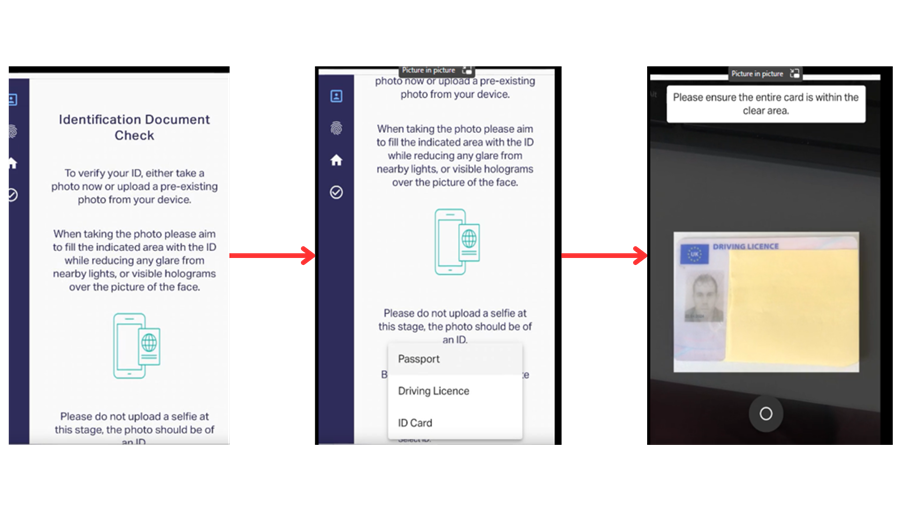
On the email, click the Get Started link. This opens the NorthRow RemoteVerify application. Scroll through the invitation screens until you reach the last one and click Get Started.
-
The next step will be Document Identification check. This could be your Passport, Driving Licence, or ID Card. Take a picture of your document to upload.
-
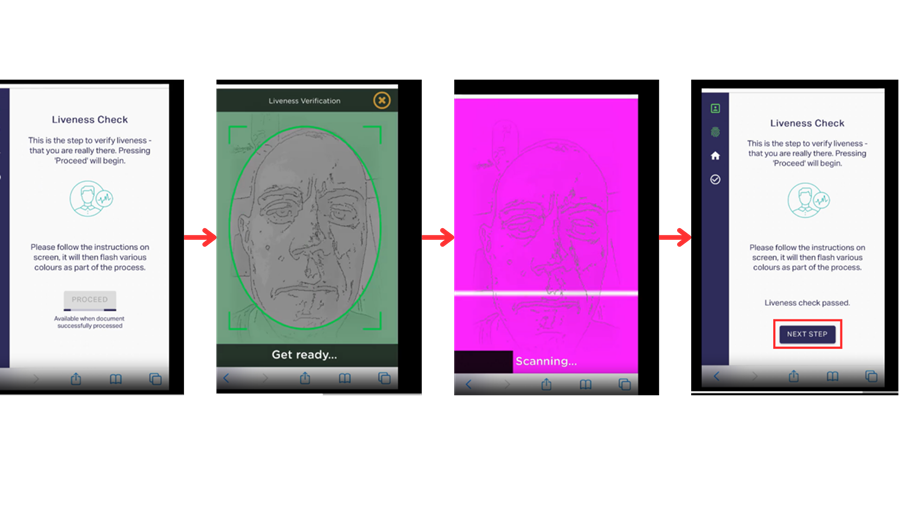
The next one will be Liveness Check. This is the step where you confirm that you are there. To begin, select Proceed.
-
When you’re finished, click Next Step. In the following step, you will enter your personal details, including your residential address.
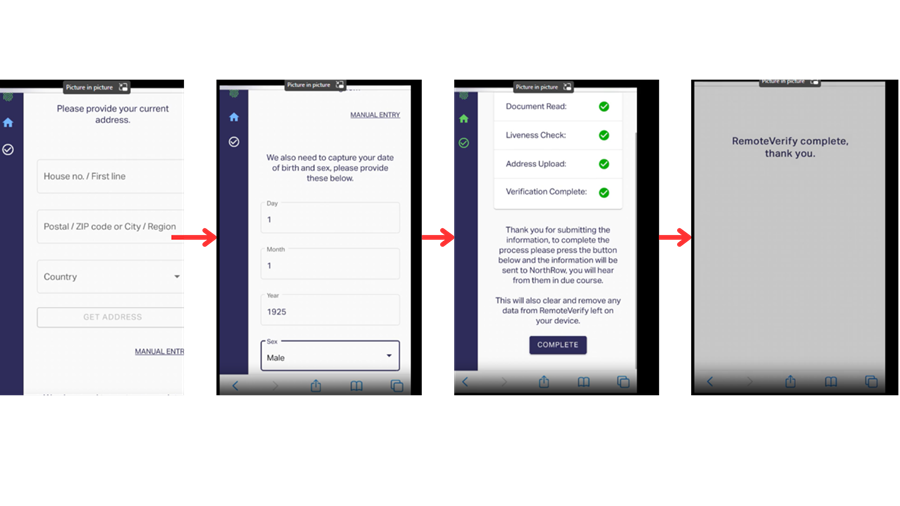
- The RemoteVerify process will now be complete.
-
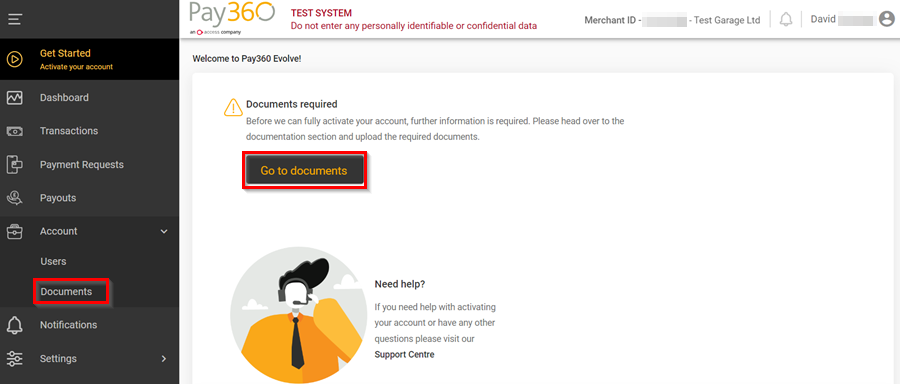
Additional documents, such as a bank statement, may also be requested by the Access PaySuite team. A notification requesting further documentation can be viewed on the Access PaySuite portal. You can upload the required documents by clicking the Go to Documents link in the notification or by going to the document section and uploading the required documents.
Adding Access PaySuite to Garage Hive
After creating an account with Access PaySuite, you should now add Access PaySuite as a Payment Gateway in Garage Hive:
-
In the top right corner, choose the
 icon, enter Payment Gateways, and select the related link.
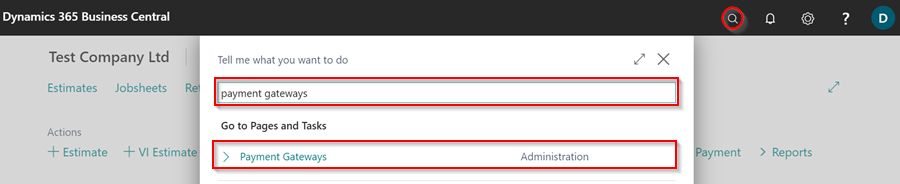
-
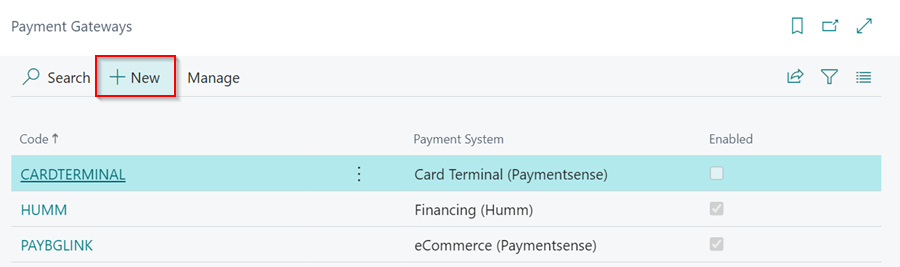
Click on New from the menu bar to add a new Payment Gateway.
-
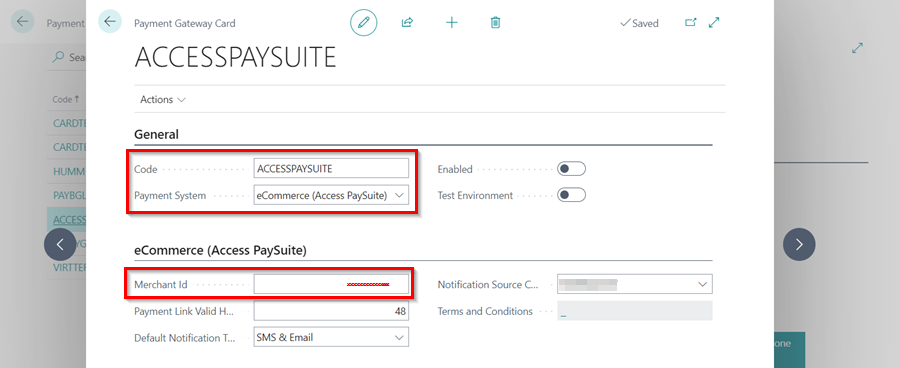
The Payment Gateway Card will require the Access PaySuite Merchant ID, which can be found in the top right corner of the Access PaySuite portal.

-
In the Payment Gateway Card, enter the Code as Access PaySuite, the Payment System as eCommerce (Access PaySuite), and the Merchant ID from Access PaySuite in the Merchant ID field.
-
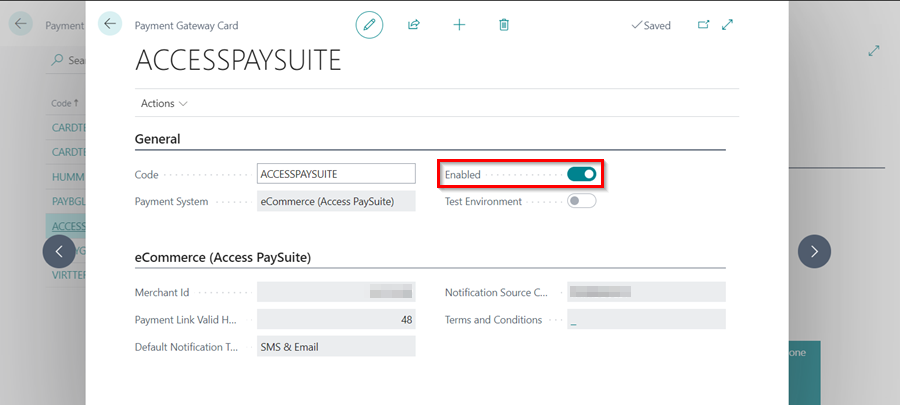
To enable the Access PaySuite payment gateway in Garage Hive, select the Enabled slider and close the Payment Gateway card.
- To add the Location Payment Methods, choose the icon, enter Location Payment Methods, and select the related link.
-
Select the locations where you want to use the Access PaySuite payment gateway, then enter the Payment Method Code, Description, and Payment Gateway Code for Access PaySuite on each location.
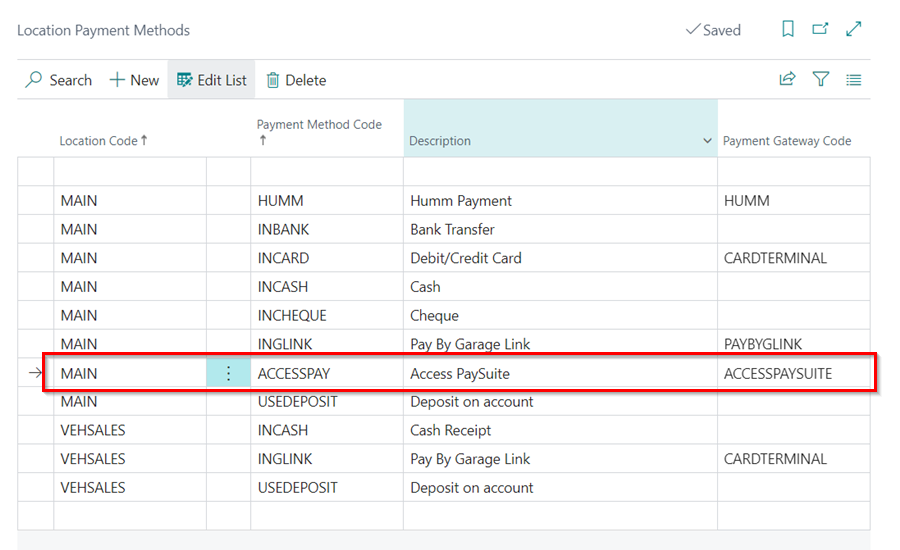
- Creating payments in the Location Payment Methods page can be complex; please contact GH Support if you need assistance.
See Also
Taking a Payment and Posting a Jobsheet
Setting Up Payment by Garage Link for Dojo
How to Use Humm Financing
Setting Up Payment by Card Terminal
How to Set Card Terminals Into Integration Mode
Generating Paymentsense Card Machine End of Day, X Balance and Z Balance Report