How to Use the Timing Belt Intervals Feature
Depending on the make and model of the vehicle, the timing belt should be replaced at a specific interval. It is critical that you keep the vehicle owner informed at the appropriate time.
In this article
- Checking Timing Belt Interval From the Menu Bar
- Checking Timing Belt Interval From the Vehicle Reminder Dates Section
- Manual Selection of Timing Belt Interval from Autodata
Checking Timing Belt Interval from the Menu Bar
To check the timing belt interval from the menu bar:
-
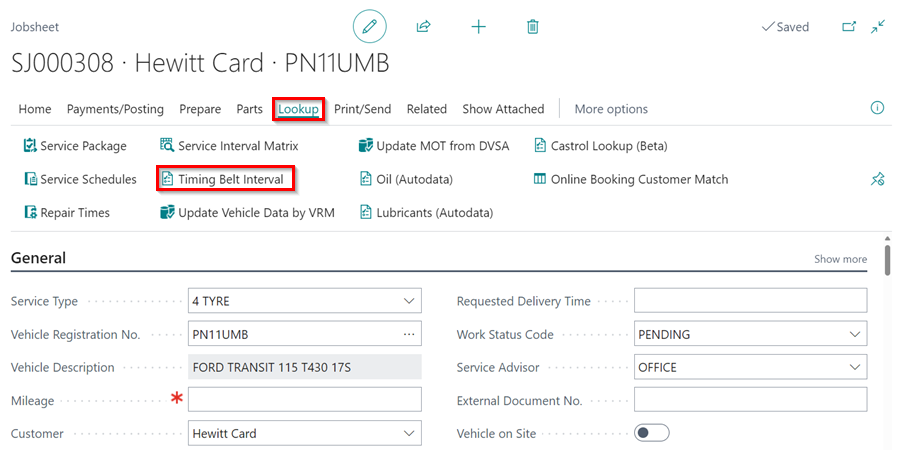
In the menu bar, select Lookup. and click the Timing Belt Interval action.
-
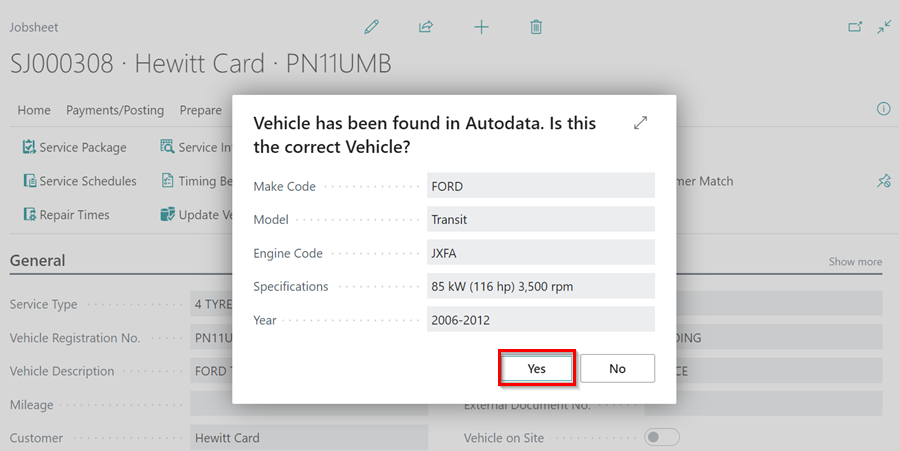
When the pop-up window opens, confirm the vehicle details by clicking Yes. If the details don’t match, click No and select the correct vehicle.
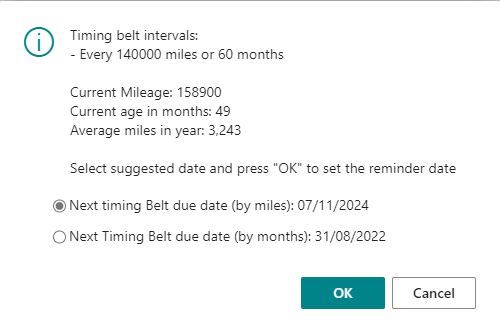
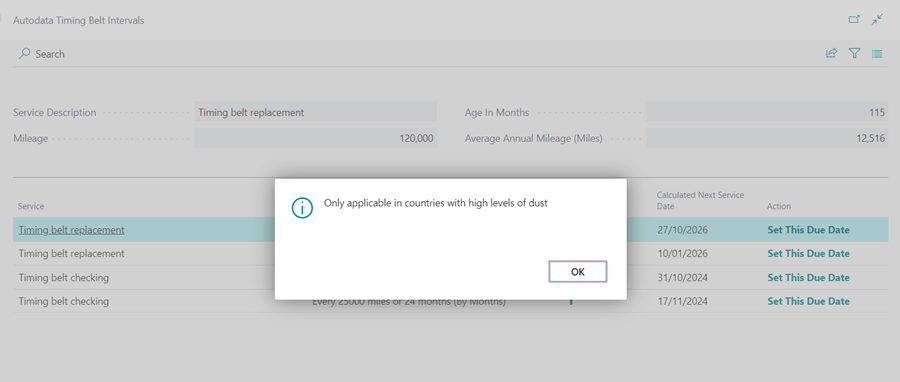
- The following information is displayed in the Autodata Timing Belt Intervals page:
- Mileage: The mileage of the vehicle at the time of booking, as indicated on the document.
- Age in Months: The age of the vehicle at the time of booking.
- Average Annual Mileage (Miles): This is calculated by dividing the vehicle’s current mileage by its current age.
- Service Interval: This is based on the manufacturer’s specifications obtained from Autodata.
- Calculated Next Service Date: Suggested timing belt service date based on the manufacturer’s recommendation in miles or months.
-
Action: By clicking on the action, you can set the timing belt service date as recommended in the Calculated Next Service Date field.
-
The information icon (ℹ️) indicates that the suggested Service Interval is applicable for countries with high levels of dust when clicked.
-
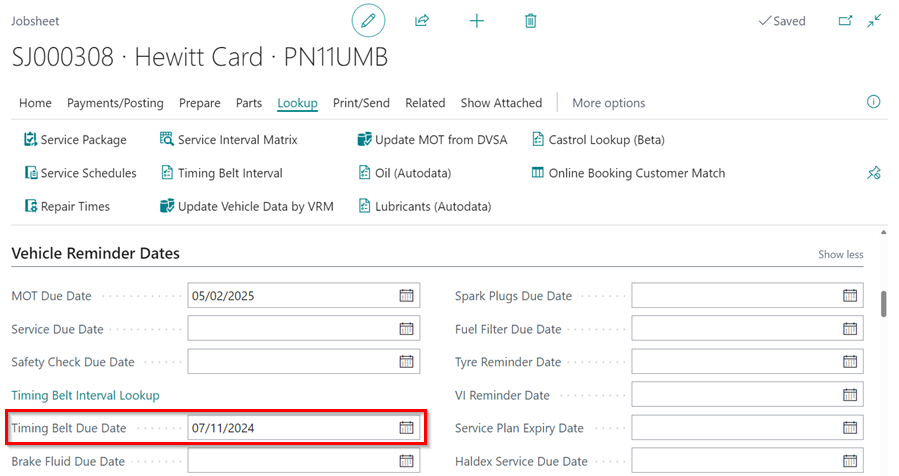
Choose your preferred date from the calculated timing belt service dates in miles or months, and click on the Set This Due Date in the Action column. The selected date is added into the Timing Belt Due Date field in the vehicle reminder dates section.
Checking Timing Belt Interval from the Vehicle Reminder Dates Section
The timing belt interval information box is also accessible via the vehicle reminder dates section:
- In the document, navigate to the FastTab titled Vehicle Reminder Dates.
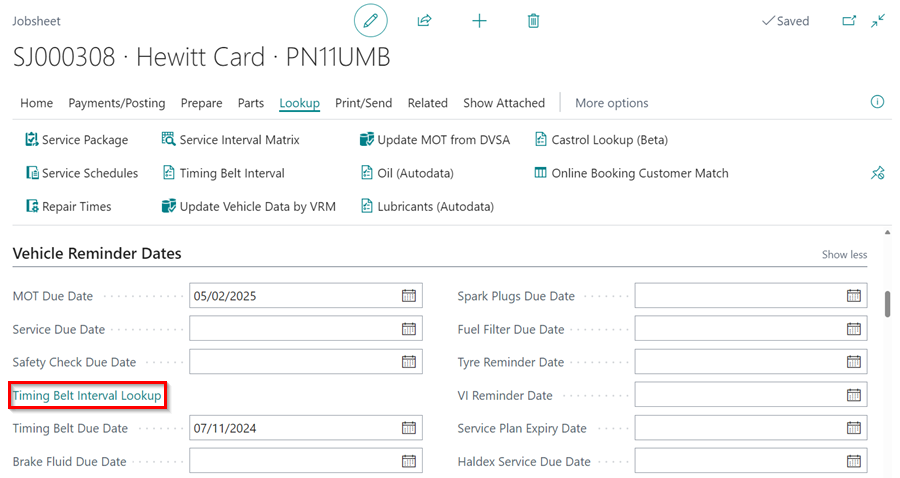
- Select the Timing Interval Lookup link above the Timing Belt Due Date field.
-
The timing belt information box appears.
Manual Selection of Timing Belt Interval from Autodata
Manual selection can be used to get data from Autodata for any vehicle and is not specific to any market. To view and add the data using manual selection:
-
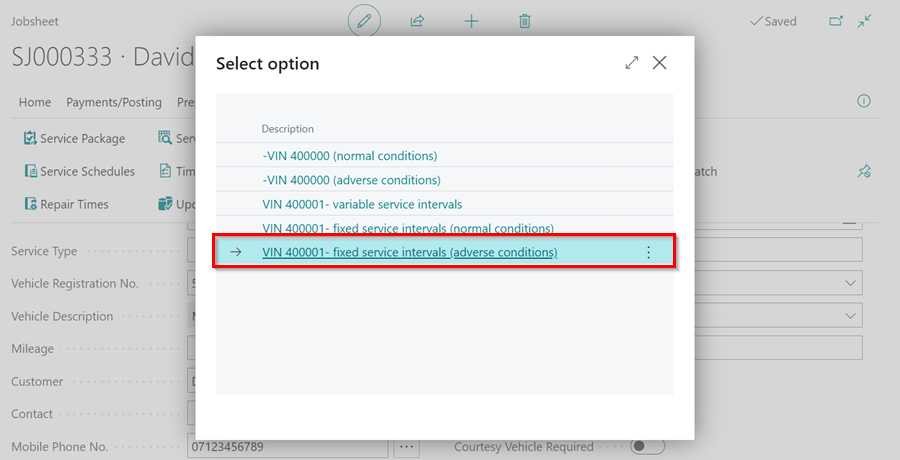
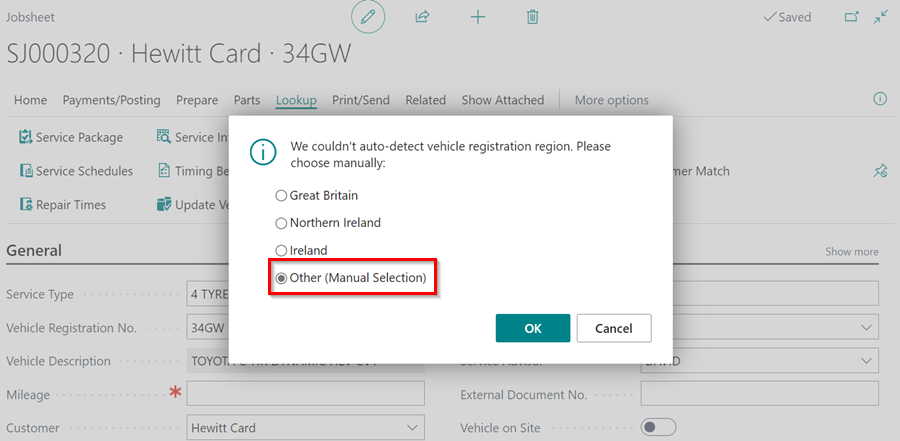
If the vehicle registration is not automatically detected, a pop-up window will appear. Select Other and then click OK to choose the vehicle make and model from Autodata.
-
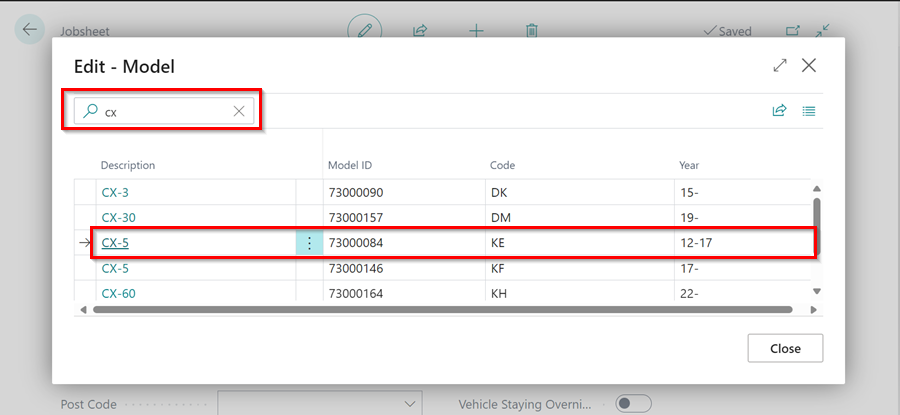
In the window that opens, search for the Model of the vehicle and click on the Description to select it.
-
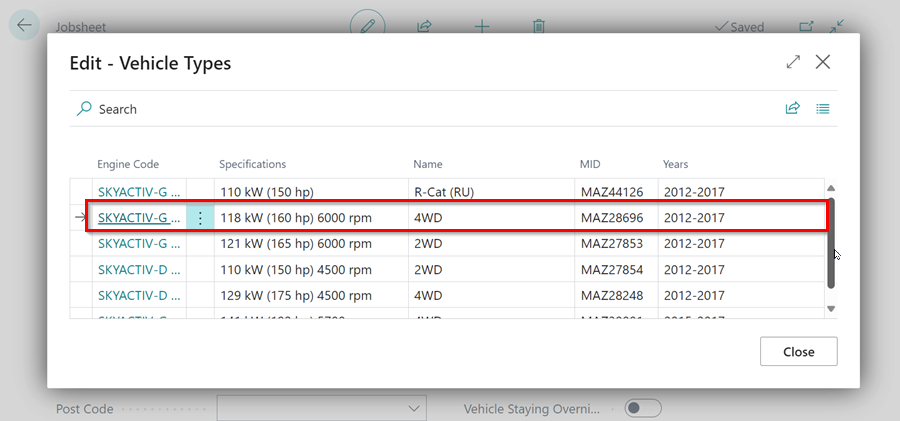
After that, you should select the Vehicle Type based on the Engine Code of the vehicle in the next window that opens.
-
Then, select the appropriate option for the vehicle.